Roles
Navigating to the Roles Page
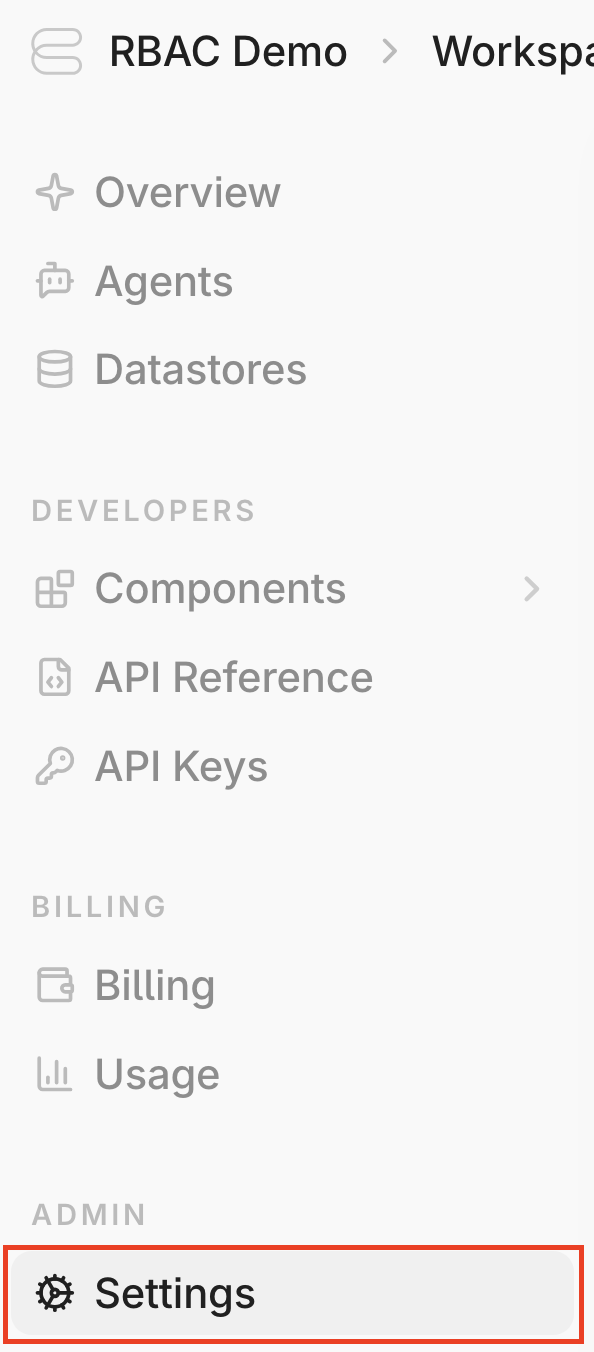
First, clickSettings under Admin in the side-panel.
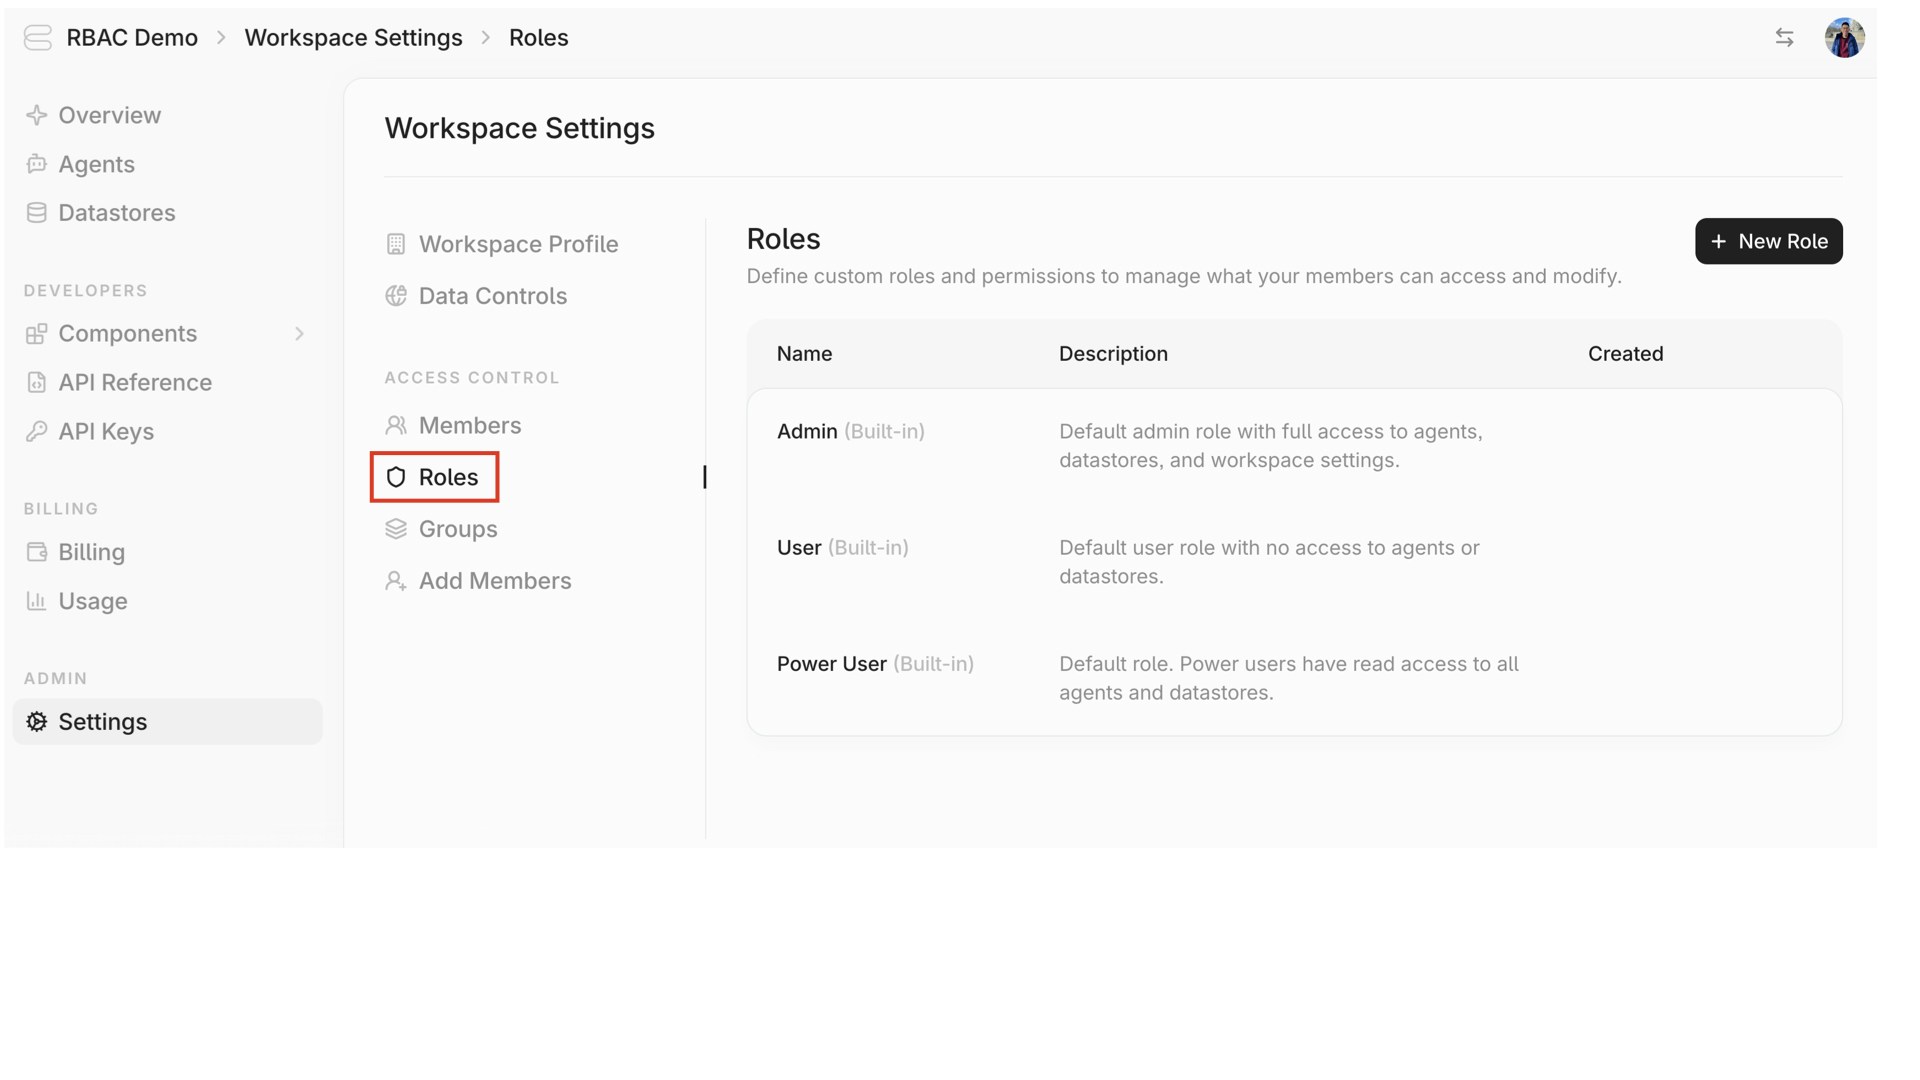
Roles under Access Control.
Default Roles
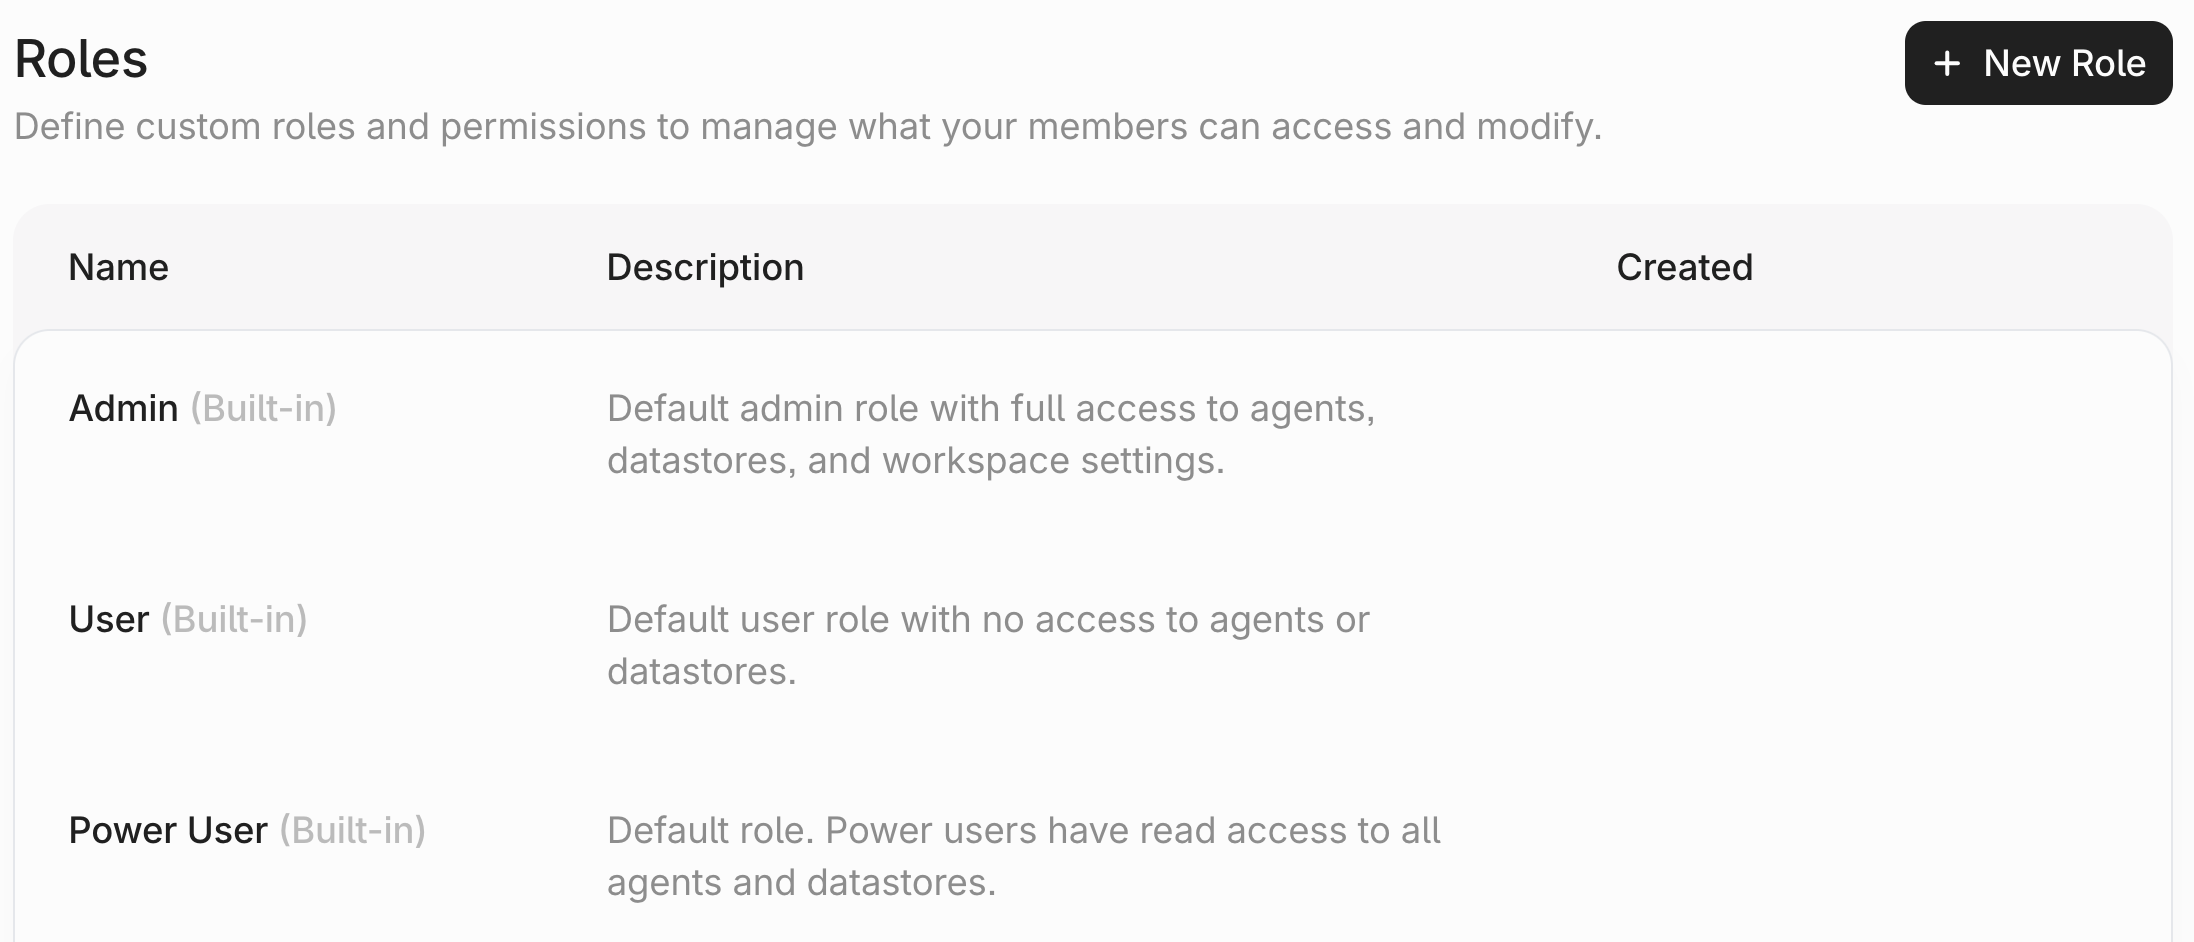
Your tenant comes with three default roles:Admin: Default role with full access to agents, datastores, and workspace settings.User: Default role that every new user is automatically assigned to. This role does not come with any access to agents or datastores.Power User: Default role that grants read access to all agents and datastores.
User role. They won’t be able to access agents or datastores until they’re assigned a Role with higher-level permissions.
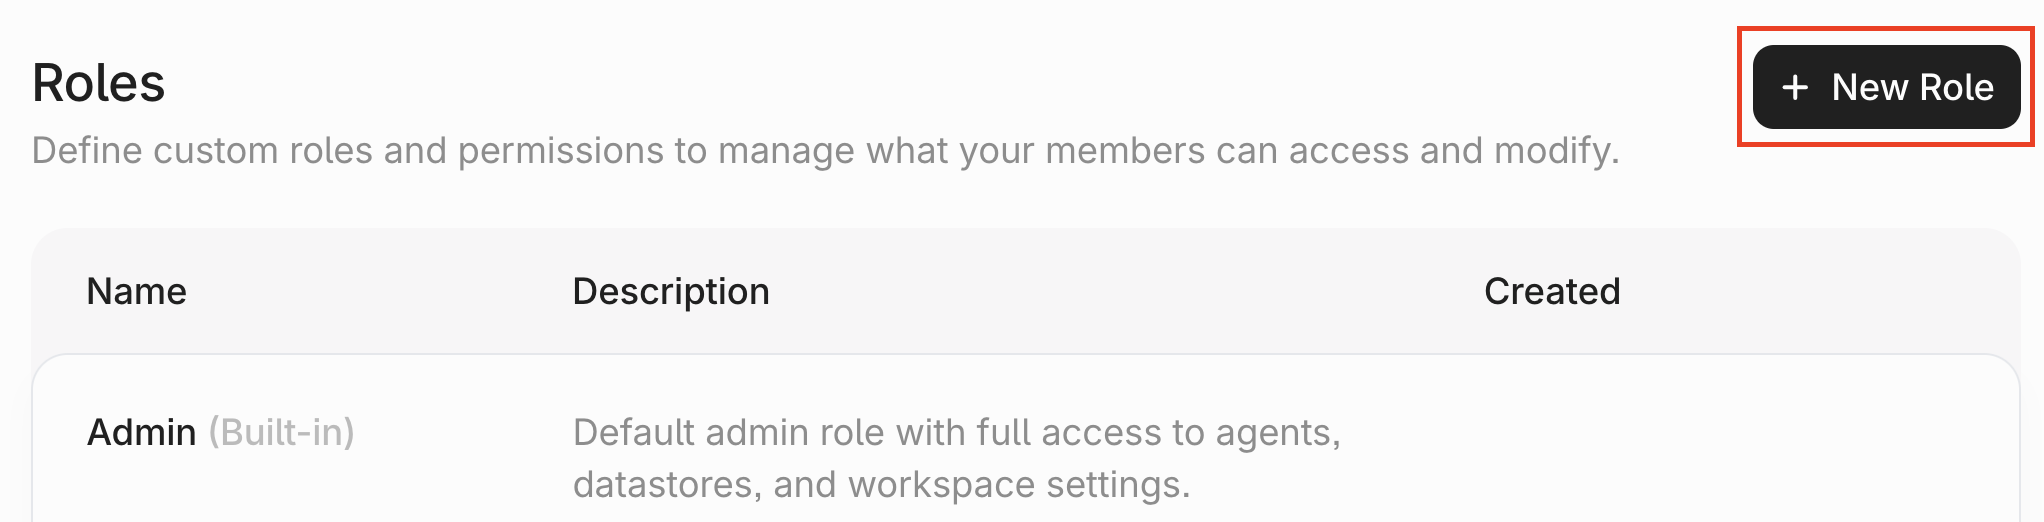
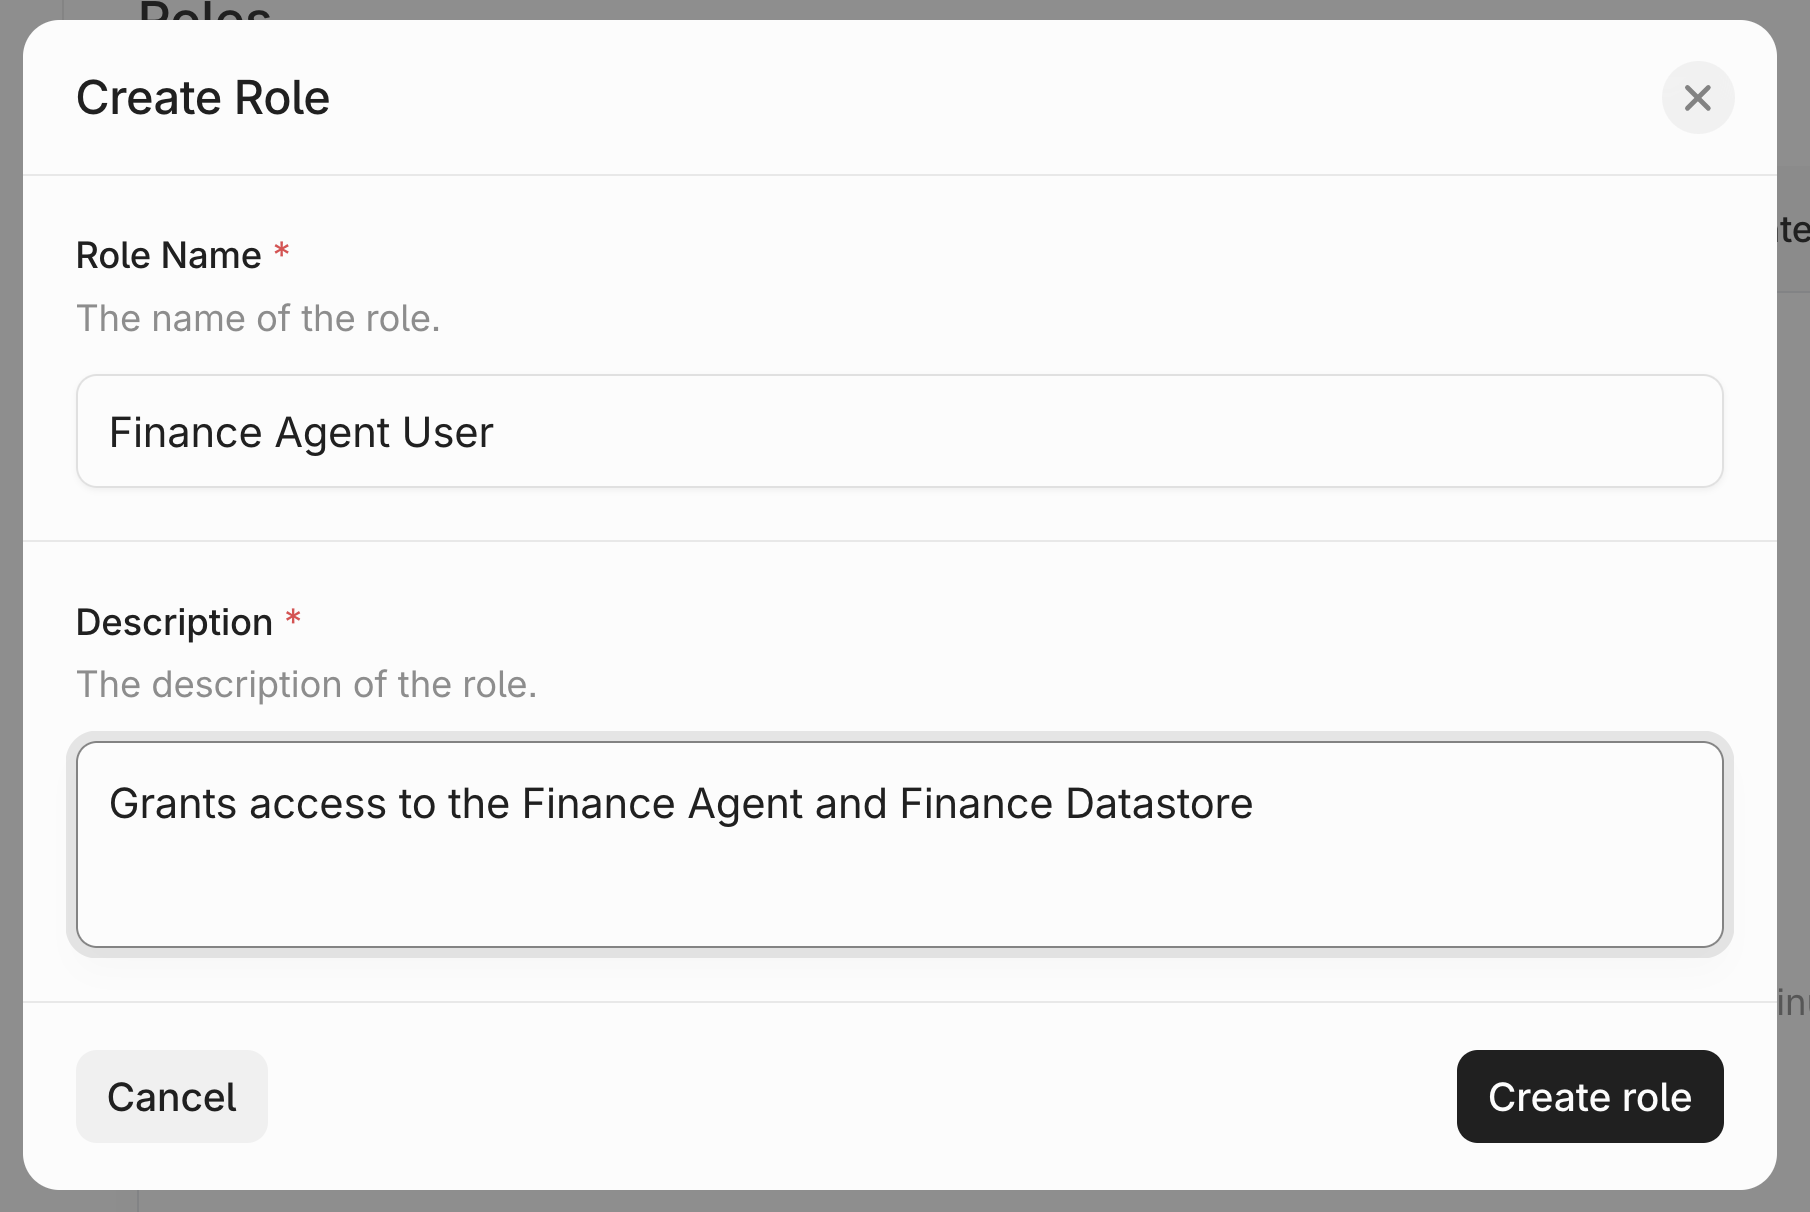
Creating a Custom Role
You can create custom roles to meet your governance needs. Here are examples of custom roles you can create:- Billing Admin – Access to billing and usage features
- Data Ingestor – Manage and ingest documents within specific Datastores
- Agent User – Query and interact with designated Agents
- Agent Admin – Maintain and optimize designated Agents
Configuring Role Permissions
After creating a Role, you will be automatically directed to the Role page. The first tab is for you to configure permissions. Click “Add Permission” to associate a permission with the Role.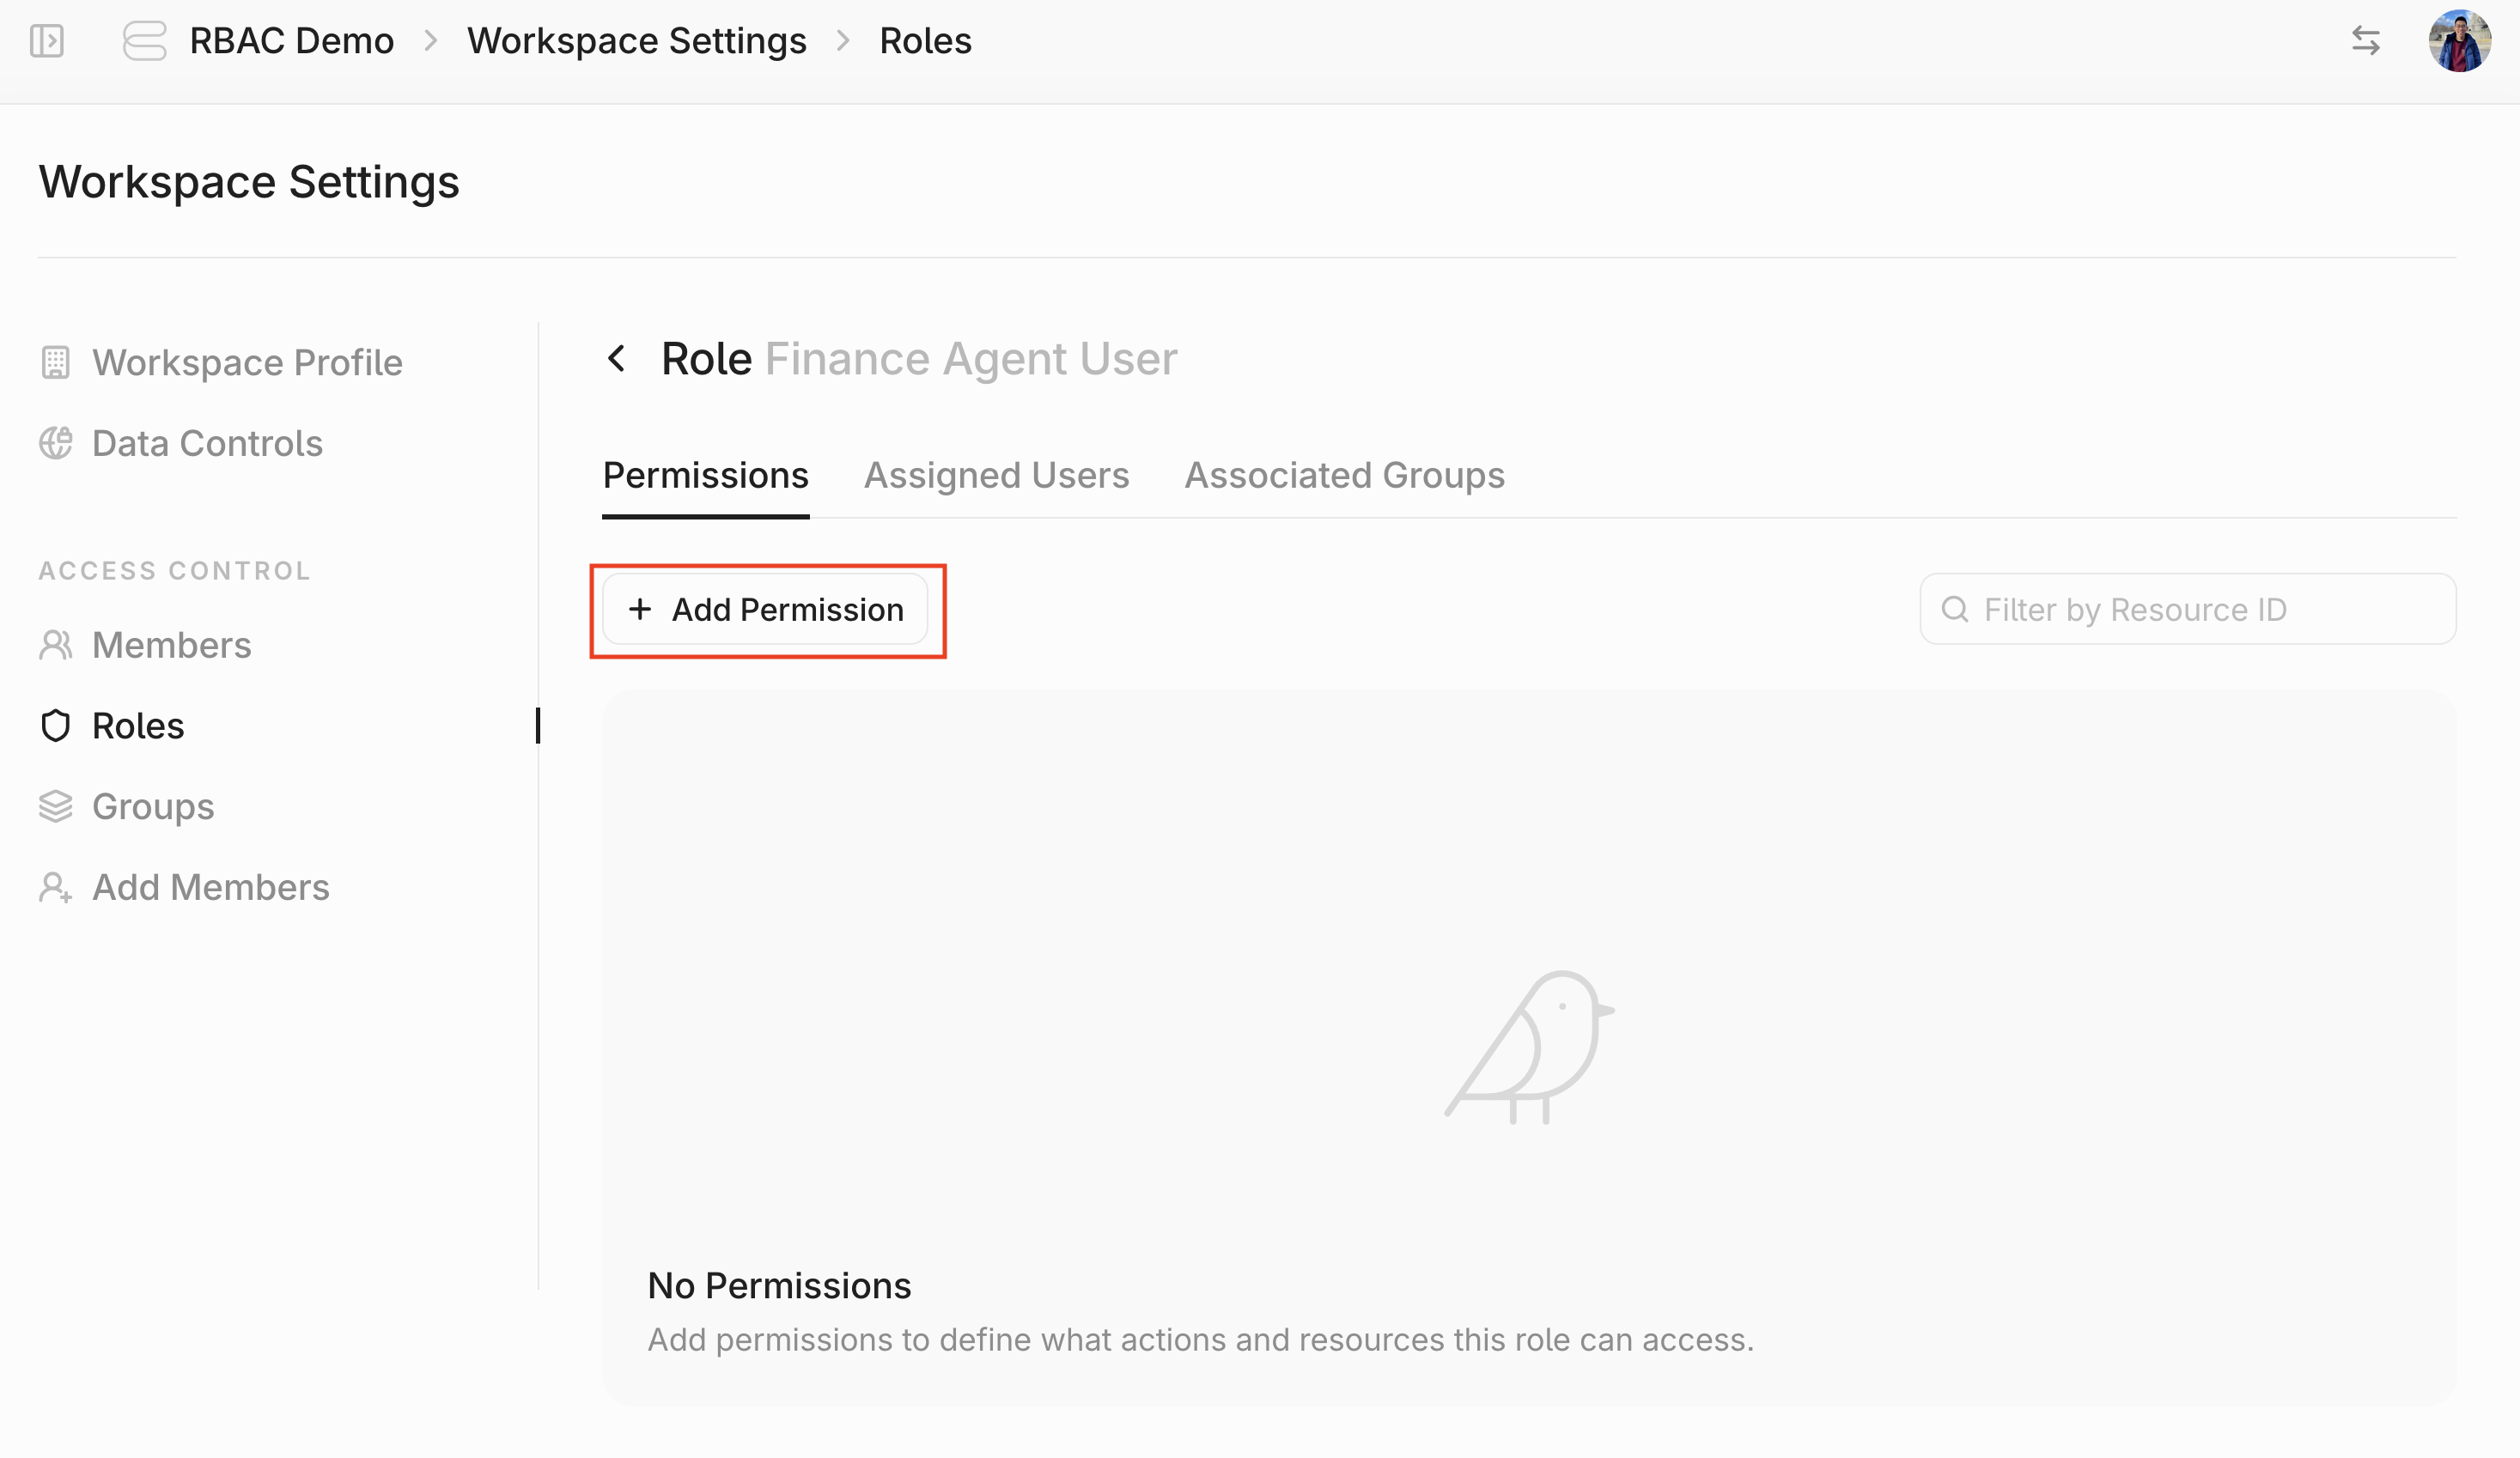
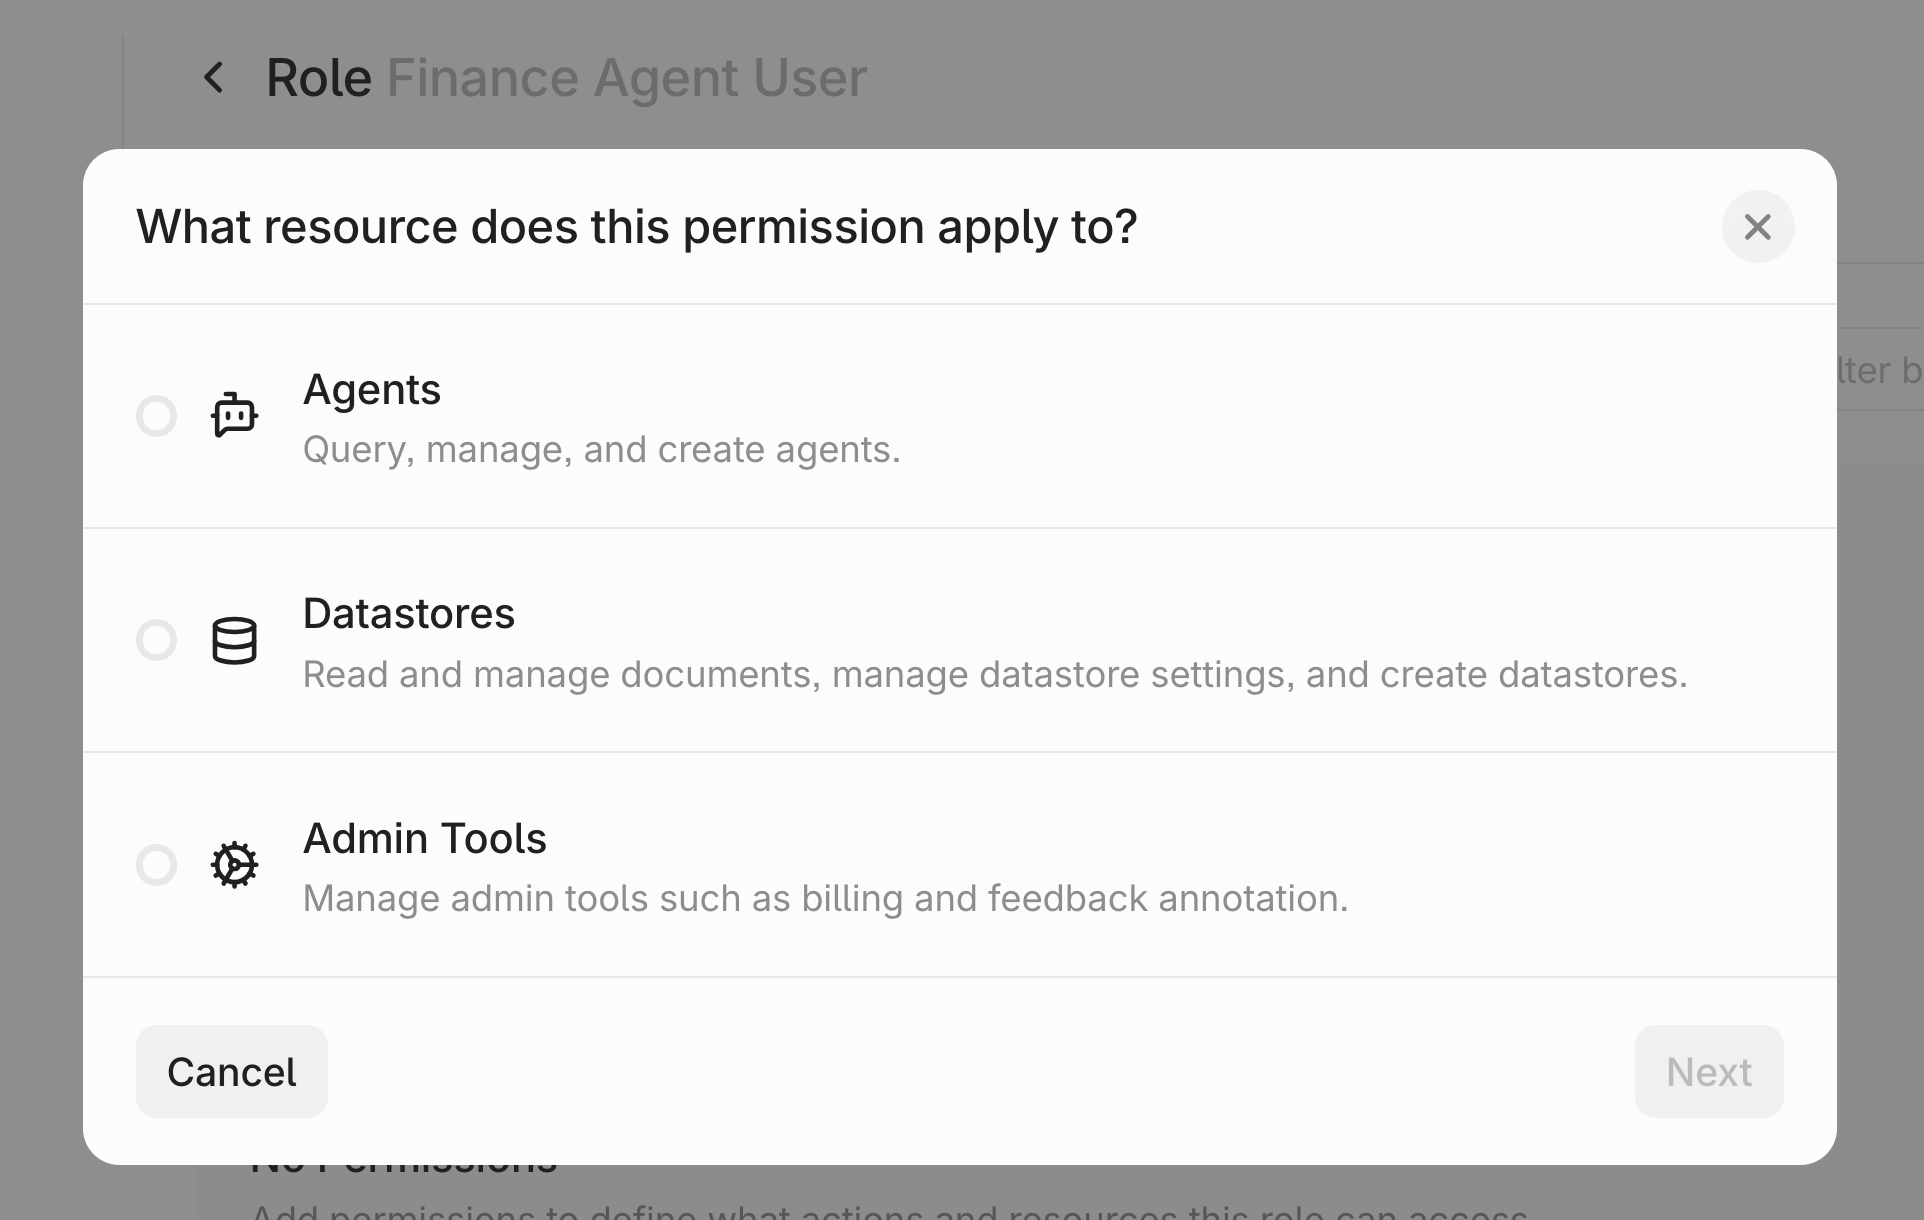
Agents: Select this to give permissions on an agentDatastores: Select this to give permissions on a DatastoreAdmin Tools: Select this to give access to admin functions like billing and annotating feedback.
Configuring Agent Permissions
On the left, you’ll see a list of available permissions. Each defines what actions the Role can take.Query Agents: This permission will let assigned users query the agent.Manage Agents: This permission will let assigned users query the agent and edit its configs. It is a superset ofQuery Agents.Create Agents: This permission will let assigned users create an agent.
- For
Query AgentsandManage Agents, you can select specific agents or selectAll Agents. - The
Create Agentspermission will apply globally.
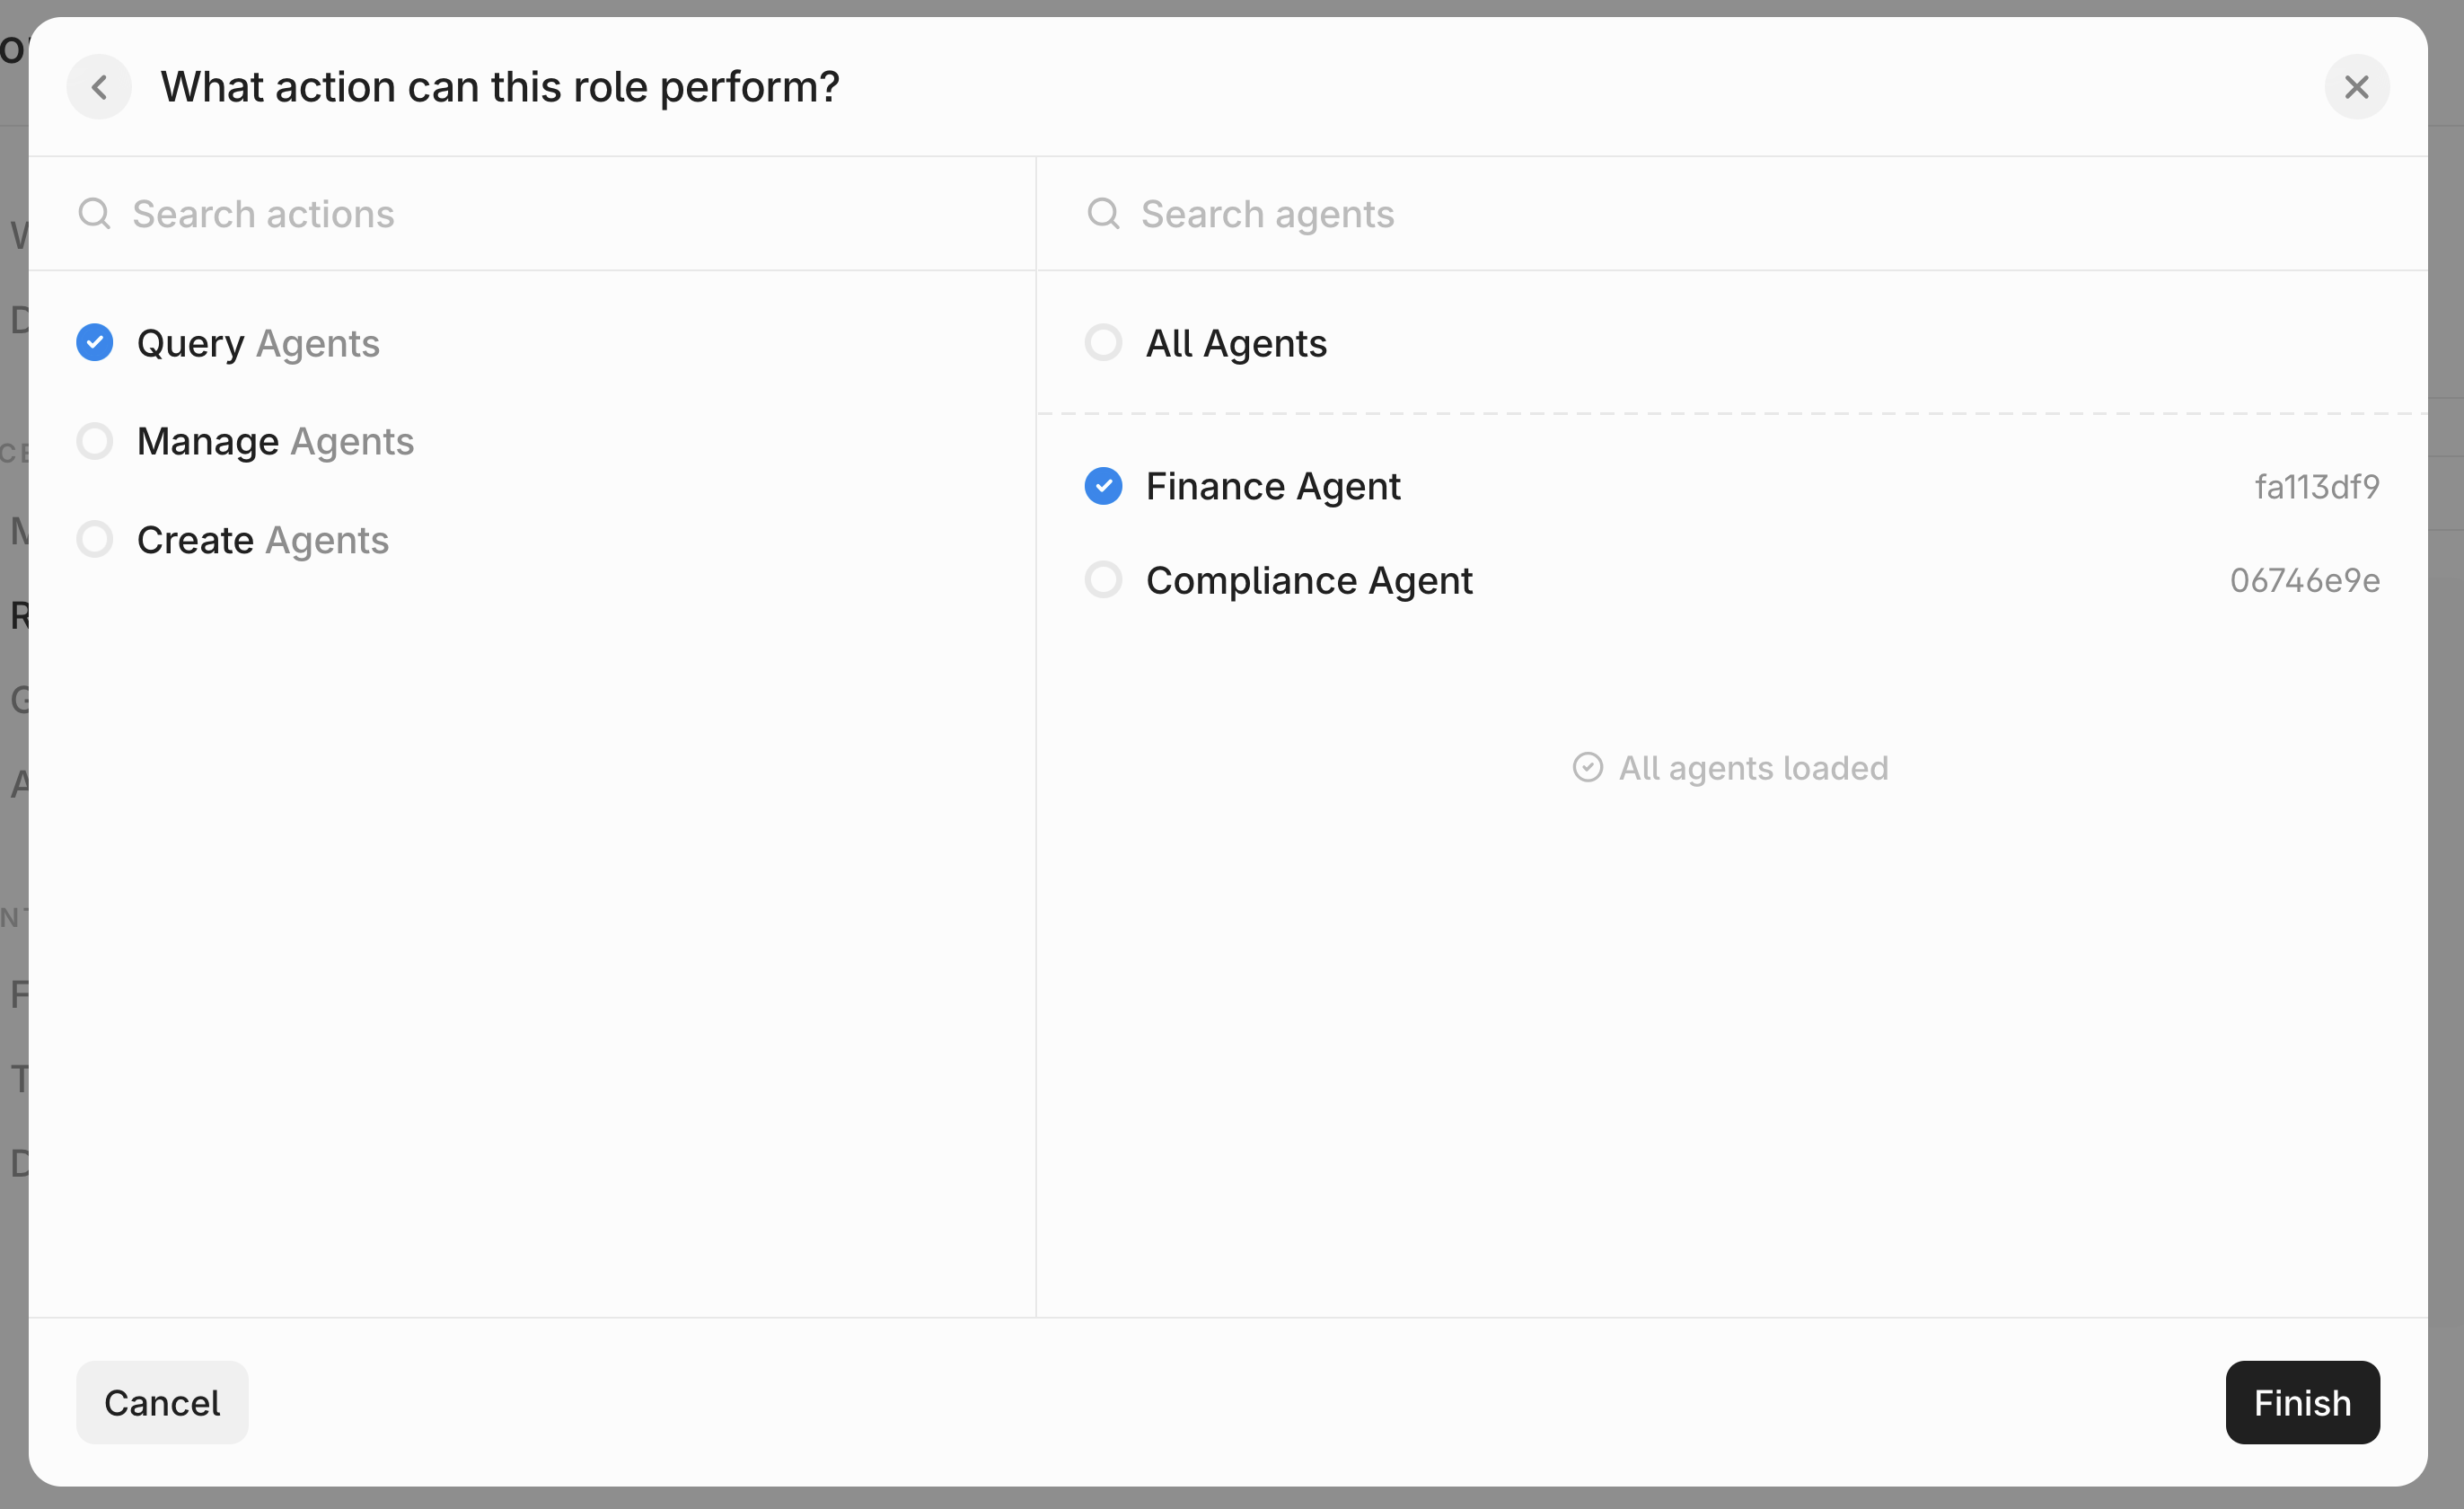
Important: To query data from an agent’s linked datastores, a user must have both (i)
Query Agents or Manage Agents and (ii) Read Documents (or higher) on the specific datastores. This ensures that when an agent is linked to multiple datastores, users can only query the ones they are permitted to access.Example:Agent_1is linked toDatastore_1andDatastore_2.- The user has
Query AgentsonAgent_1andRead DocumentsonDatastore_1only. - As a result, only documents from
Datastore_1will be retrieved.
Configuring Datastore Permissions
On the left, you’ll see a list of available permissions. Each defines what actions the Role can take.Read Documents: This permission will let assigned users see the datastore and read documents inside.Manage Documents: This permission will let assigned users read documents, as well as upload/delete them. It is a superset ofRead Documents.Manage Datastores: This permission will let assigned users manage documents, as well as edit the datastore configs. It is a superset ofManage Documents.Create Datastores: This permission will let assigned users create a datastore.
- For
Read Documents,Manage DocumentsandManage Datastores, you can select specific datastores or selectAll Datastores. - The
Create Datastorespermission will apply globally.
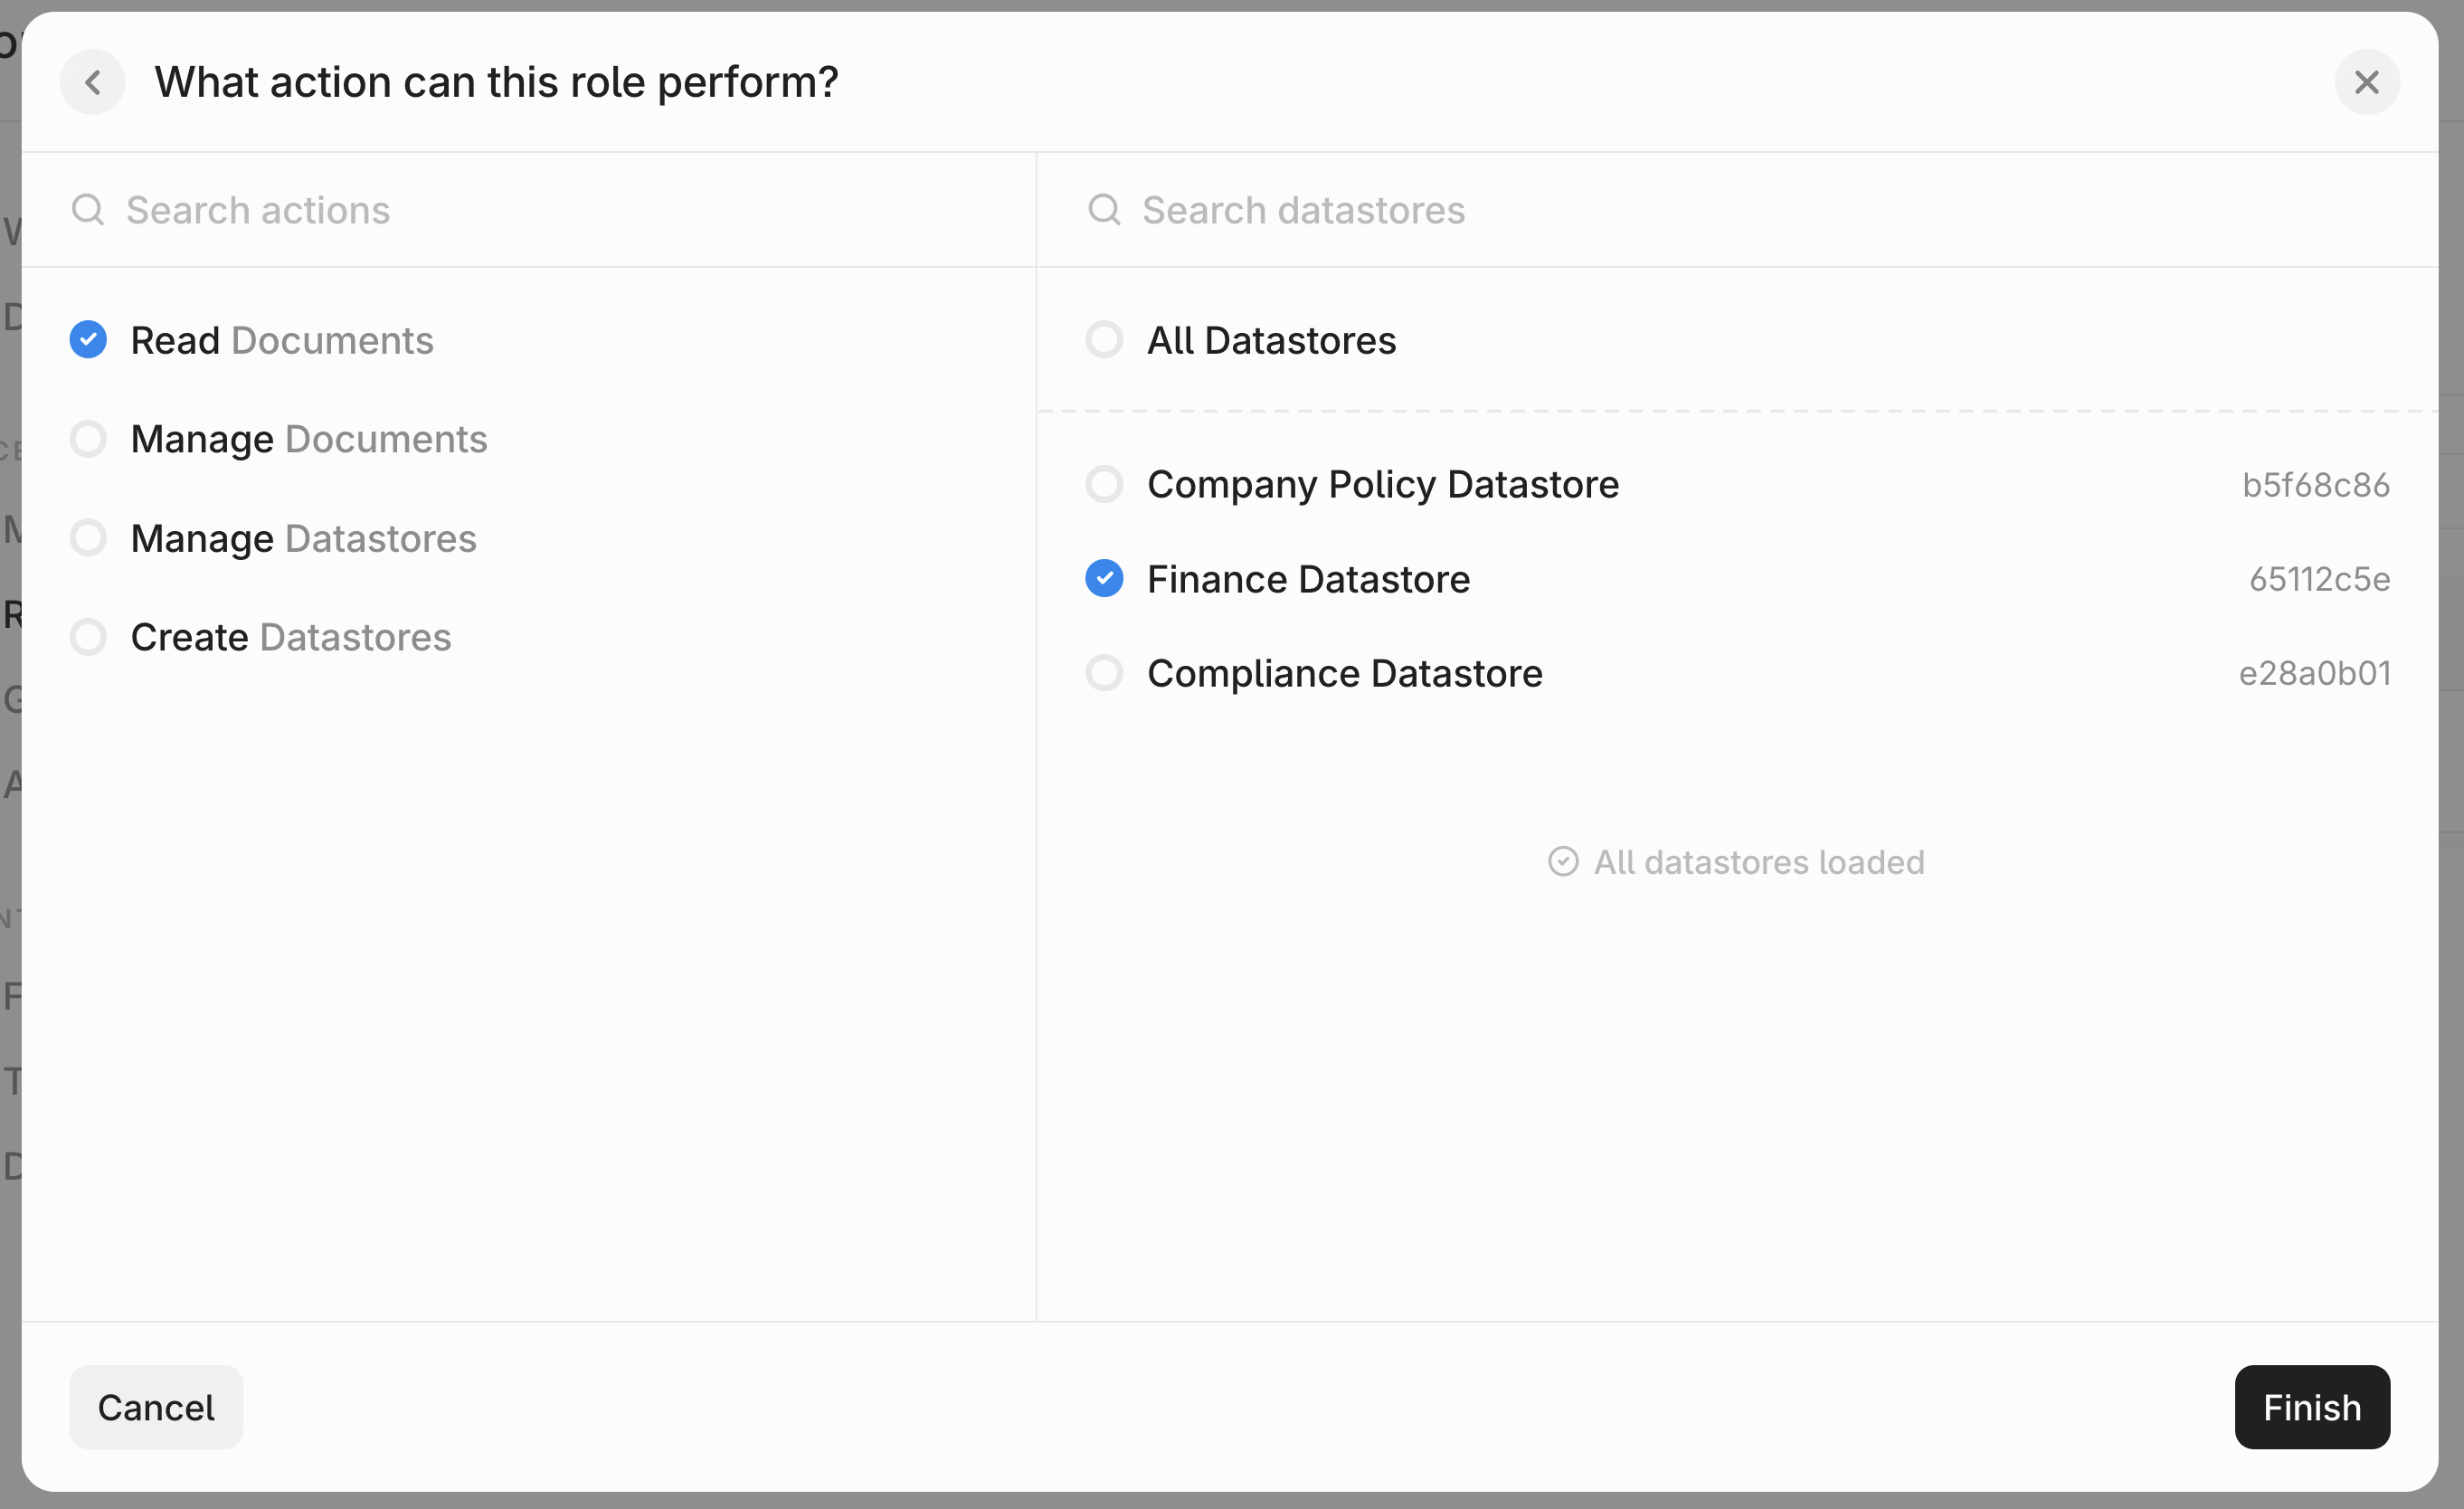
Important: To query data from an agent’s linked datastores, a user must have both (i)
Query Agents or Manage Agents and (ii) Read Documents (or higher) on the specific datastores. This ensures that when an agent is linked to multiple datastores, users can only query the ones they are permitted to access.Configuring Admin Permissions
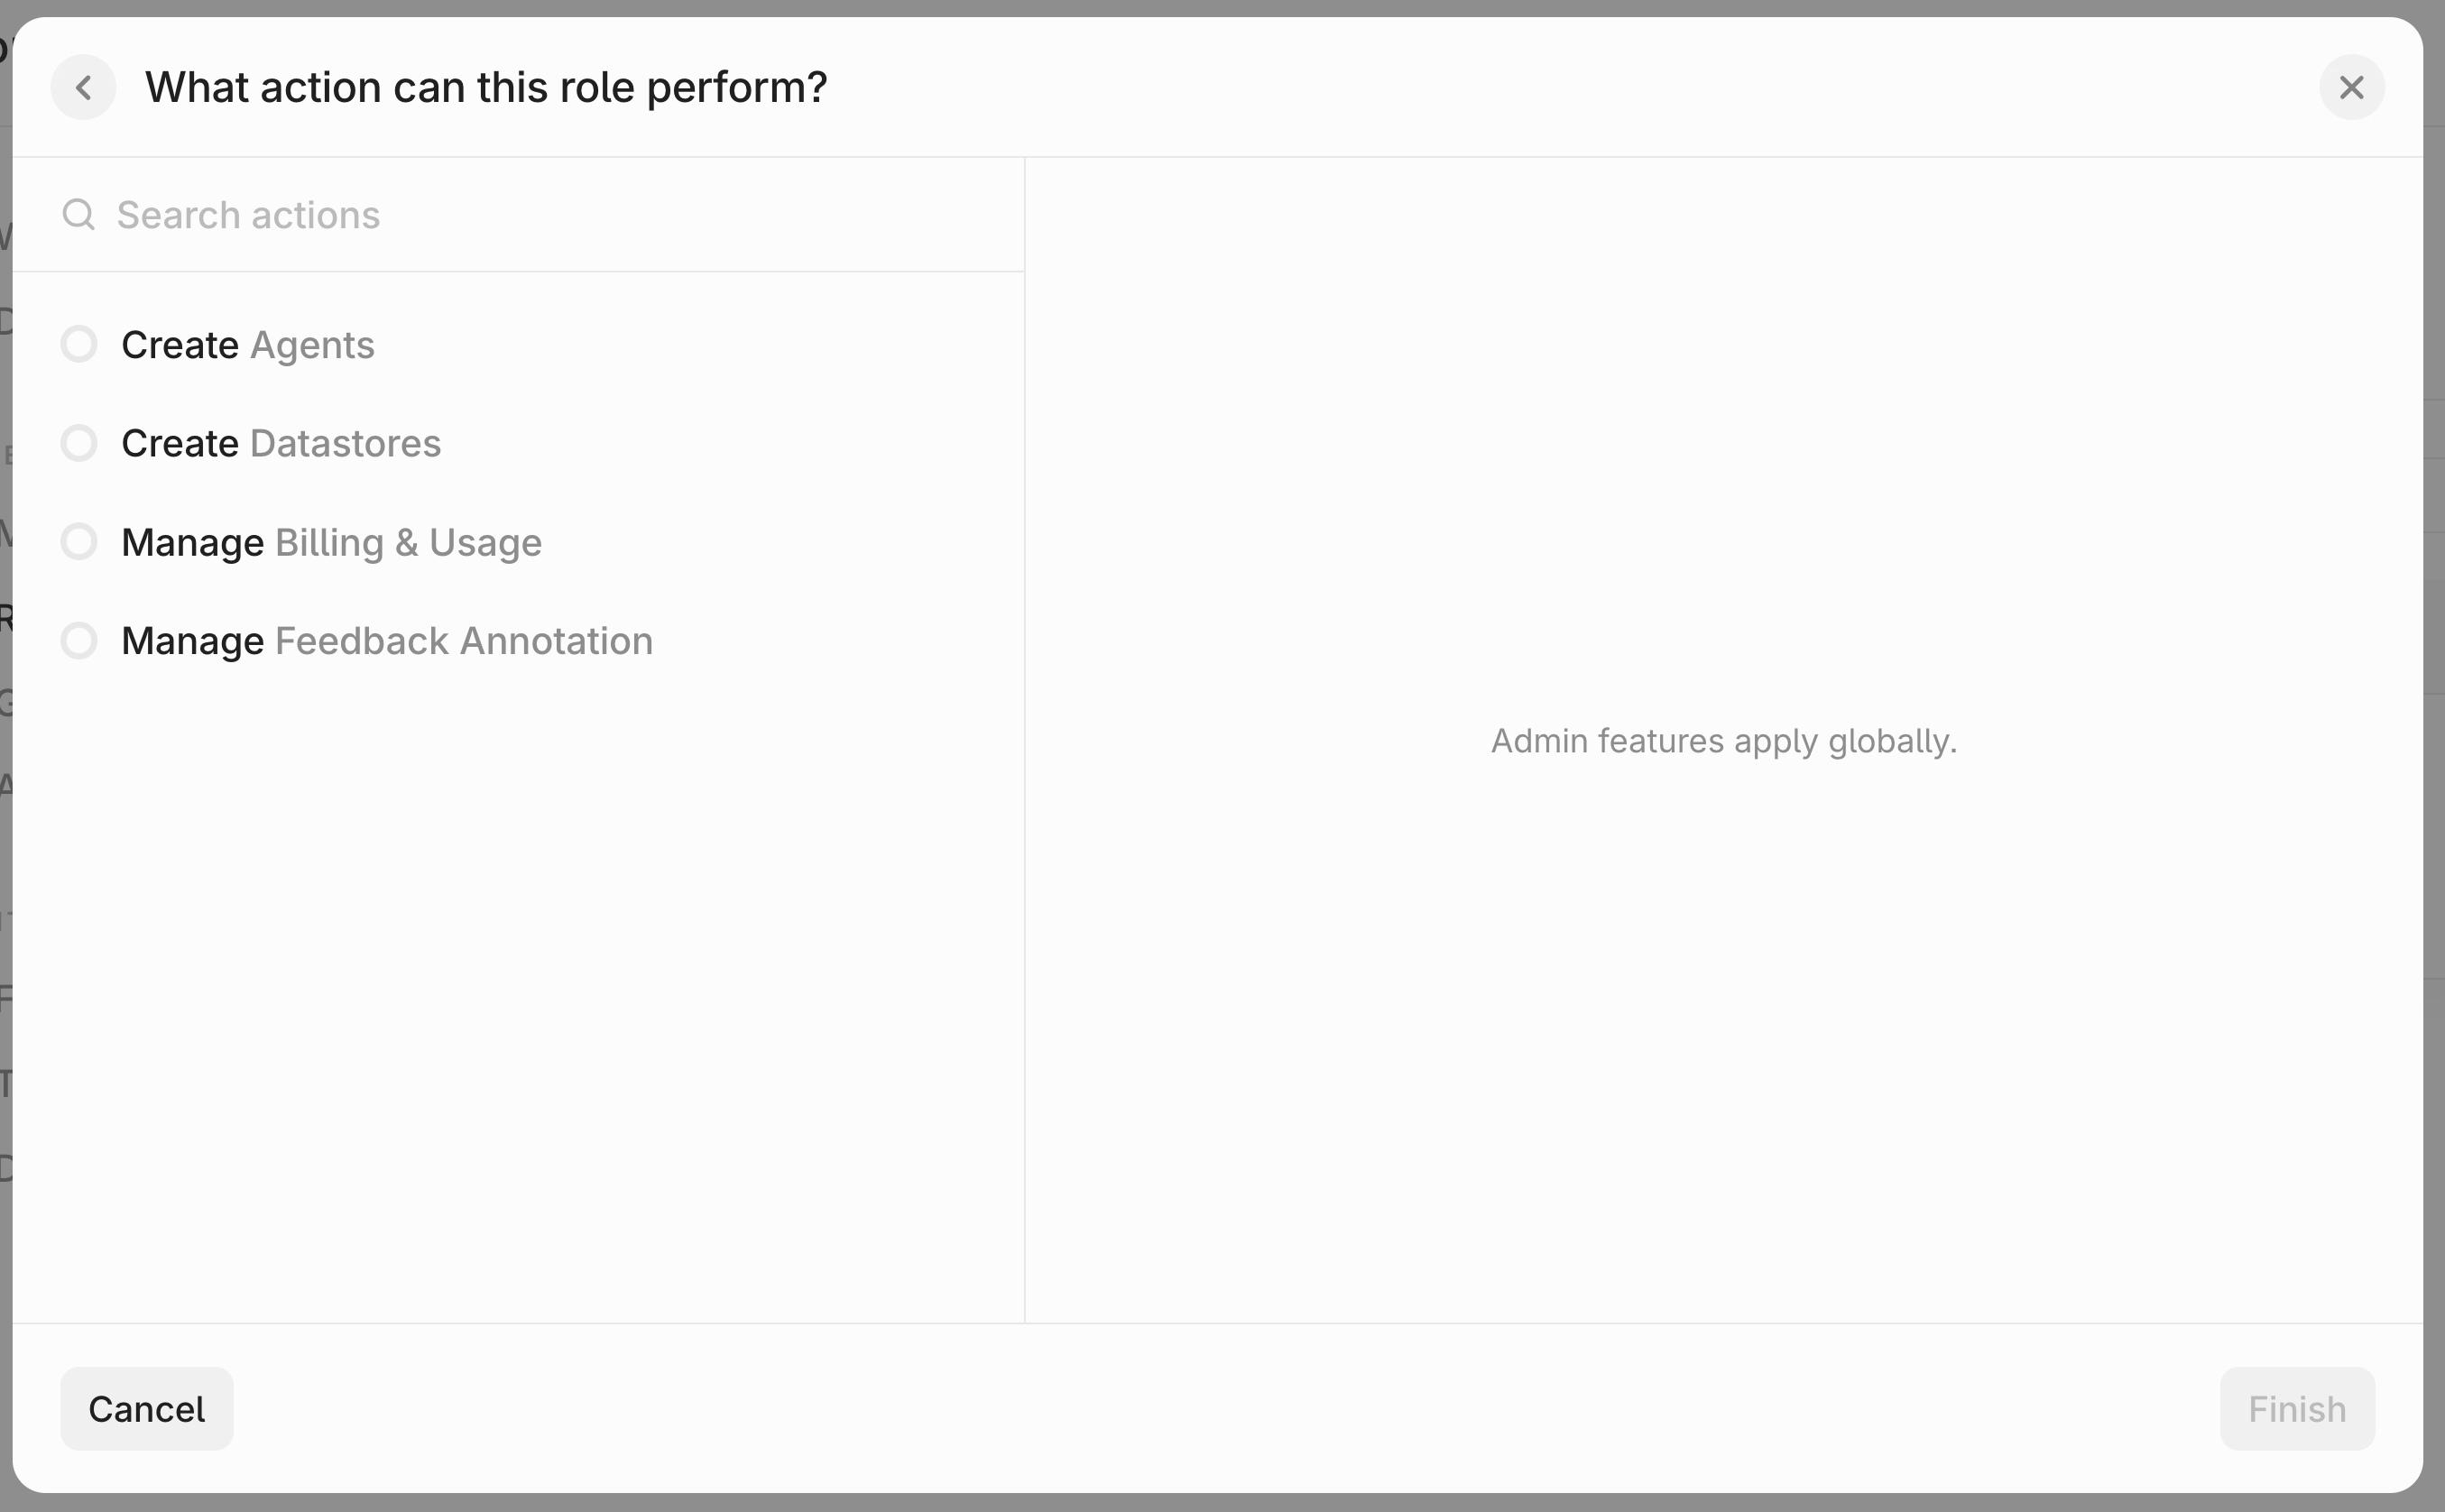
On the left, you’ll see a list of available permissions. Each defines what actions the Role can take.Create Agents: This permission will let assigned users create an agent.Create Datastores: This permission will let assigned users create a datastore.Manage Billing & Usage: This permission will let assigned users view and configure theBillingpage.Manage Feedback Annotation: This permission will let assigned users view and annotate agent-level feedback.
Review your Permissions
Review all the permissions that you have provisioned for the Role. You can add more permissions or remove existing ones by clicking on the three dots beside each permission and clicking “Remove”.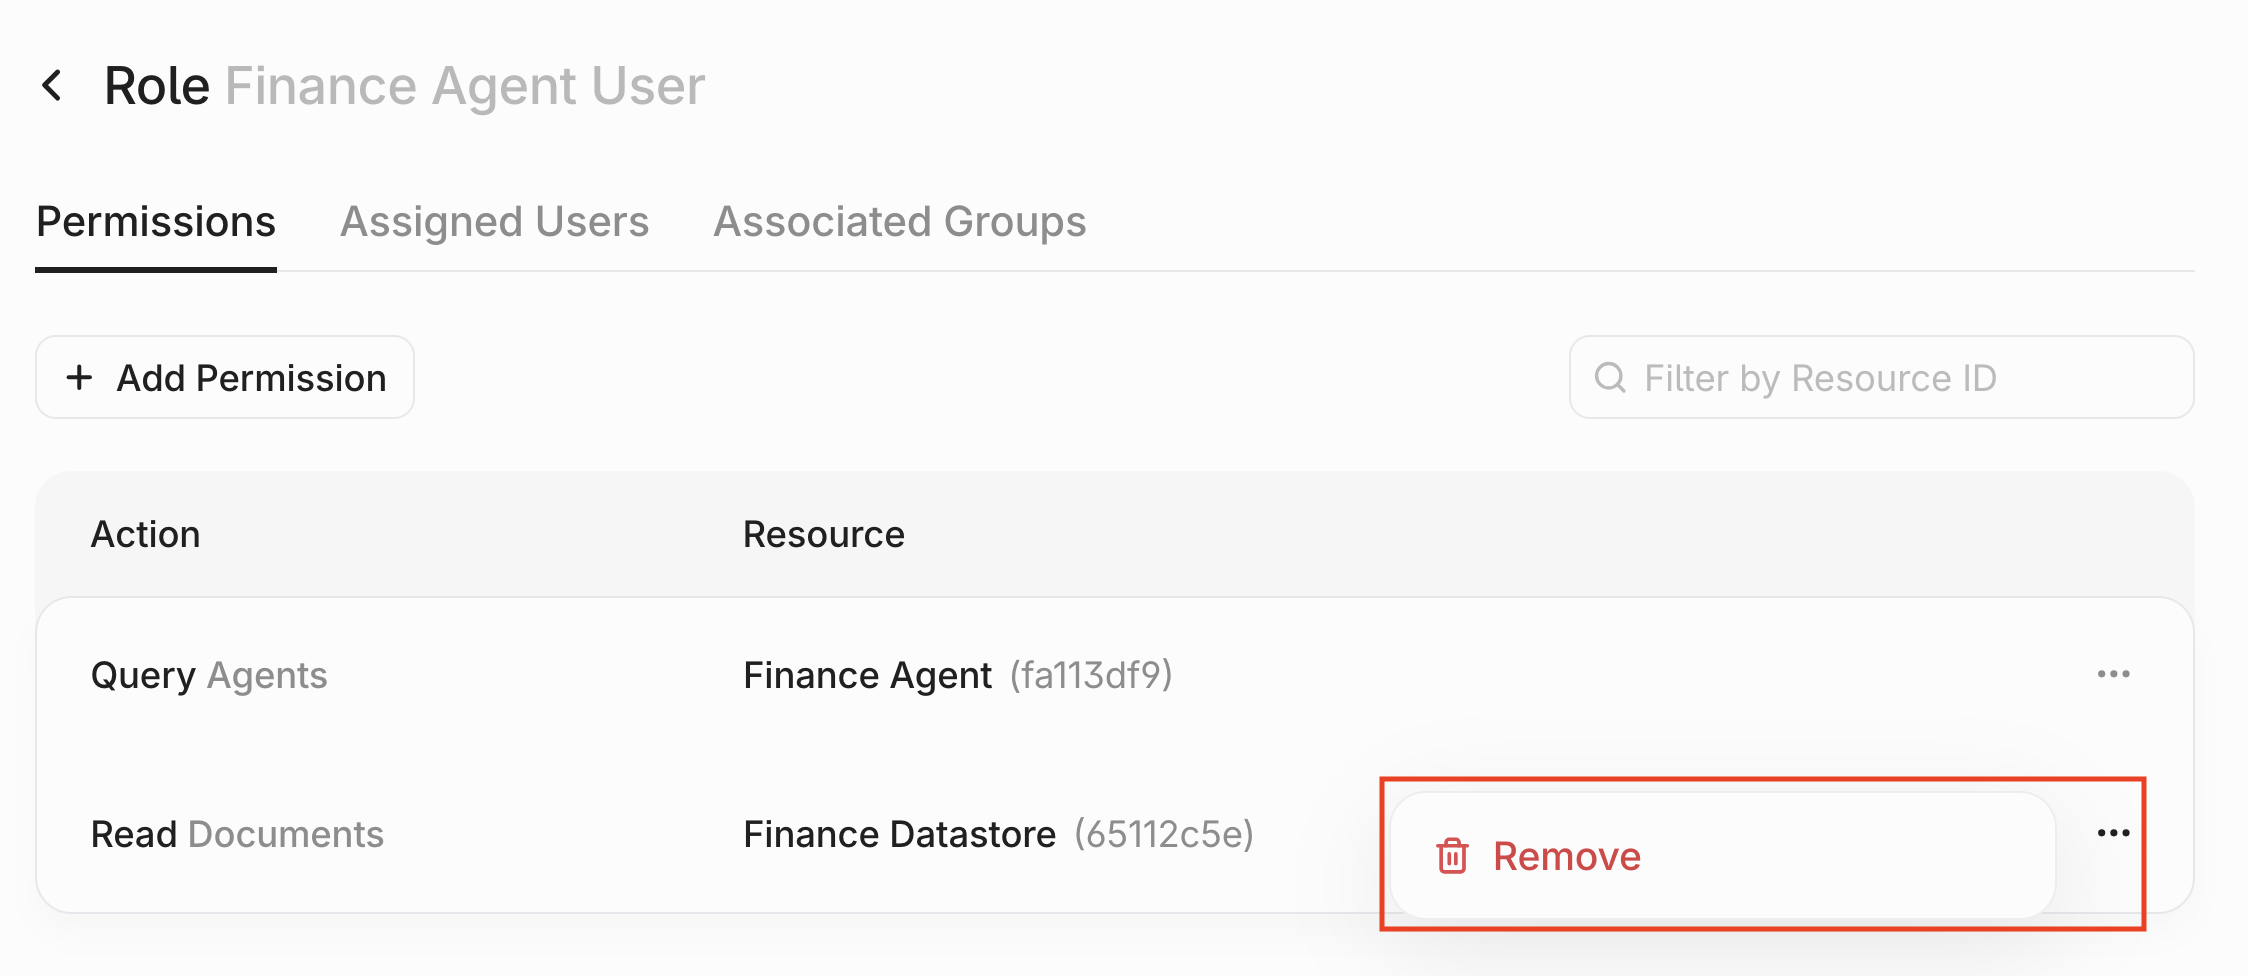
Assigning a User to a Role
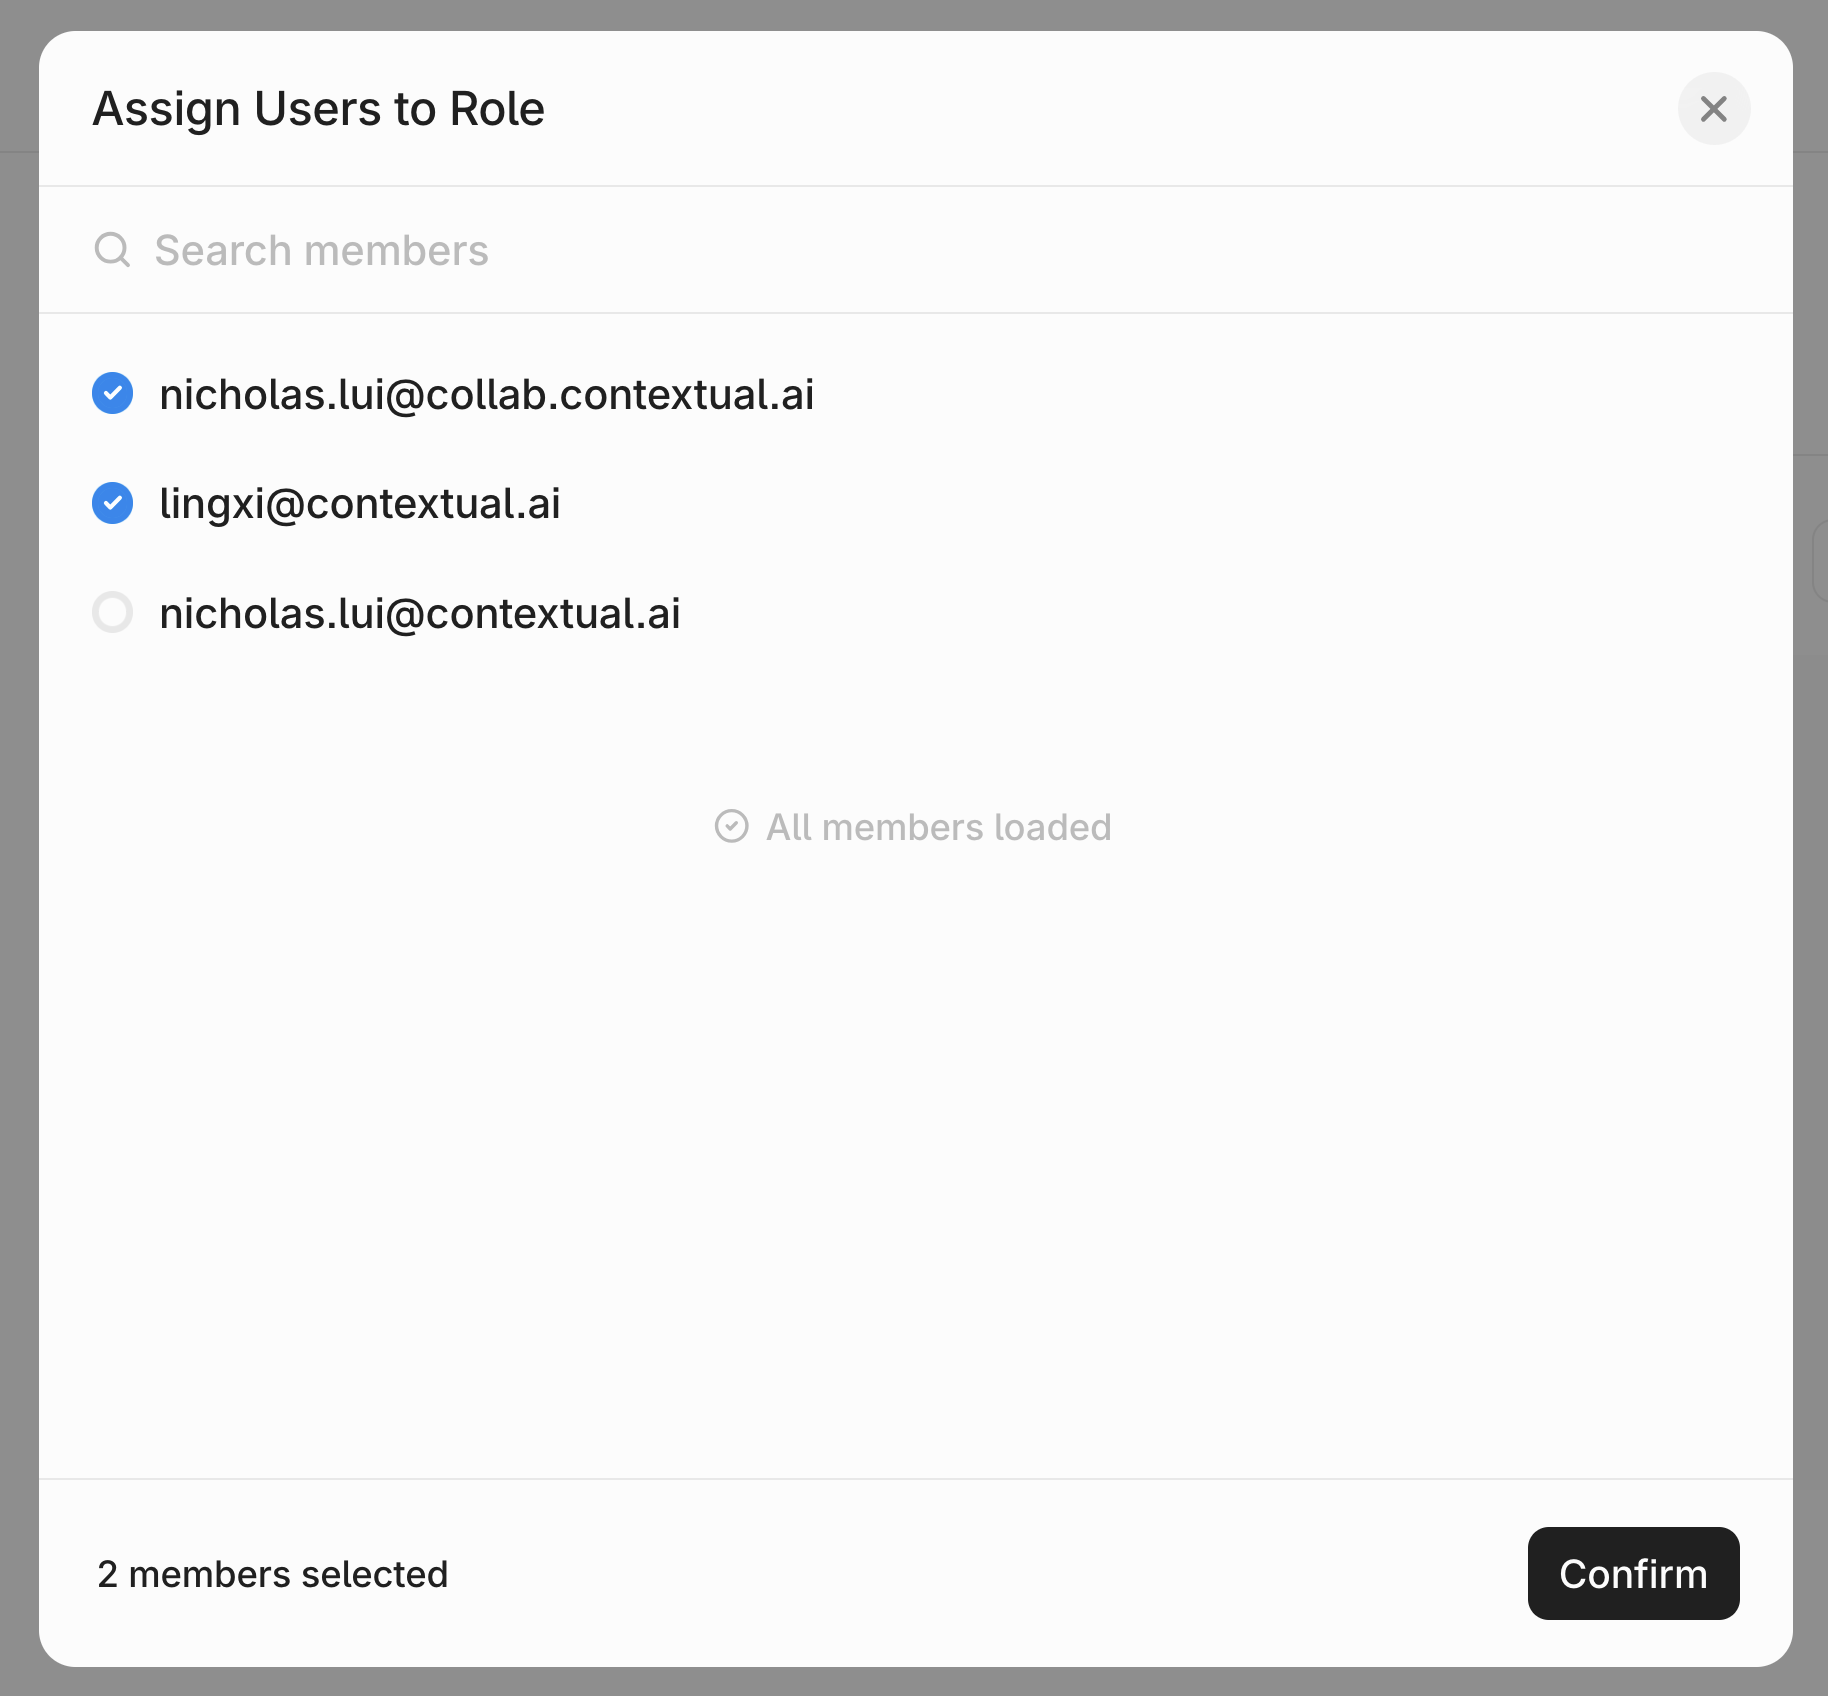
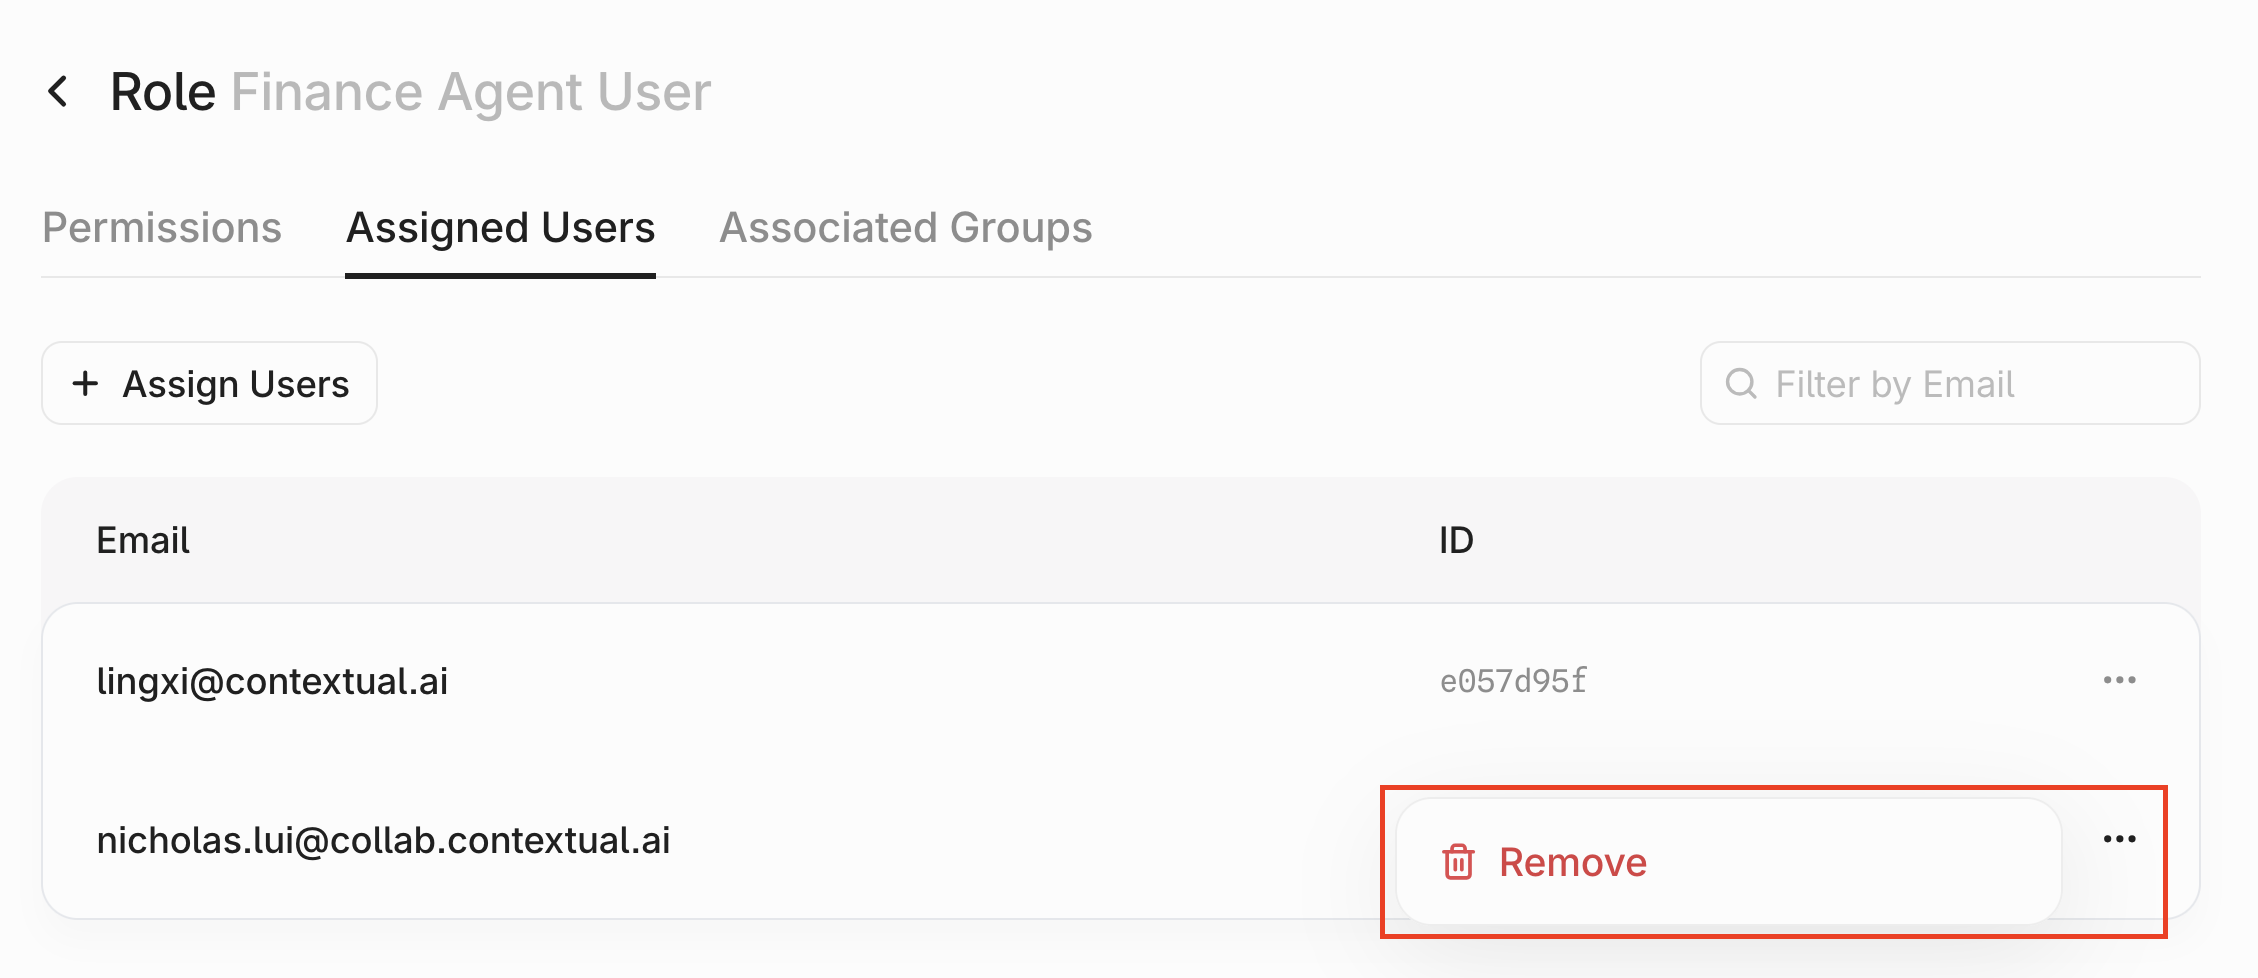
To assign a user to the Role, click theAssigned Users tab in the Roles Page.

Dealing with Role Conflicts
If a user is assigned to two roles with different permissions on the same object, we will take the union of permissions. Example:- User is assigned to
Role Awhich is givenQuery AgentsonAll Agents - User is also assigned to
Role Bwhich is given the higher-levelManage AgentsonAgent A. - Outcome:
- User will have
Manage AgentsonAgent A - User will have
Query Agentson every other agent.
- User will have
Managing Roles
After creating a Role, you can return to its configuration page at any time. To do so, navigate to the Roles page and click on the Role you want to edit.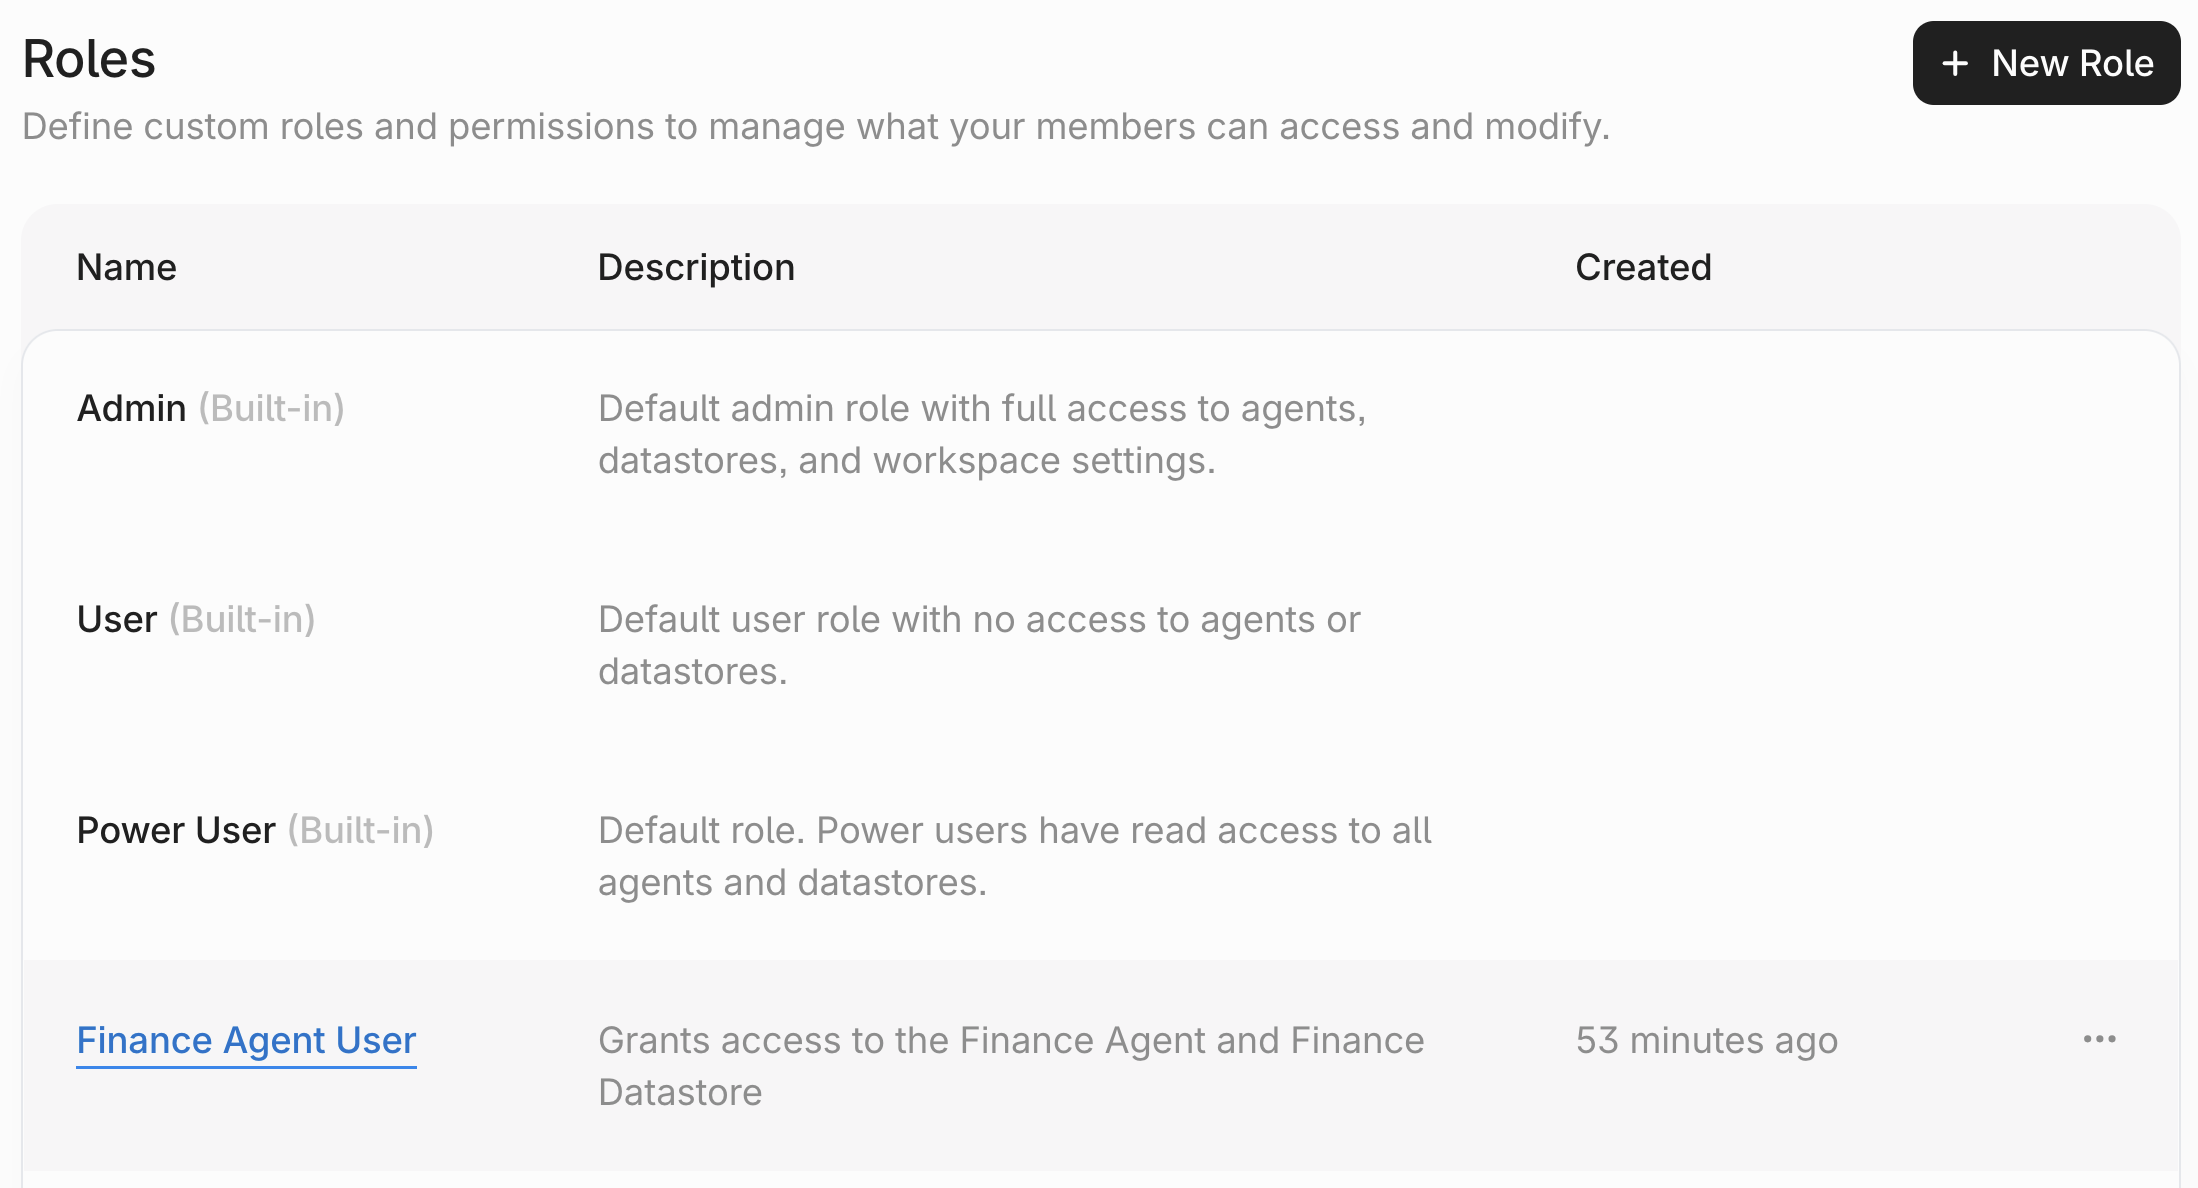

Creating Agents and Datastores
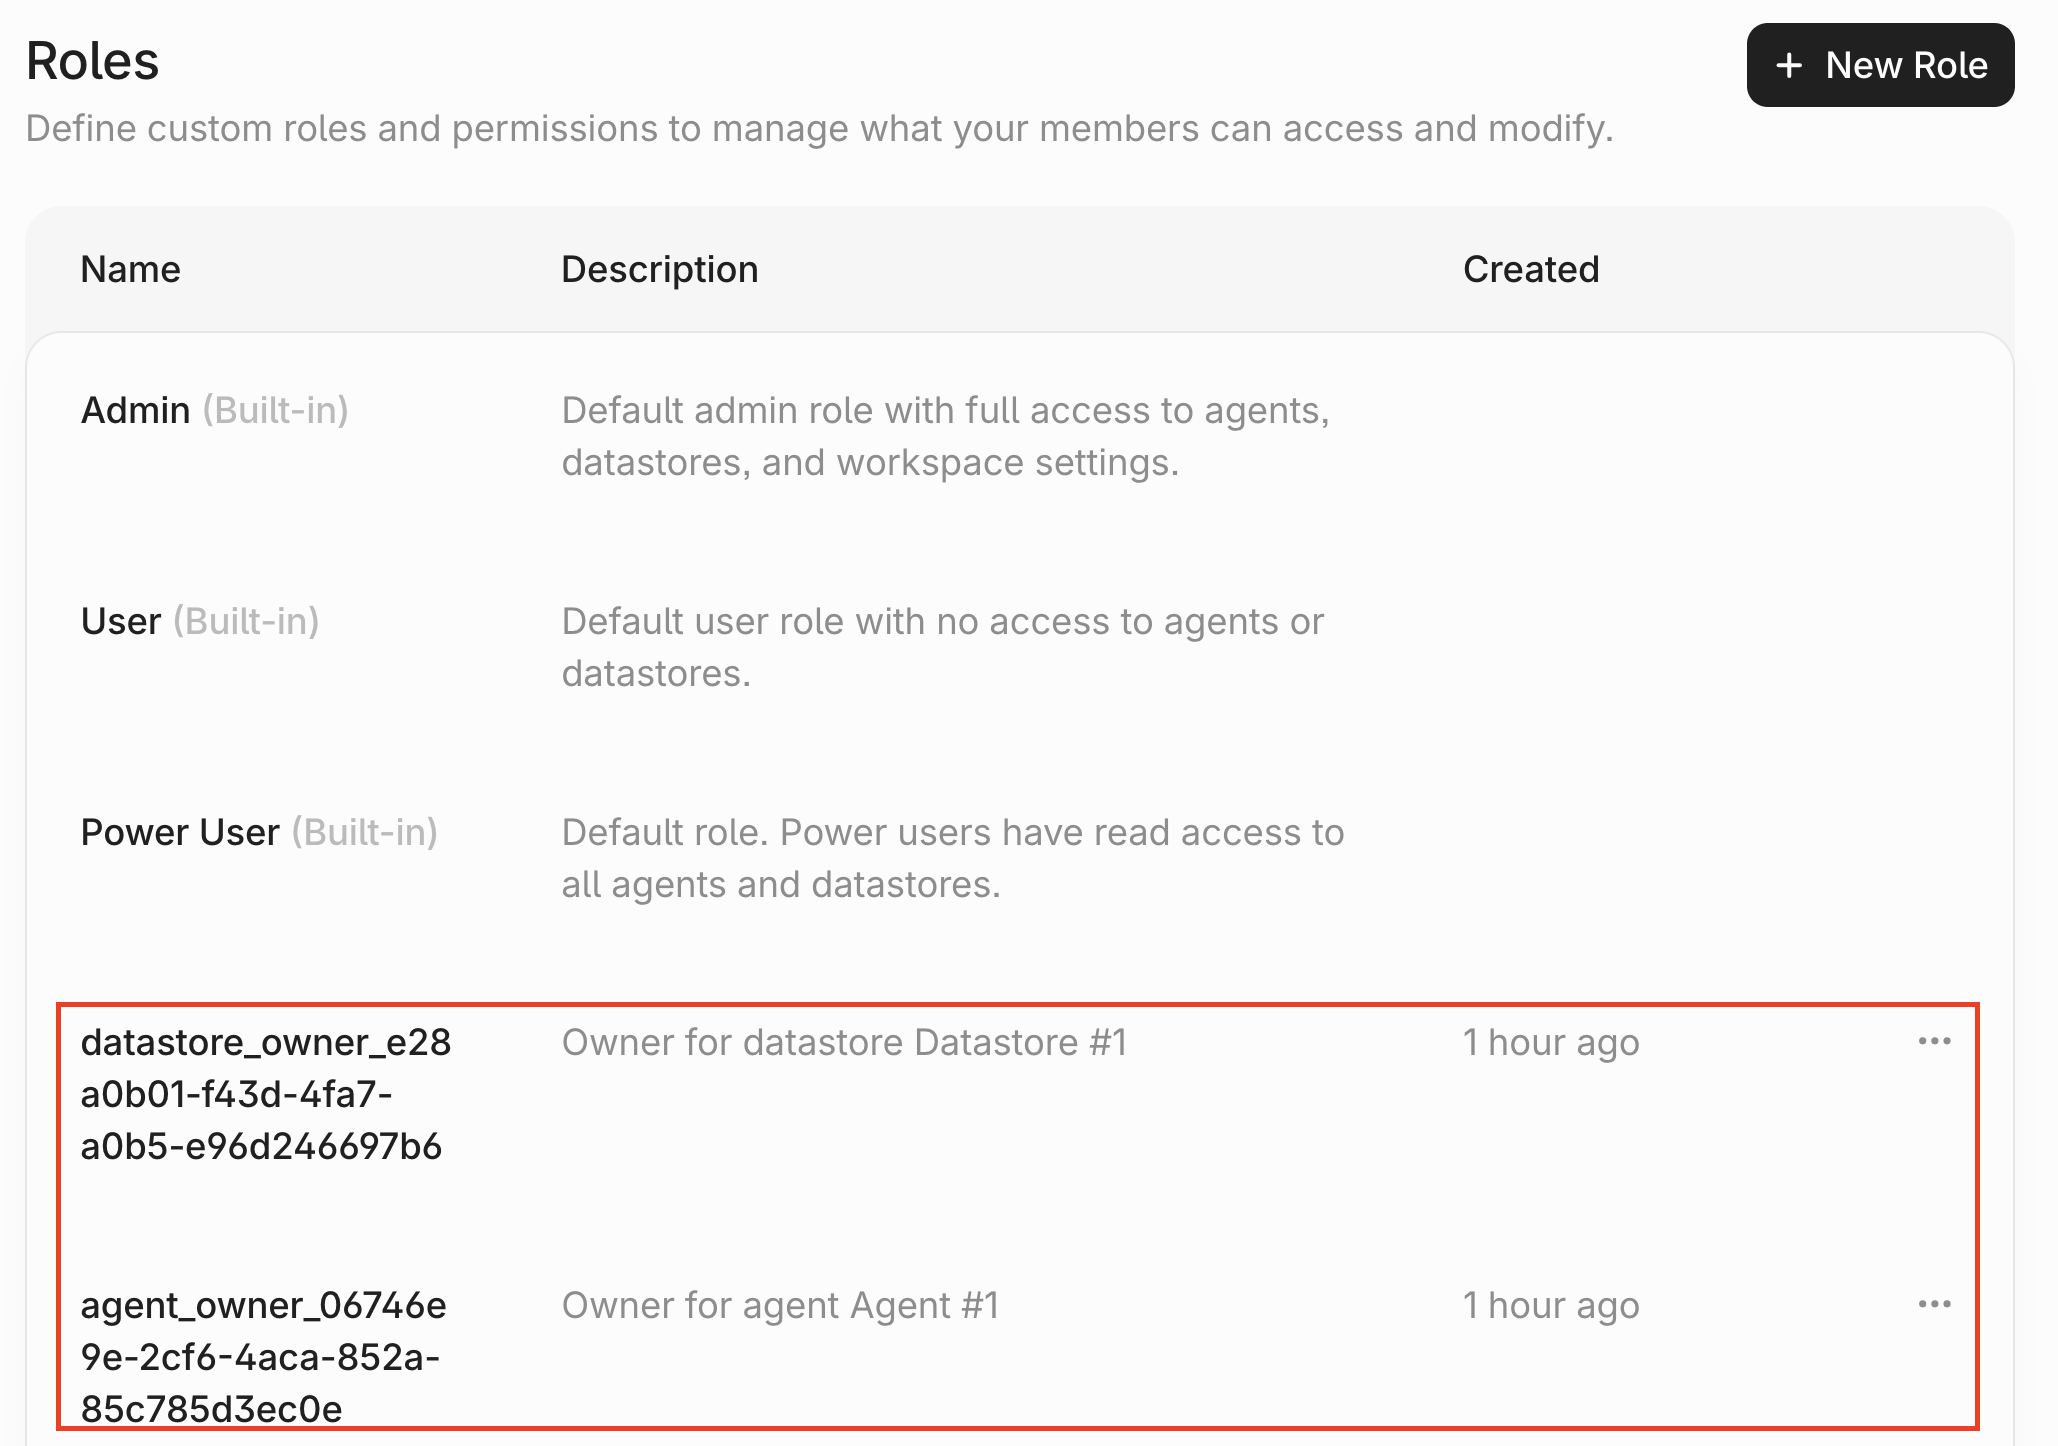
If a user has created an Agent or Datastore, an owner Role will automatically be created withManage Agent or Manage Datastore permissions. The user will automatically be assigned to that Role.
Groups
Navigating to the Groups page
Groups can help simplify access management. You can add multiple users to a Group and assign the Group to a Role. First, clickSettings under Admin in the side-panel.
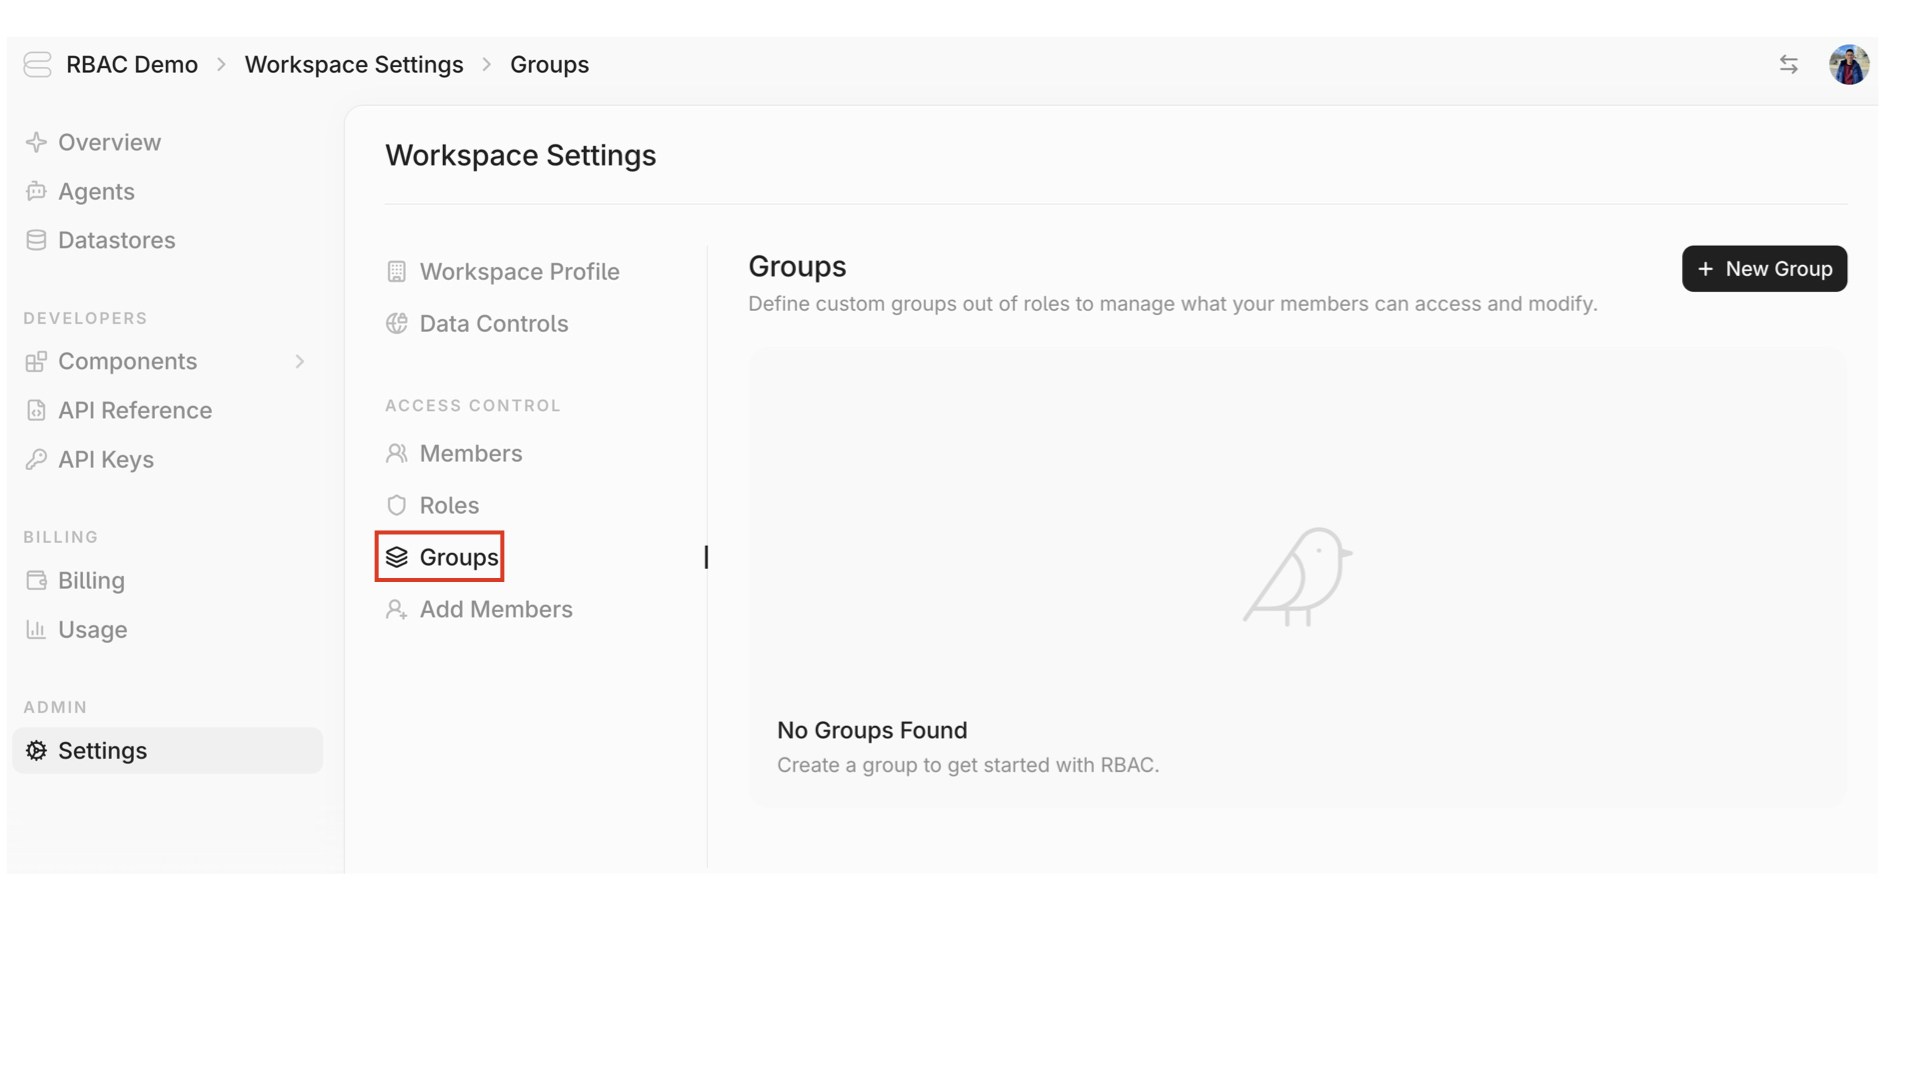
Creating a Group
Click “New Group”.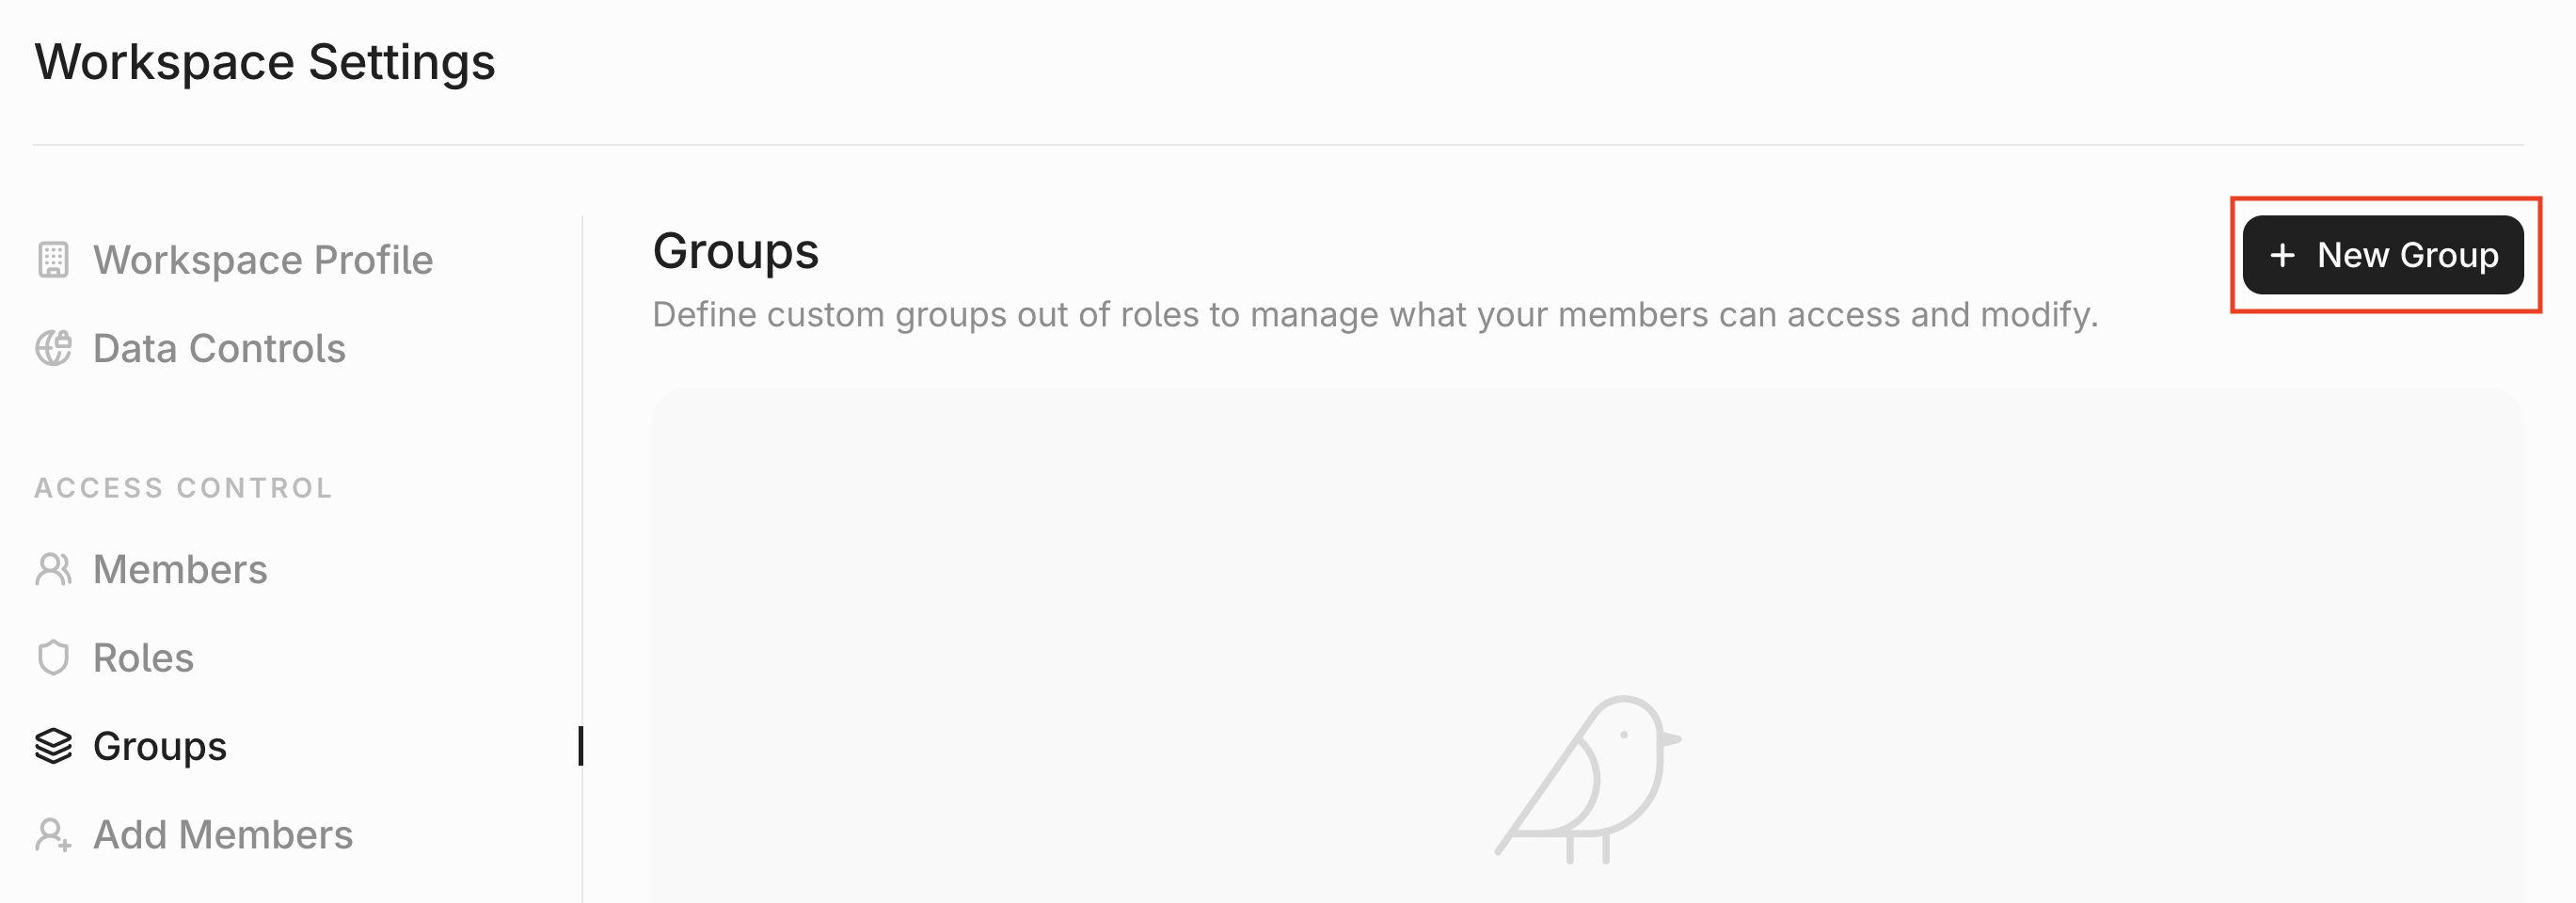

Assigning Users to the Group
Click the tab “Assigned Users”.

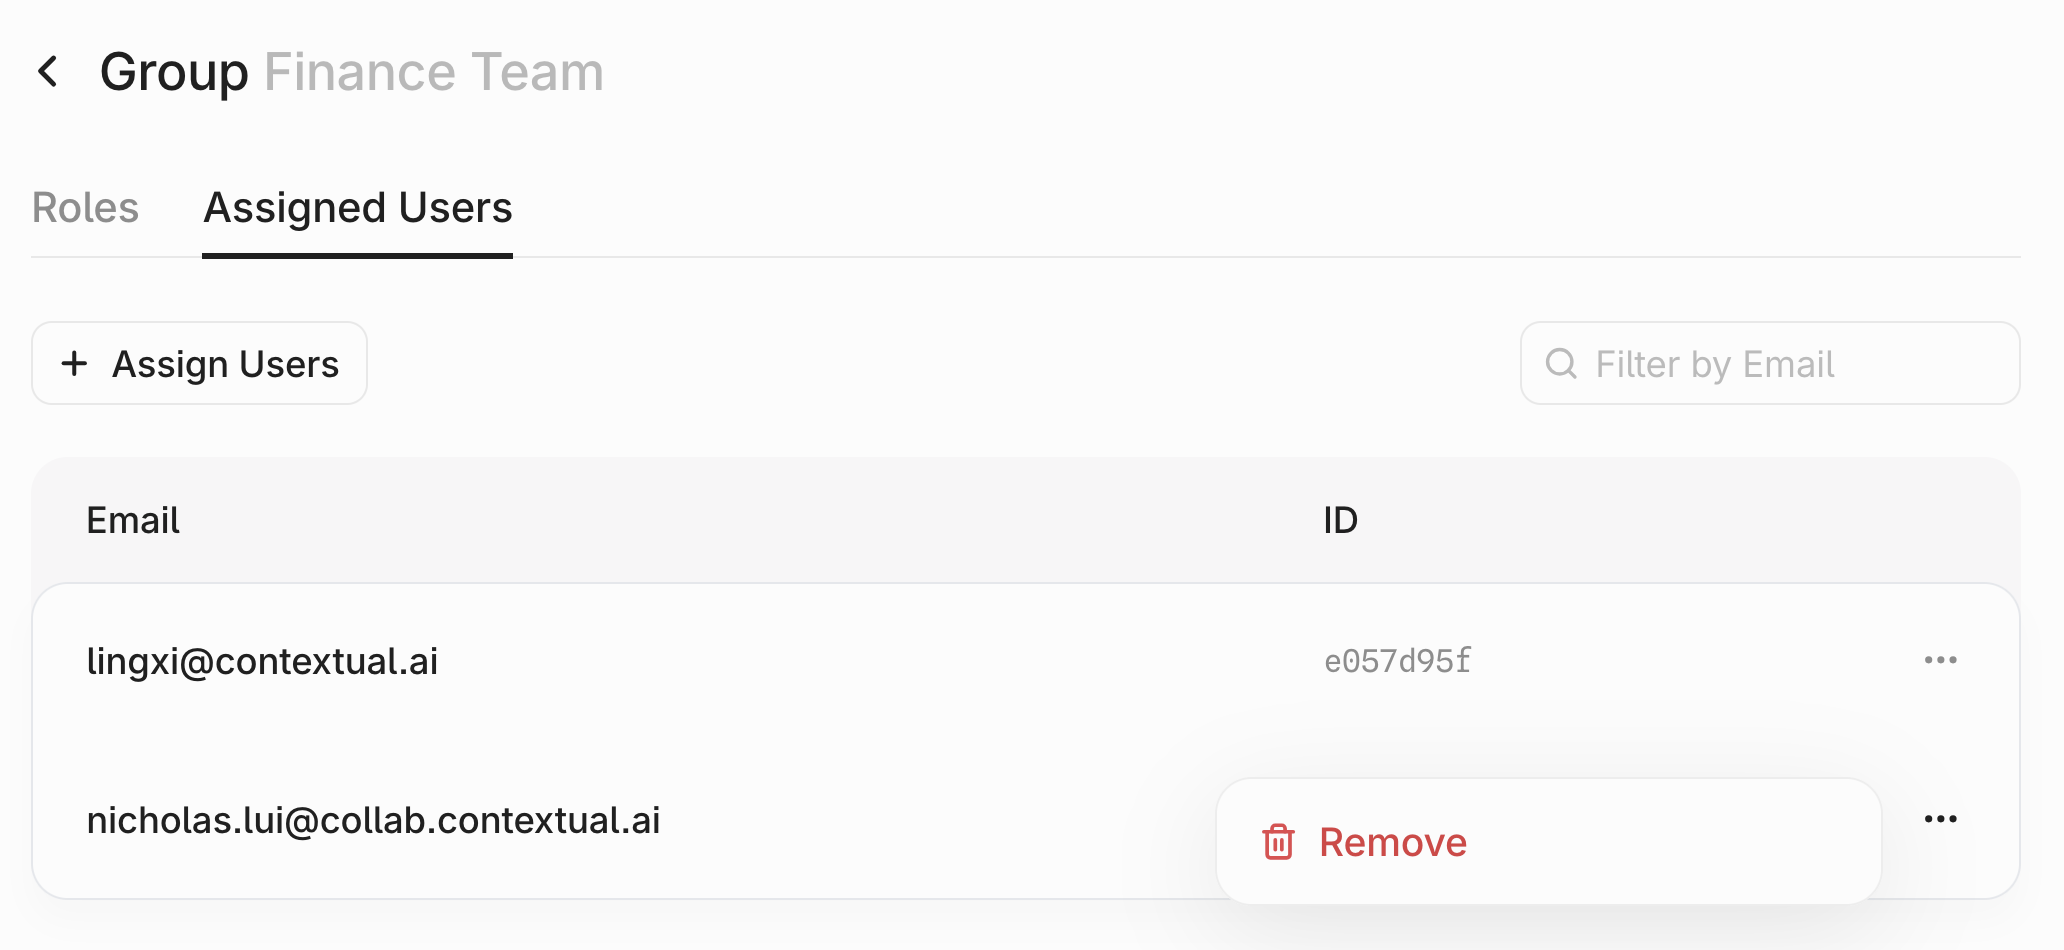
Associating a Group with a Role
Navigate to the first tab: “Roles”.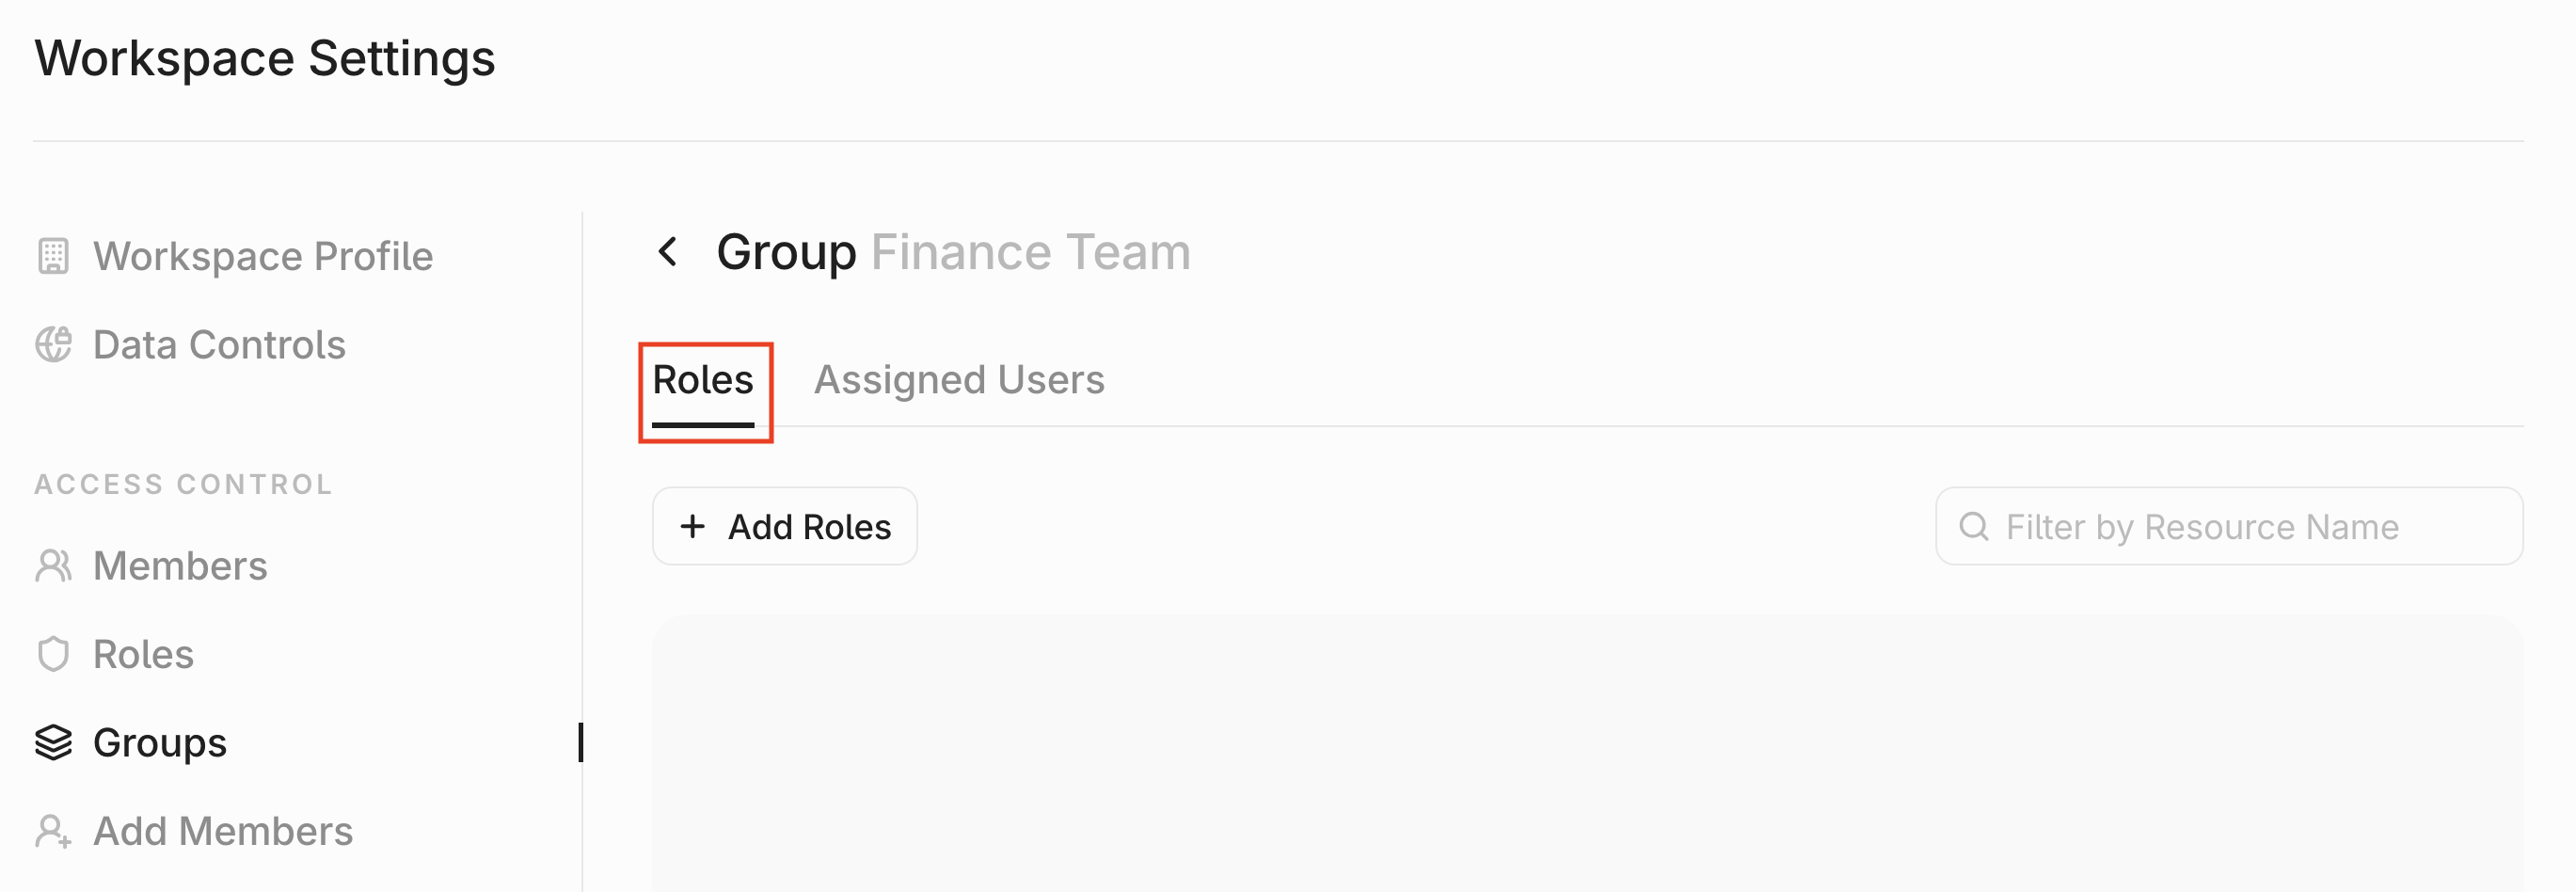
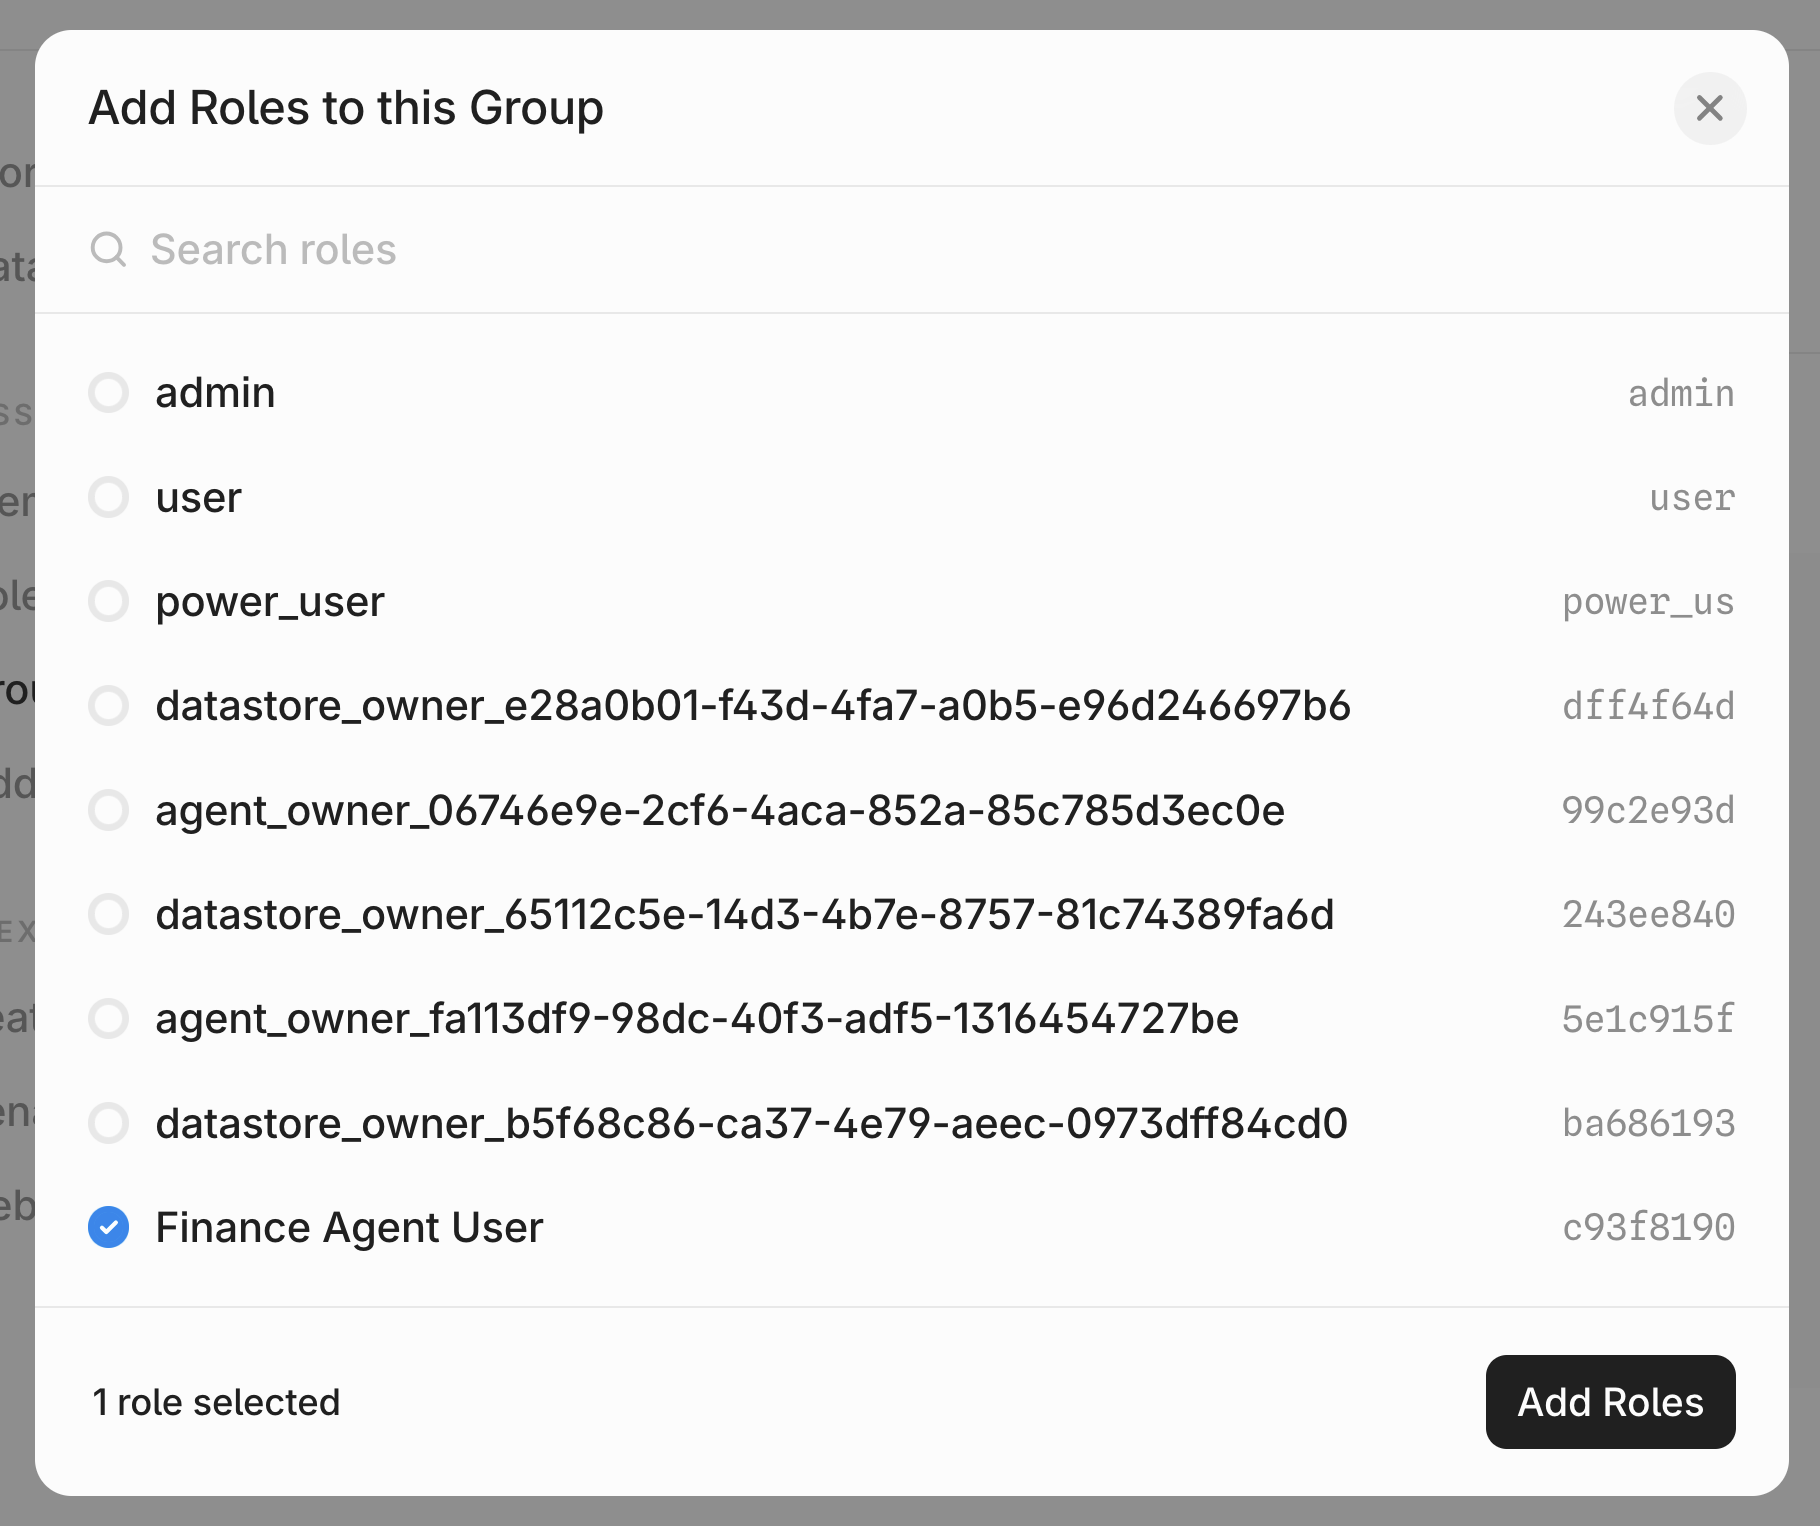
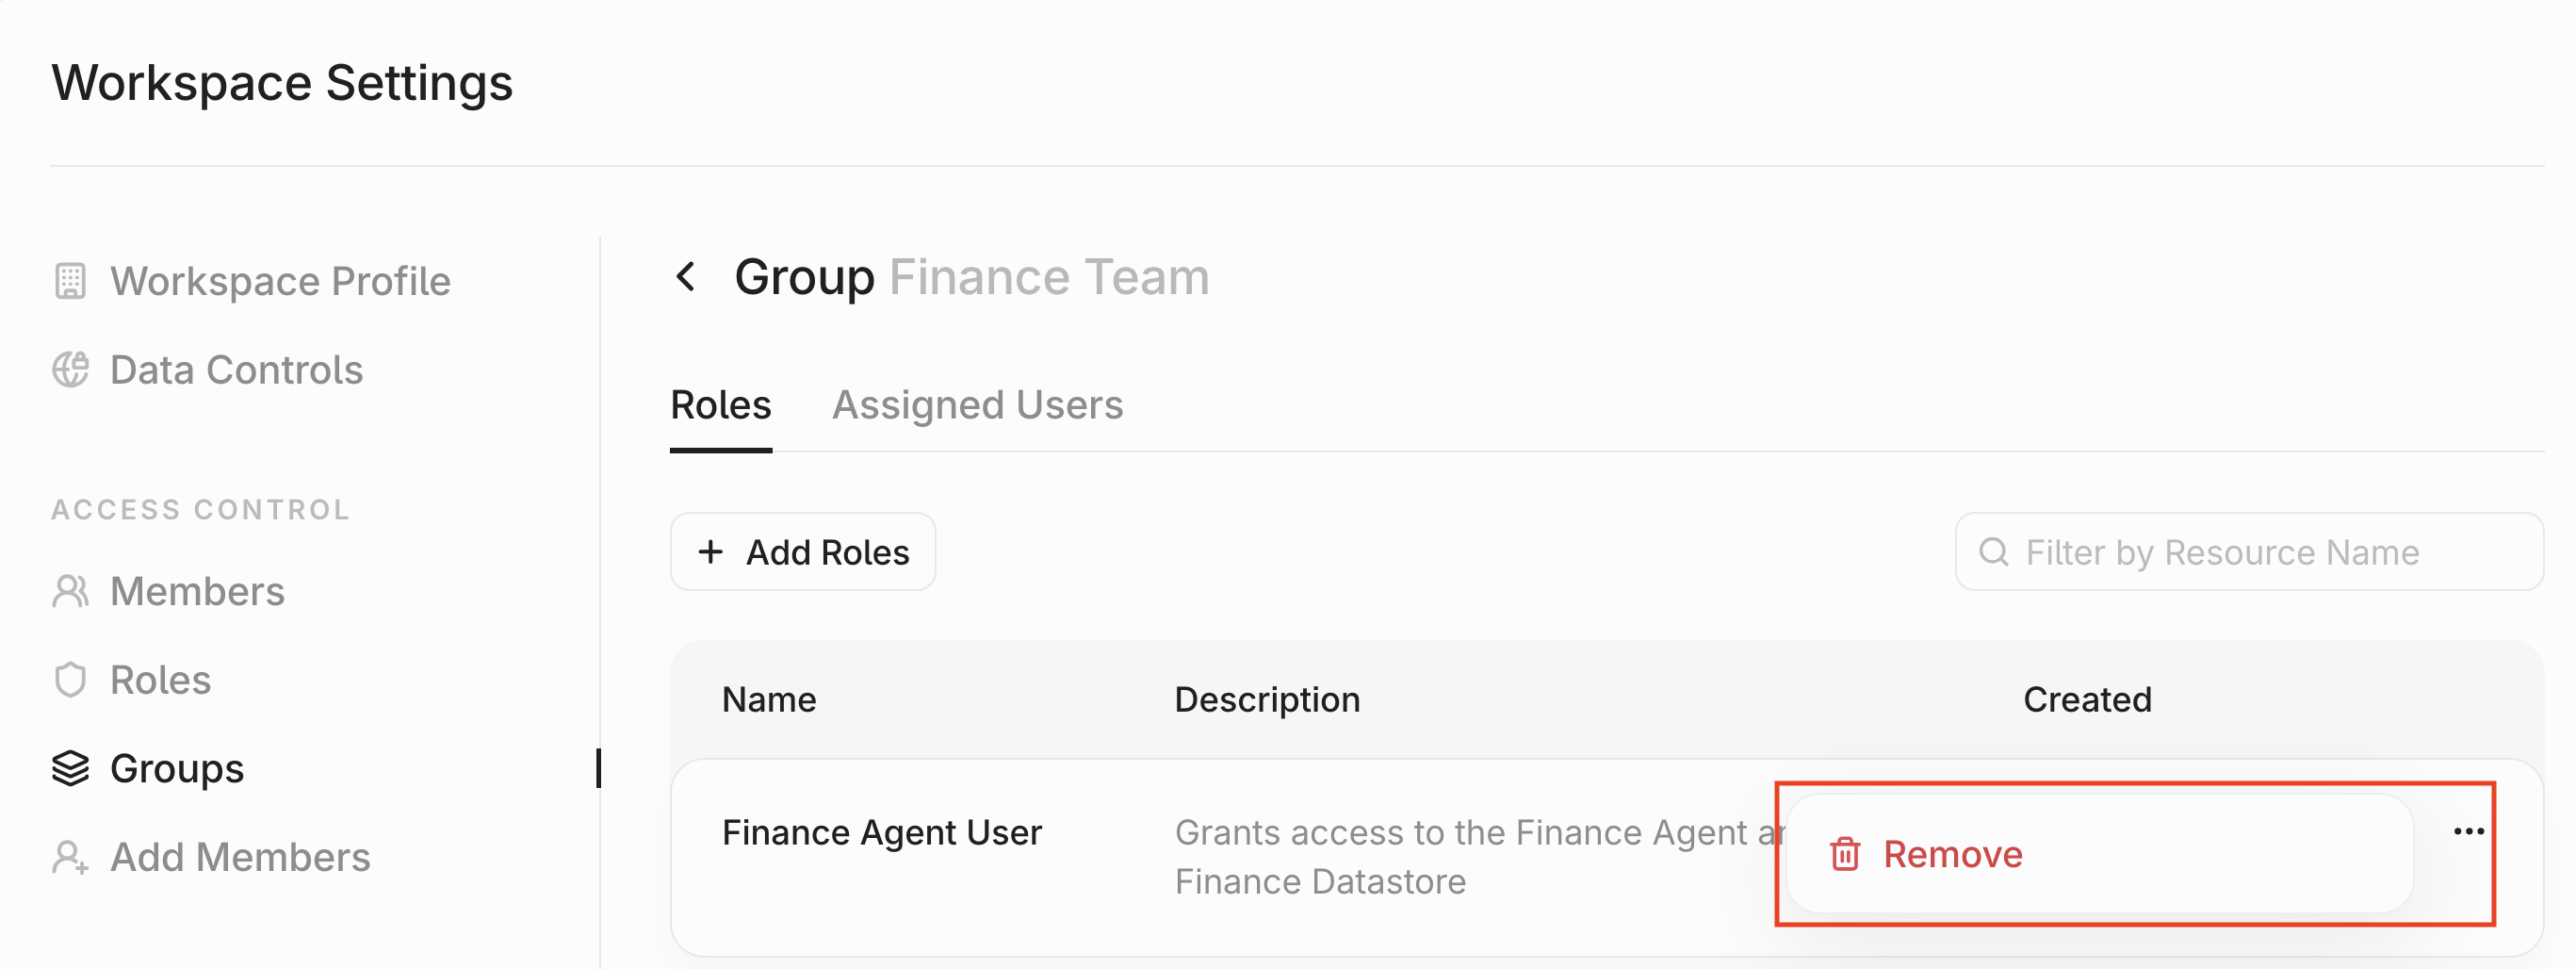
Managing a Group
After creating a Group, you can return to its configuration page at any time. To do so, navigate to the Groups page and click on the Group you want to edit.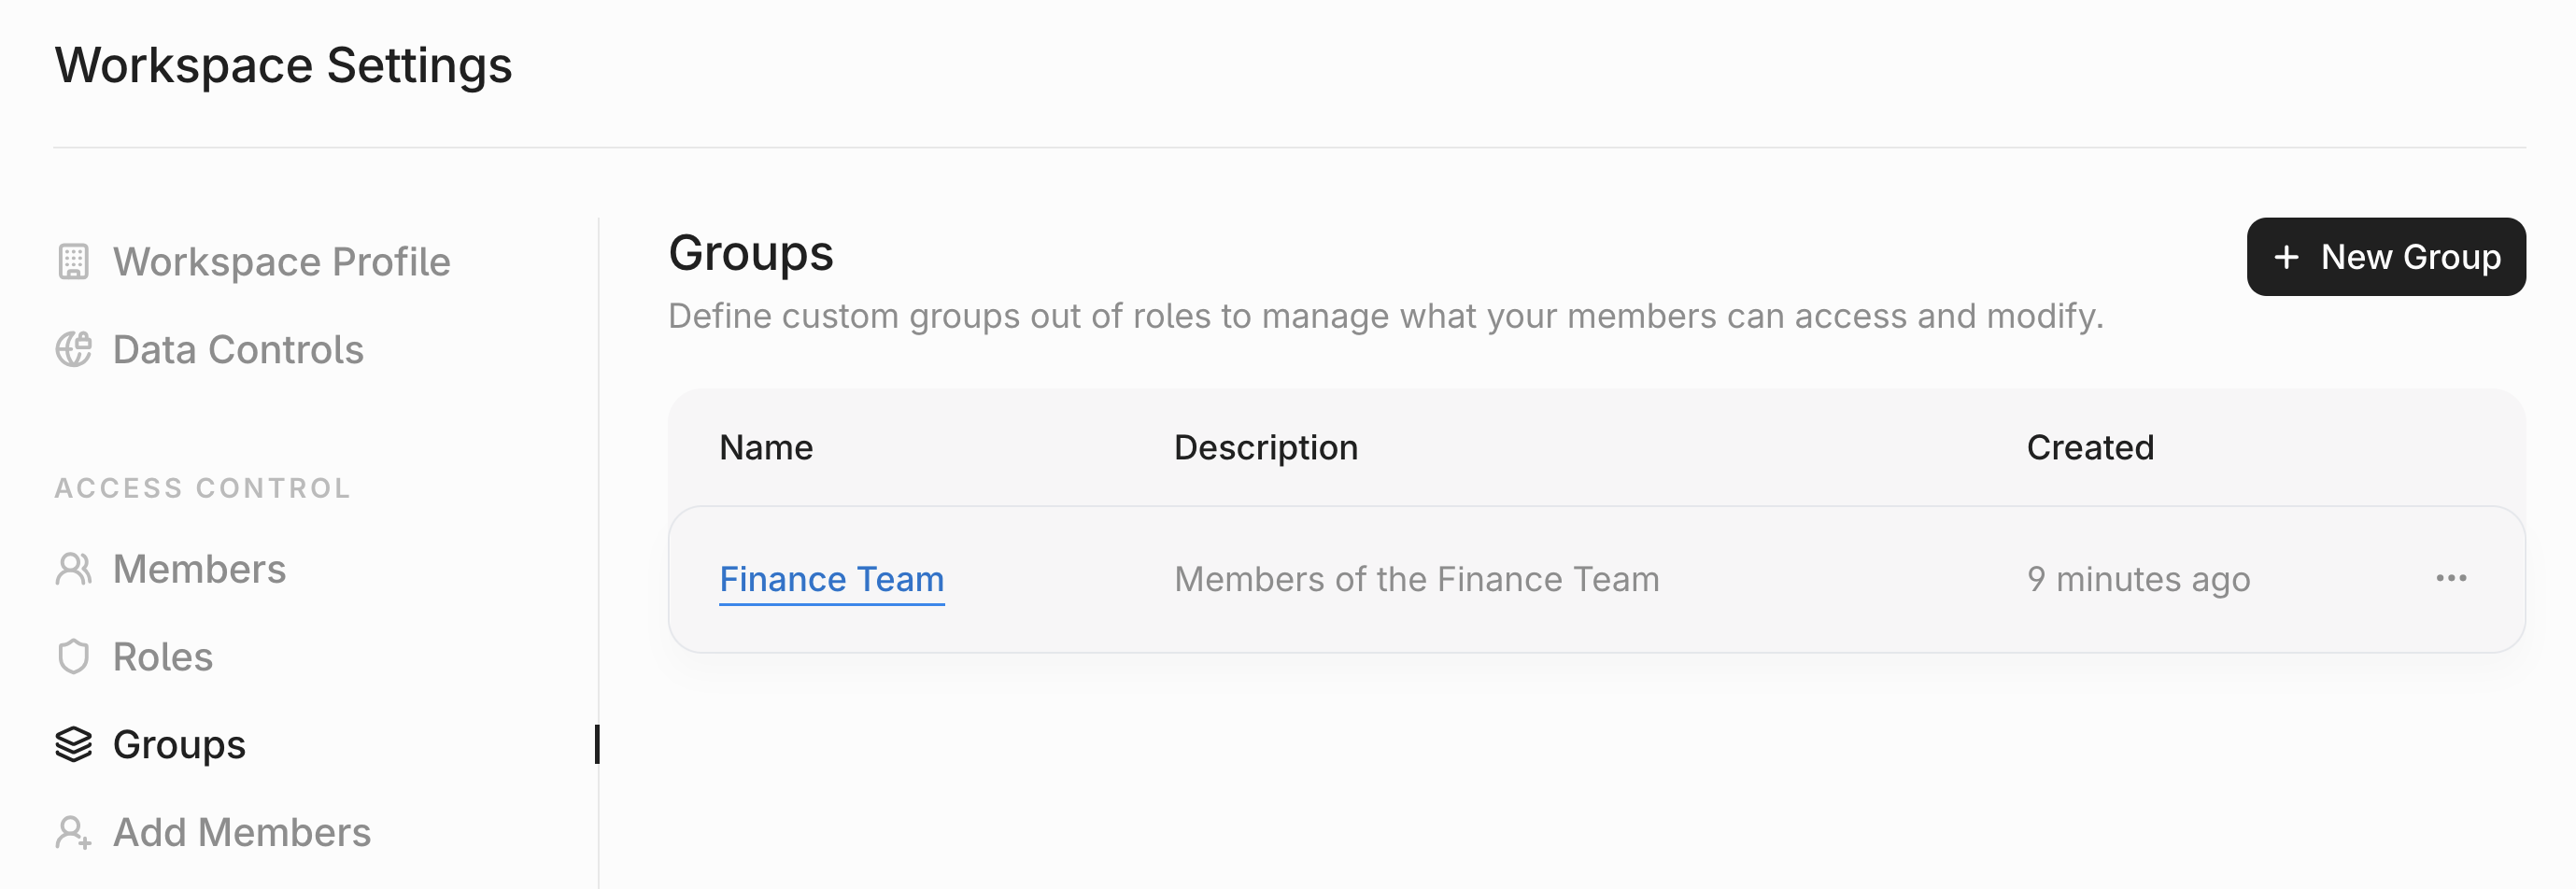
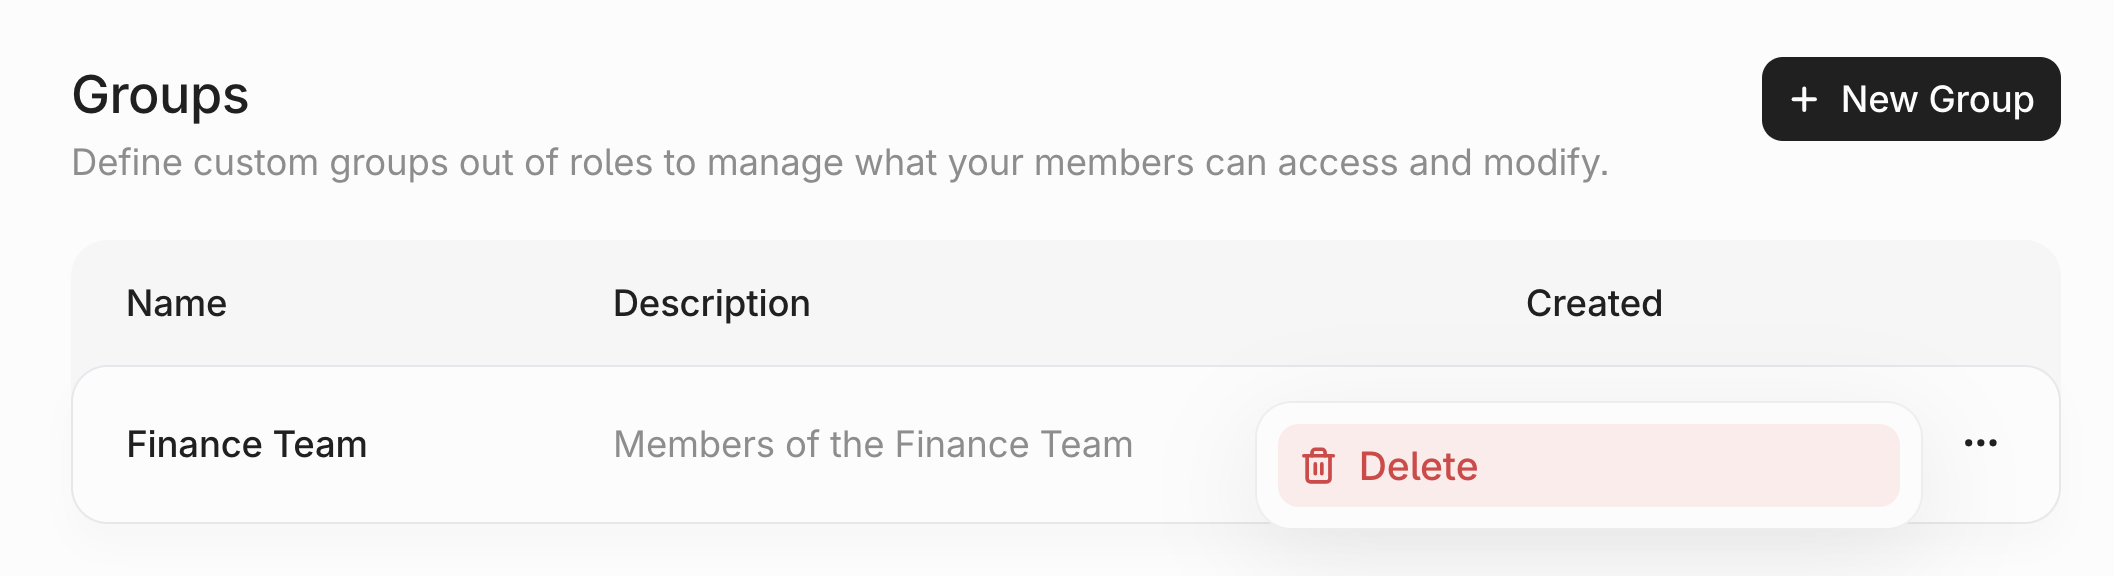
User Management
You can view the roles and groups associated with each user. First, navigate toMembers in the Access Control tab. You will see the list of members in your workspace.
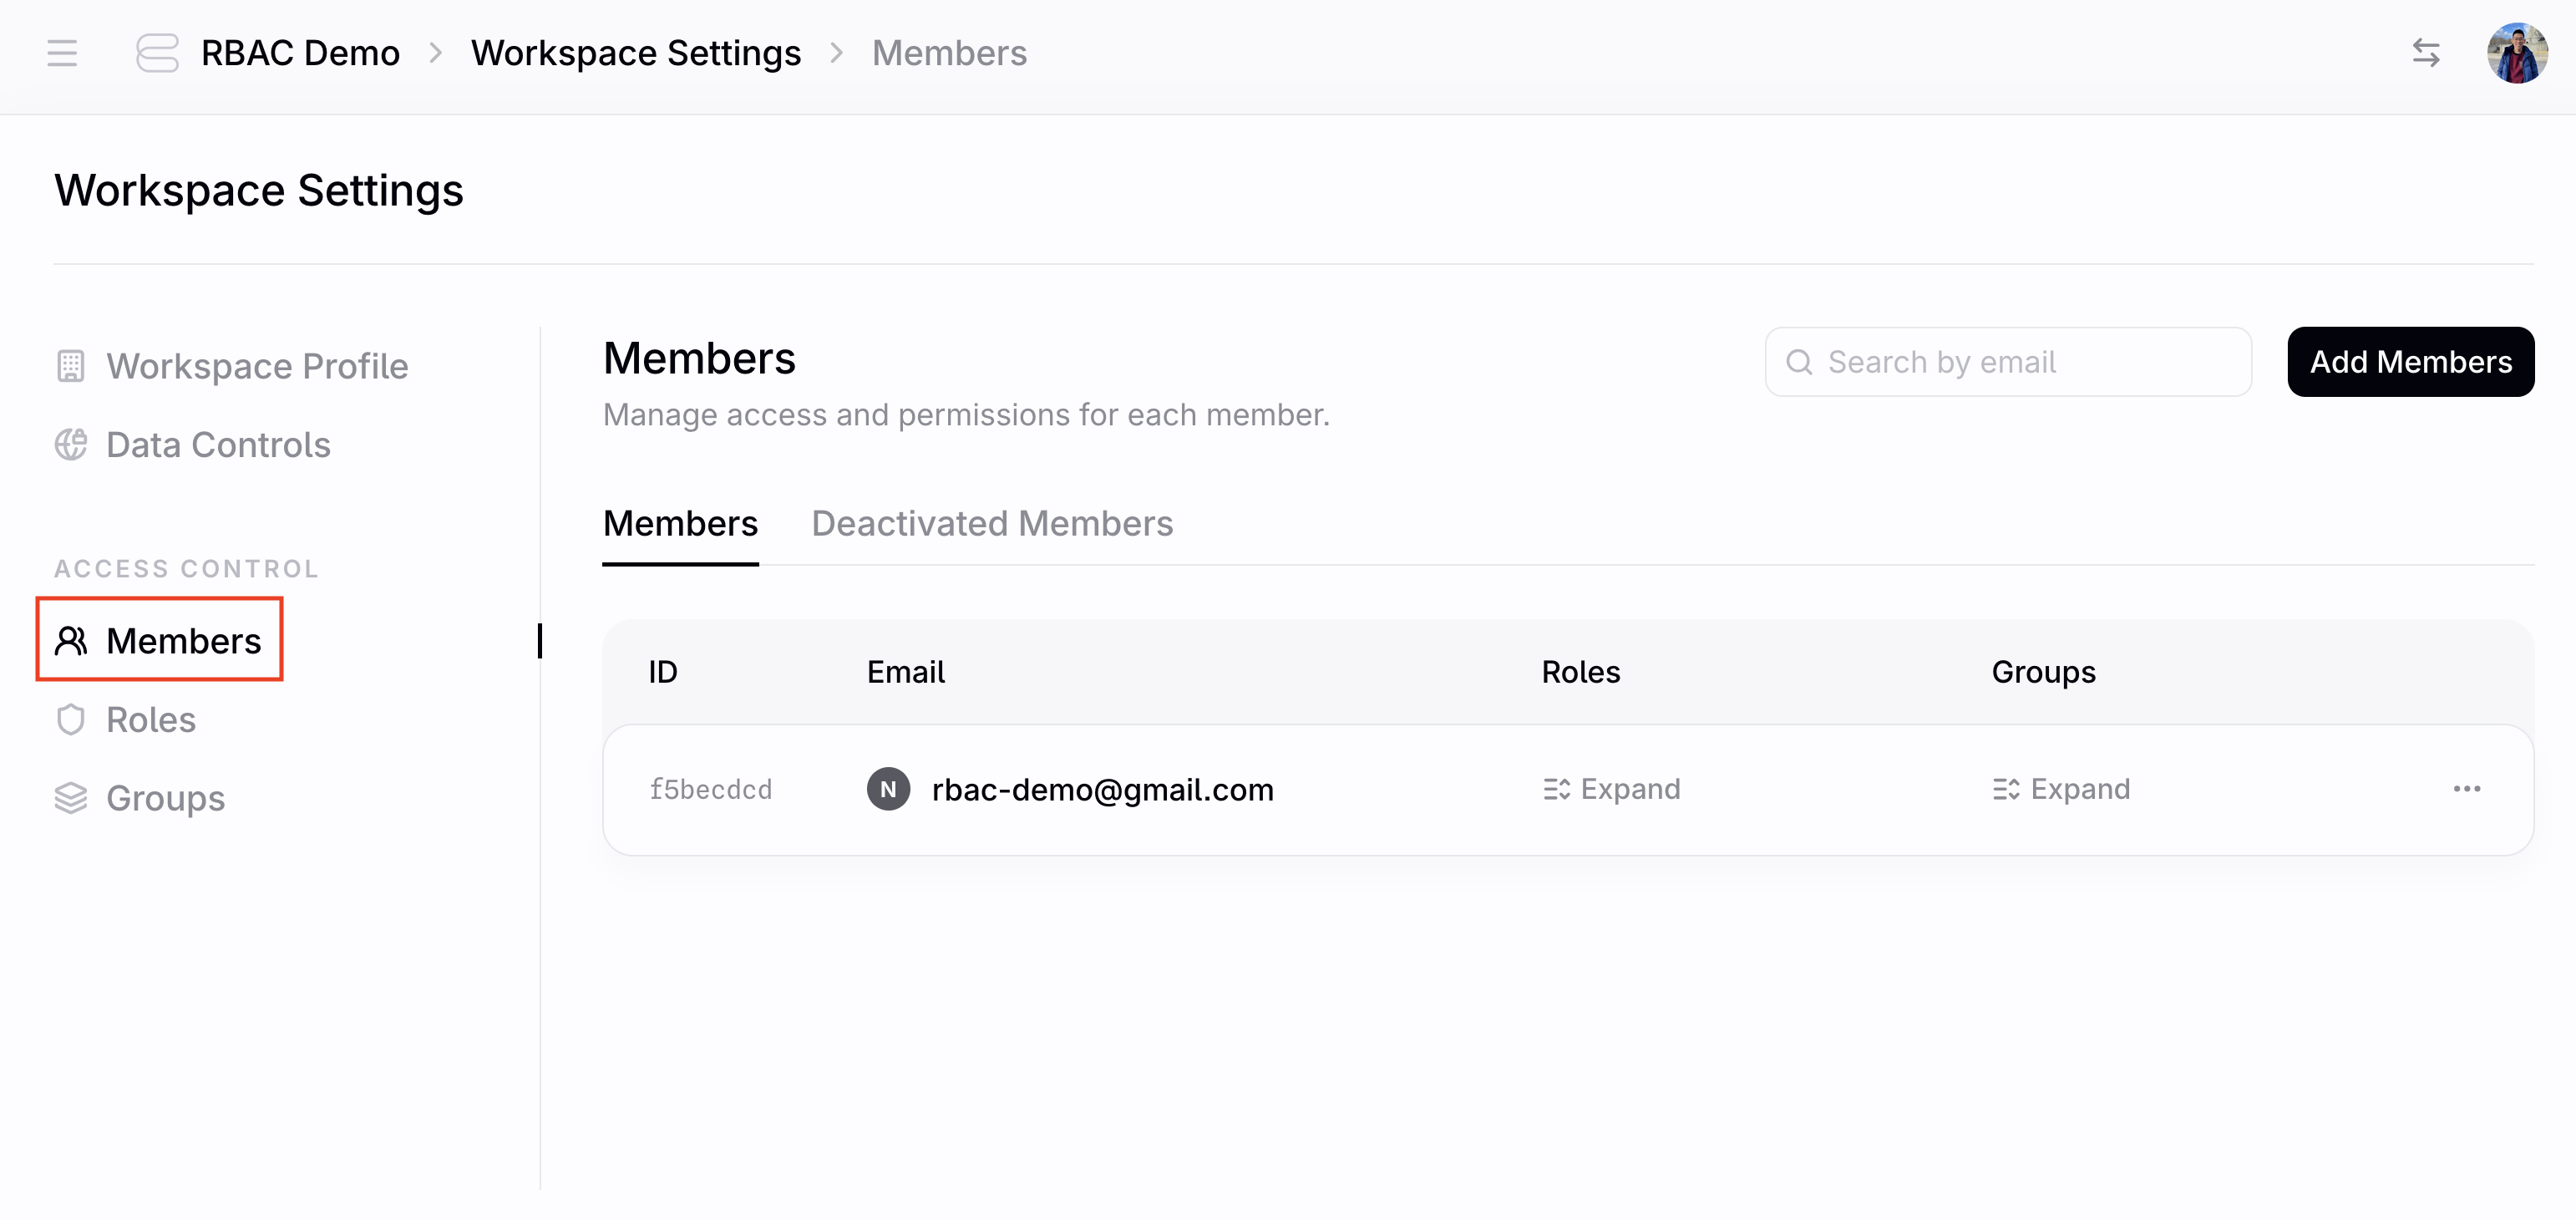
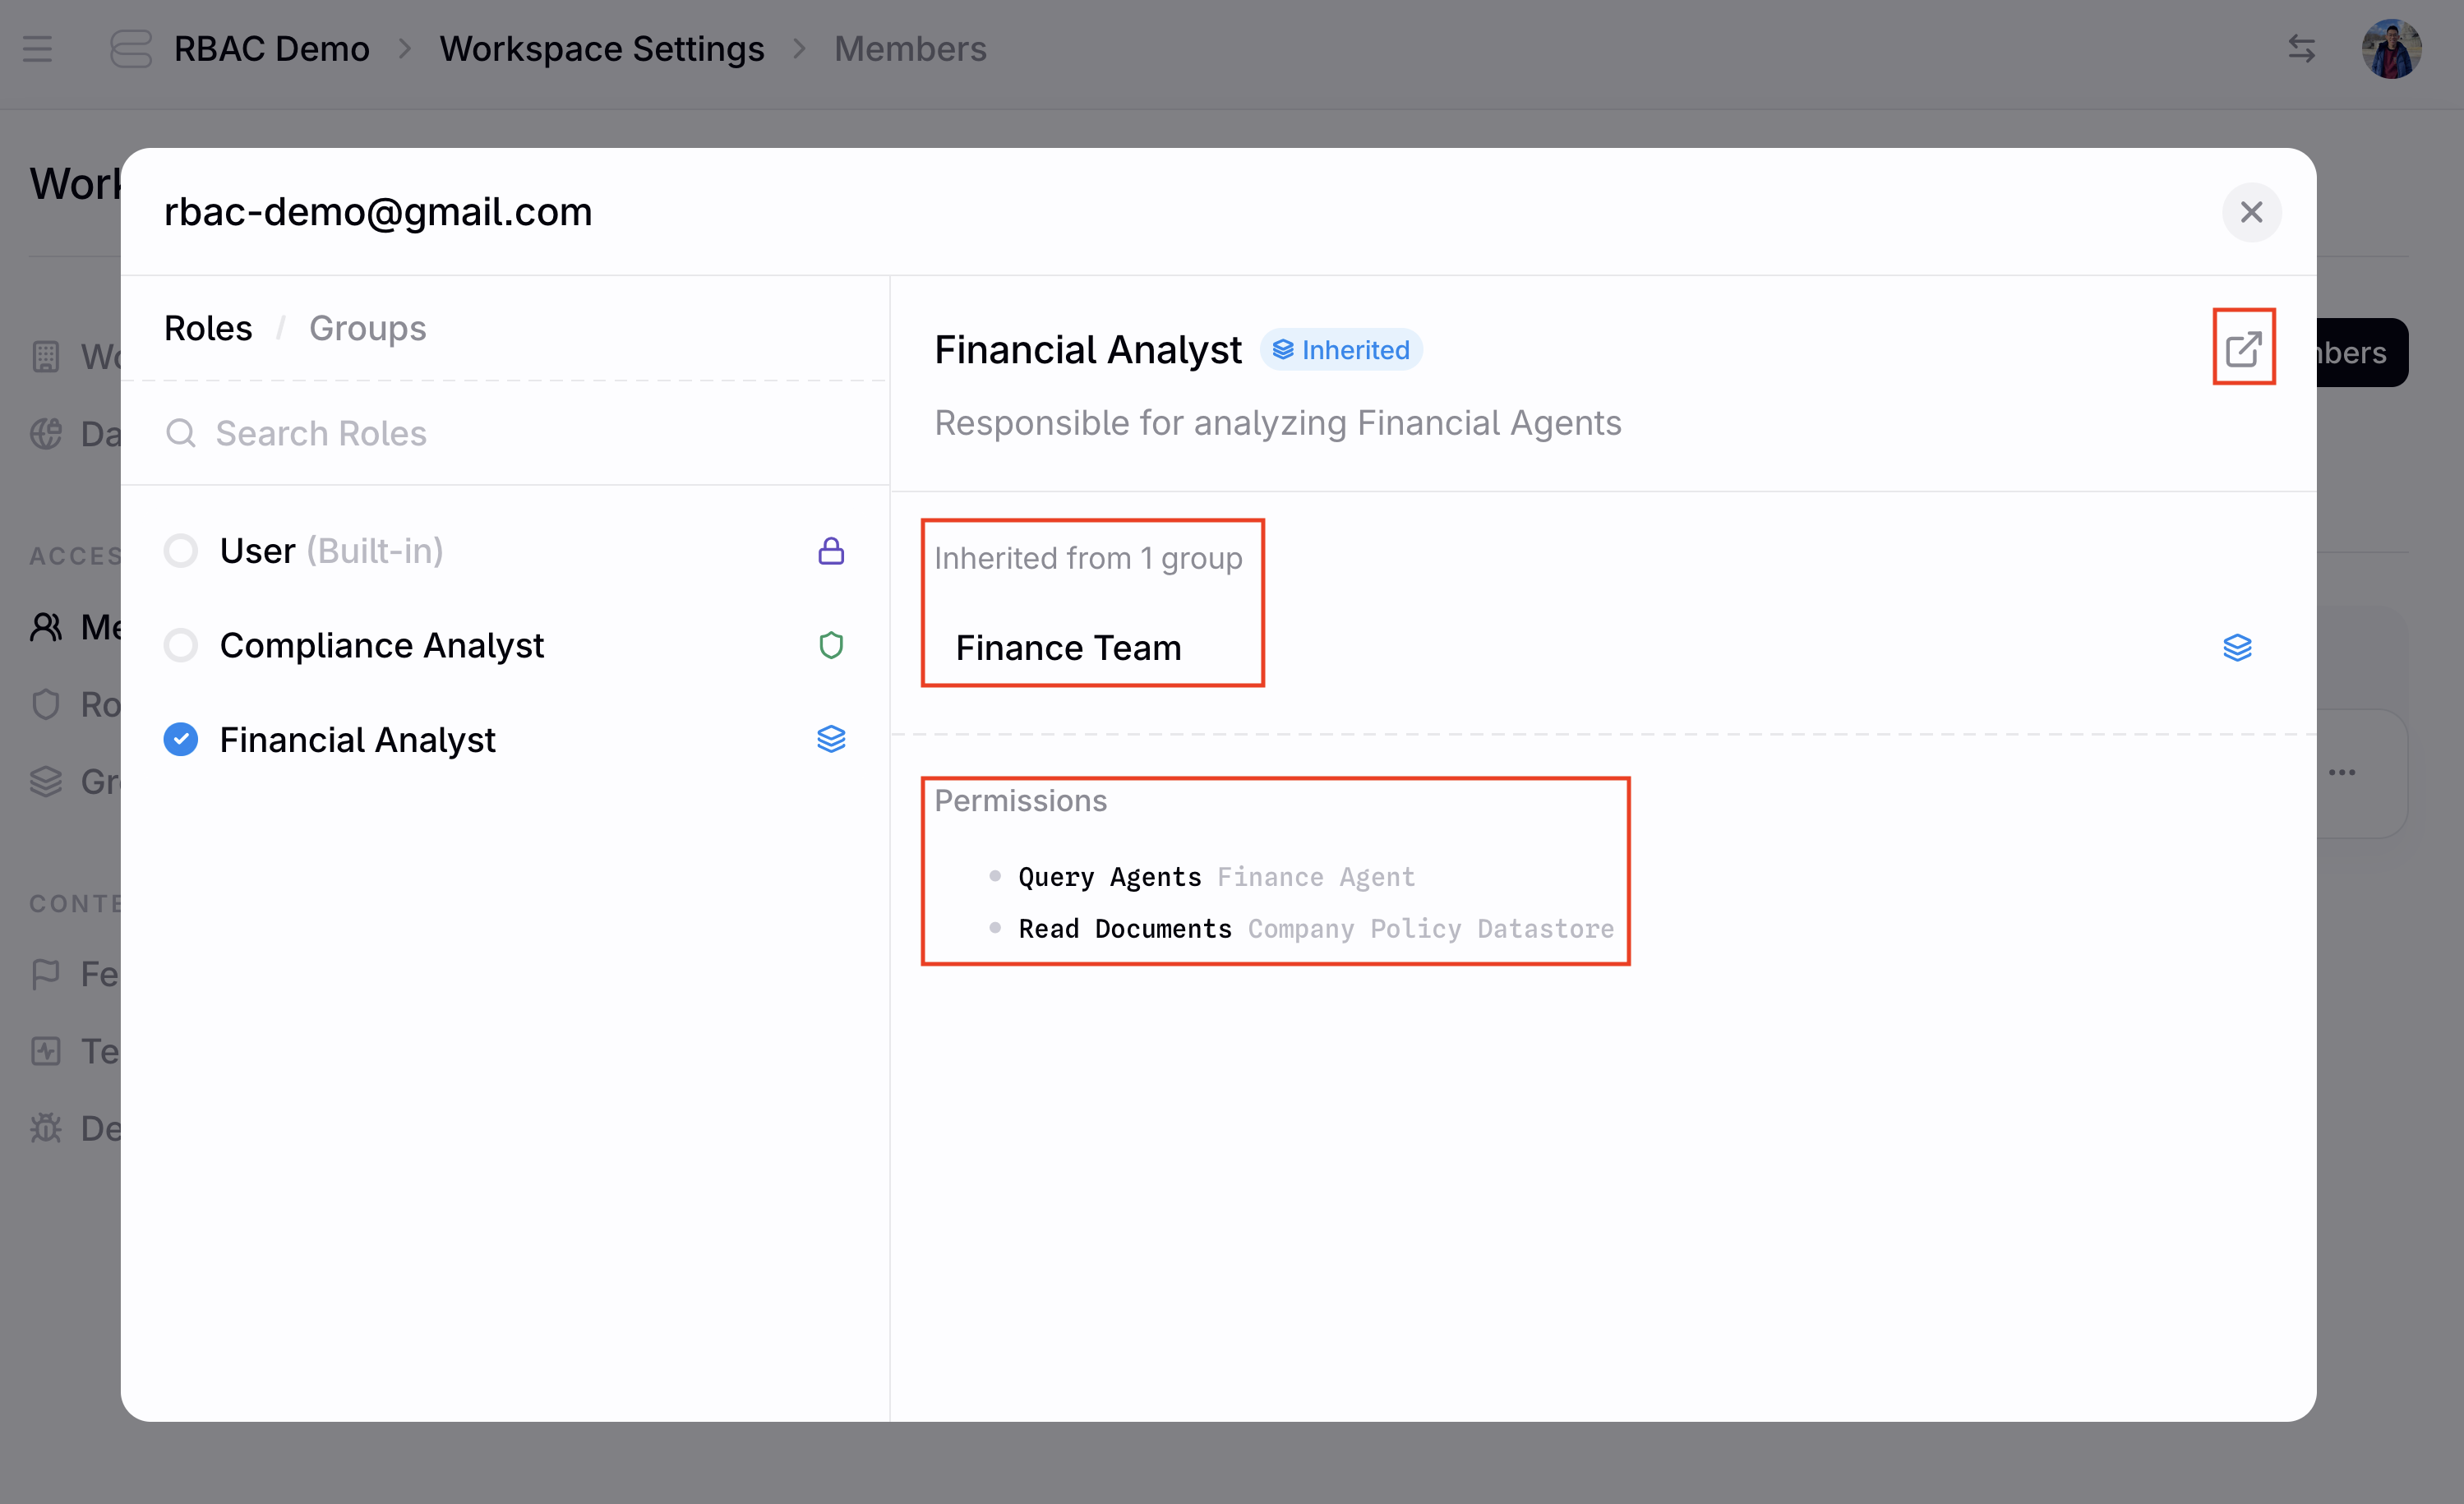
Expand button in the Roles column. You will see (i) the assigned roles, (ii) the permissions included in each role, and (iii) whether it was assigned directly to the user or inherited via group membership. You can also open up the Role Page with the top-left button.
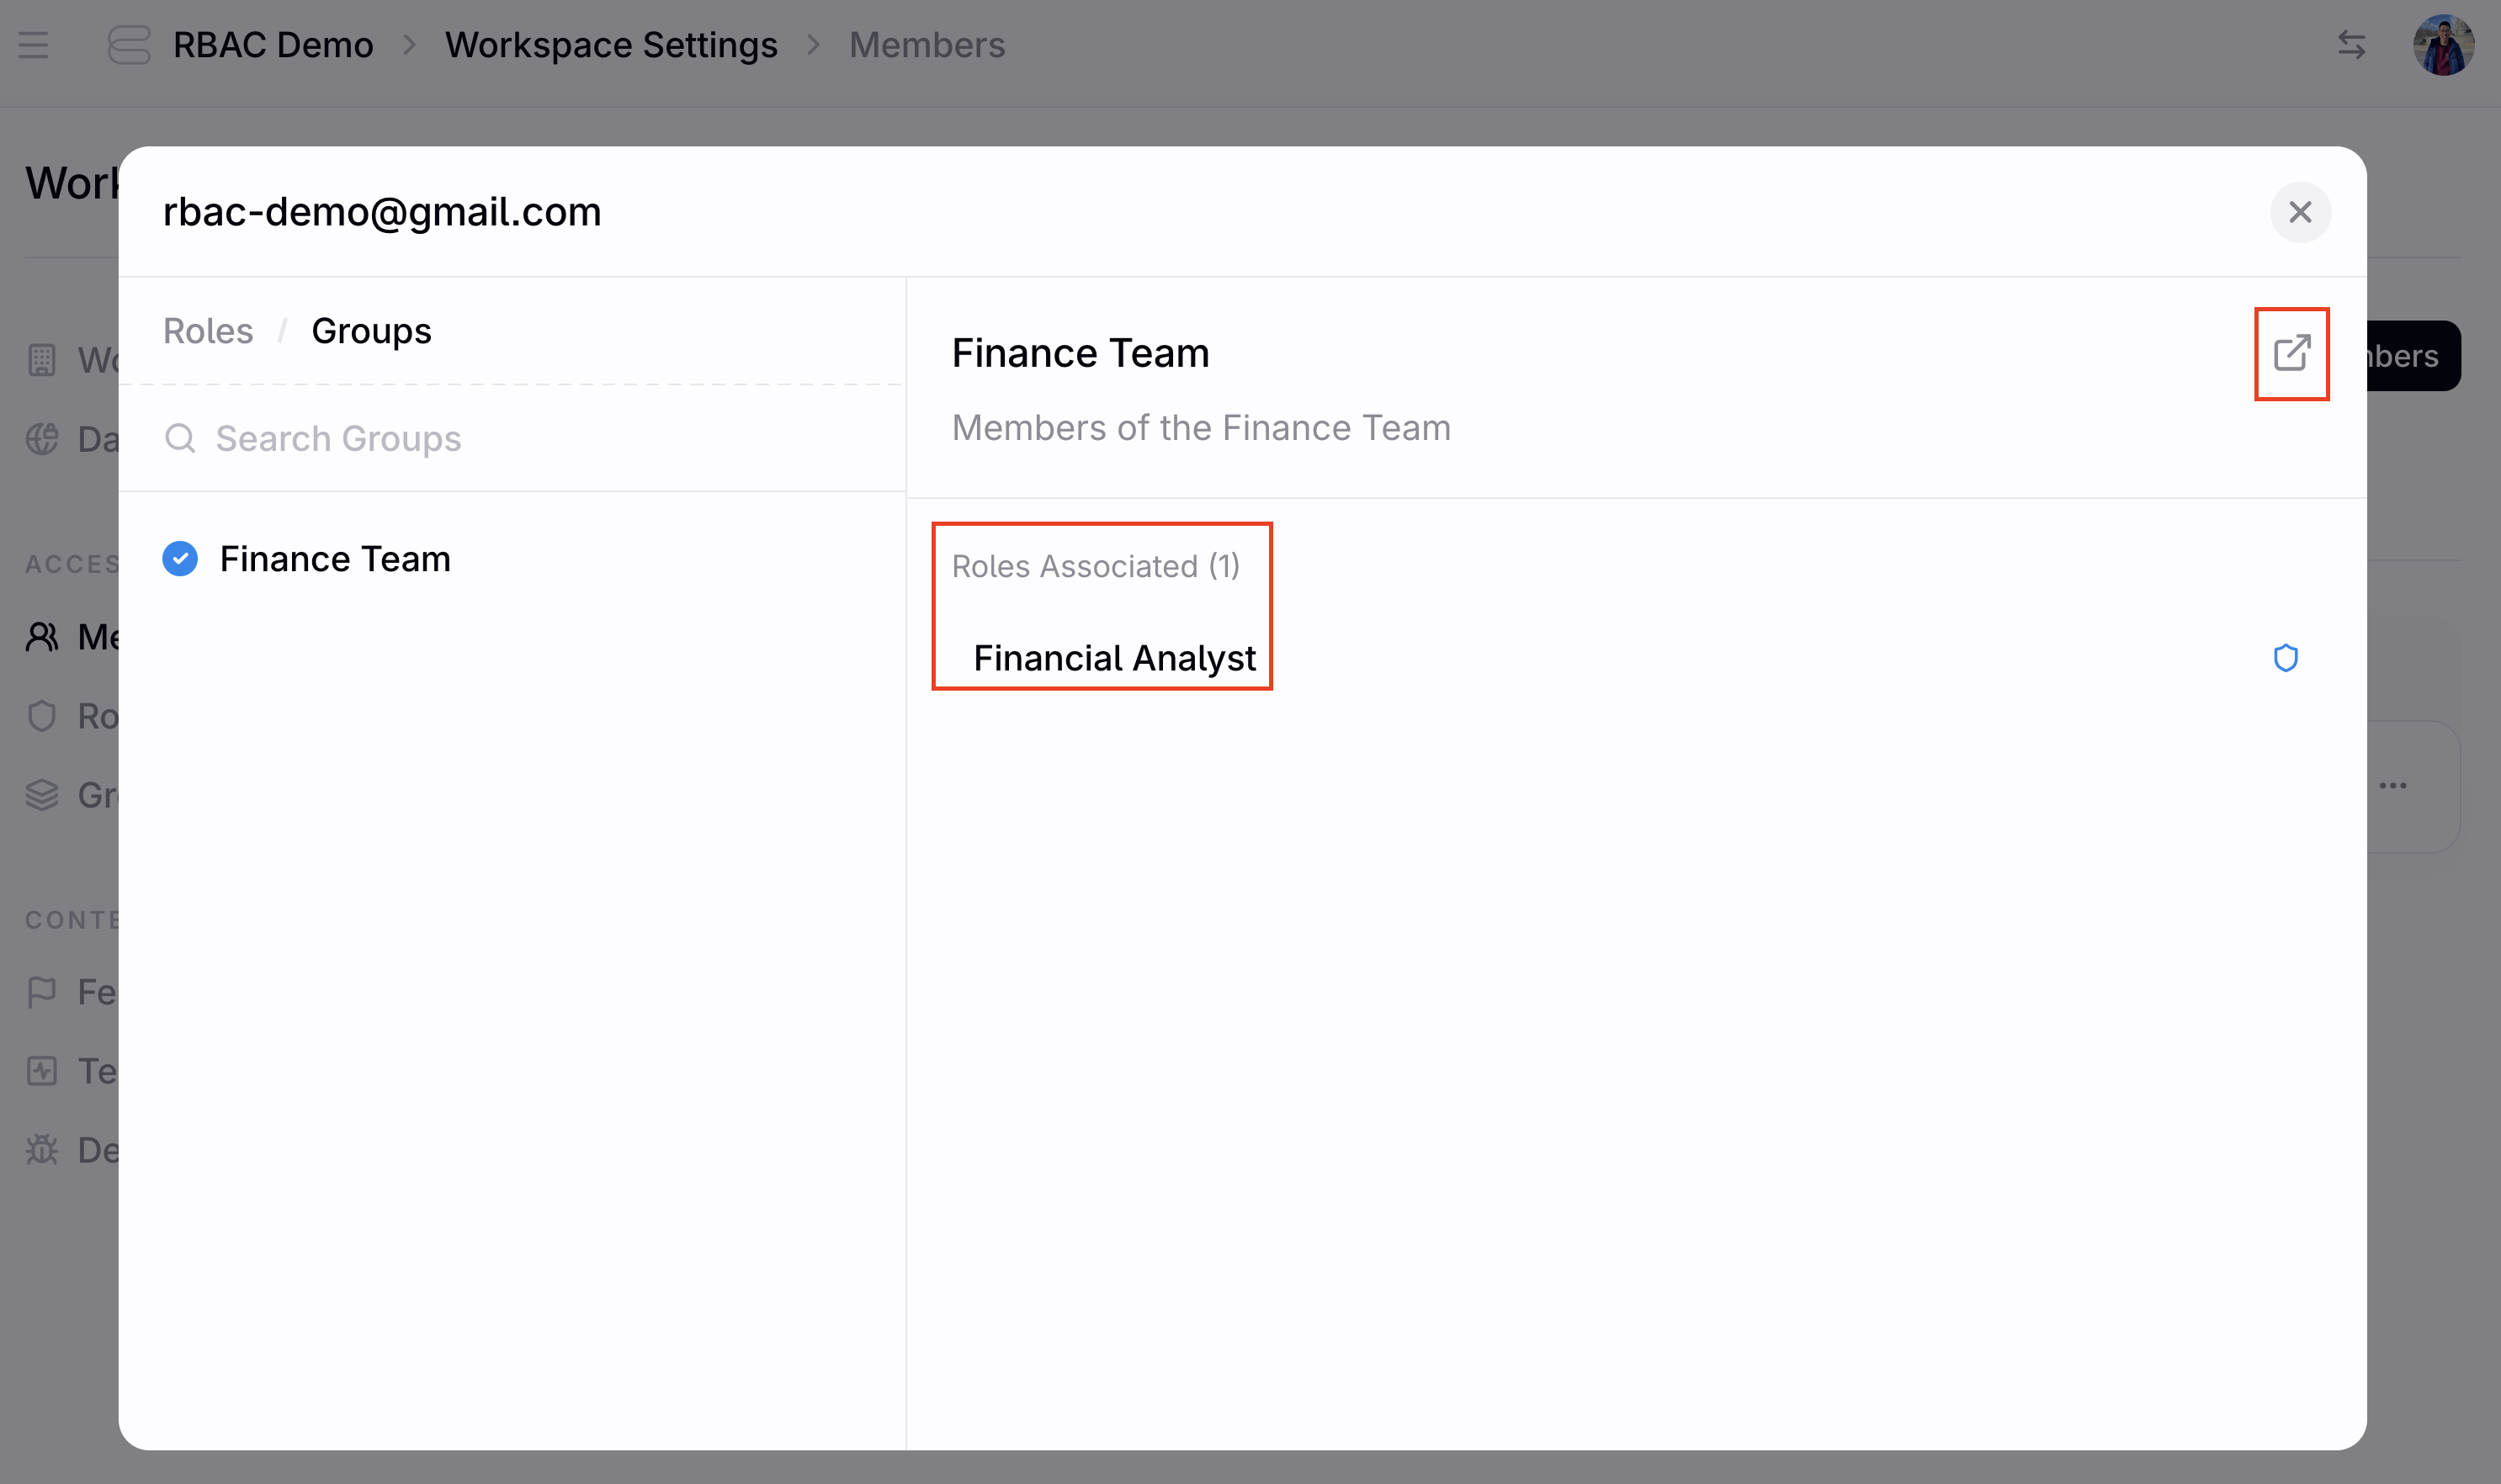
Expand button in the Groups column. You will see (i) the user’s groups and (ii) the roles associated with each group. You can also open up the Group Page with the top-left button.