

Create and Prompt Your First Agent
This guide walks you through creating a research-oriented agent designed for long, technical documents and multi-step reasoning. The agent uses Agent Composer (AC) to run a graph-based workflow that performs iterative retrieval, analysis, and synthesis across complex source material. The document set for this tutorial consists of NASA technical reports focused on Fault Detection, Isolation, and Recovery (FDIR) in safety-critical autonomous systems. These documents are intentionally dense and fragmented, making them ideal for demonstrating agentic research rather than simple single-pass RAG.Learning Outcomes
By completing this quickstart, you’ll learn how to:- Create and configure datastores for securely storing and indexing long technical documents
- Ingest complex PDFs with hierarchy-aware parsing, including figures, tables, and cross-references
- Define a research workflow using a default Agent Composer YAML graph
- Create an agent that uses Agent Composer to perform multi-document research and synthesis
- Query and interact with the agent through both the UI and API, observing retrievals, generation, and workflow execution
Step 0: Set Up Your Environment
Start by installing the required dependencies and setting up your development environment. Thecontextual-client library provides Python bindings for the Contextual AI platform, while the additional packages support data visualization and progress tracking.
API Authentication Setup
Before we can start building our RAG agent, you’ll need access to the Contextual AI platform. Step-by-Step API Key Setup:- Create Your Account: Visit app.contextual.ai and click the “Start Free” button
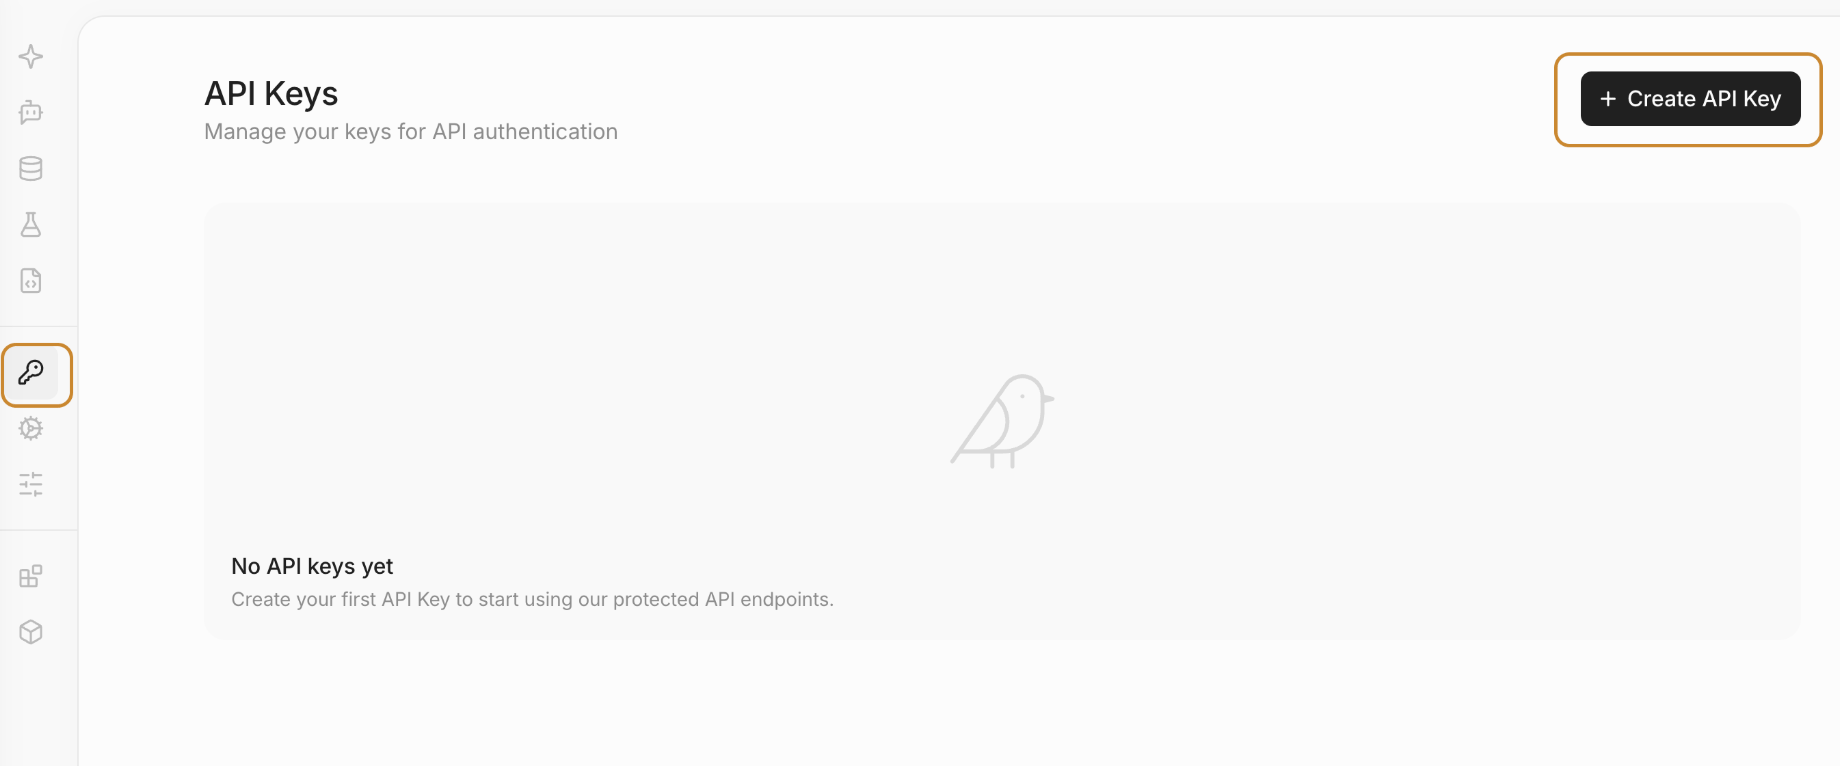
- Navigate to API Keys: Once logged in, find “API Keys” in the sidebar
- Generate New Key: Click “Create API Key” and follow the setup steps
- Store Securely: Copy your API key and store it safely (you won’t be able to see it again)
.env file. This keeps your keys separate from your code. After setting up your .env file, you can load the API key from .env to initialize the Contextual AI client. Feel free to use Google Secrets as well if in Google Colab.
Now, you can load the API key from .env to initialize the Contextual AI client.
Step 1: Create Your Document Datastore
A datastore in Contextual AI is a secure, isolated container for your documents and their processed representations. Each datastore provides:- Isolated Storage: Documents are kept separate and secure for each use case
- Intelligent Processing: Automatic parsing, chunking, and indexing of uploaded documents
- Optimized Retrieval: High-performance search and ranking capabilities
Why Separate Datastores?
Each agent should have its own datastore to ensure:- Data isolation between different use cases
- Security compliance for sensitive document collections
- Performance optimization agents can be customized for specific document types and query patterns
Step 2: Document Ingestion and Processing
Now that your agent’s datastore is set up, let’s add a collection of NASA technical documents focused on Fault Detection, Isolation, and Recovery (FDIR). Contextual AI’s document processing engine provides enterprise-grade parsing that is well-suited for dense engineering and research content, including:- Complex Tables: Experimental results, system parameters, and evaluation metrics
- Charts and Figures: Architecture diagrams, fault trees, and performance plots
- Multi-page Technical Documents: Long reports with deep hierarchical structure, appendices, and references
Supported File Formats
The platform supports a wide range of document formats commonly used in technical and research workflows:- PDF: Research papers, technical reports, and whitepapers
- HTML: Saved web pages and online documentation
- DOC/DOCX: Technical notes and written analyses
- PPT/PPTX: Conference presentations and engineering briefings
Sample NASA FDIR Documents
For this quickstart, we intentionally use complex, unstructured technical documents rather than clean or structured datasets. The document set includes NASA technical reports covering:- Fault detection, isolation, and recovery (FDIR) in safety-critical systems
- Autonomous fault recovery for distributed electric propulsion aircraft
- Certification methodologies for lunar surface autonomy and construction missions
- System health management and failure analysis in tightly coupled subsystems
- NASA Technical Reports Server (NTRS): https://ntrs.nasa.gov
Preparing the Document Collection
Next, we’ll upload these documents into the datastore. Once ingested, Contextual AI will automatically:- Parse and extract text from each document
- Chunk content for efficient hybrid (semantic + lexical) retrieval
- Index the documents for grounded research and synthesis
Document Download & Ingestion Process
The following cell will:- Download documents from Contextual AI’s examples repository (if not already cached)
- Upload to Contextual AI for intelligent processing
- Track processing status and document IDs for later reference
Step 3: Inspect Your Documents
Let’s take a look at our documents at https://app.contextual.ai/- Navigate to your workspace
- Select Datastores on the left menu
- Select Documents
- Click on Inspect (once documents load)
It may take a few minutes for the document to be ingested and processed. If the documents are still being ingested, you will see
status='processing'. Once ingestion is complete, the status will show as status='completed'.Step 4: Agent Creation & Configuration
Now you’ll create an Agent Composer agent via the API by attaching a YAML workflow. This defines the agent as a graph of steps (research + generation), rather than a single fixed RAG path.Step 5: Analyze Your Agent (optional)
Open the Agent in the UI
- Go to:
app.contextual.ai - Navigate: Agents -> select your agent: NASA_FDIR_AC_Demo
- Confirm the linked datastore is your semiconductor documents datastore.
Open Agent Composer
Inside the agent page:- Click Agent Composer (or AC)
You should see one of:
- Workflow Builder (graph view)
- YAML editor (text view)
Workflow Builder (Graph View)
- Open Workflow Builder
Confirm the graph contains the core steps:
CreateMessageHistoryStepAgenticResearchStep(streams retrievals)GenerateFromResearchStep(streams generation)- Output node wired to
response
YAML View
- Open the YAML editor
- Confirm the YAML matches the
acl_yamlyou used in the API section.
Step 6: Query the Agent in the API
Next Steps
- Agent Composer — Build customized agent workflows
- Python SDK Reference — Full SDK documentation