Feedback Collection
The first phase is to collect feedback from your users.- Users can provide feedback on an agent’s output using a thumbs up/thumbs down rating or by flagging responses that need review. They can do so via the Contextual UI or via API.

thumbs_up, thumbs_down, or flagged and include an explanation. Here’s an example:
-
On the Contextual UI, if you leave a thumbs down, you will be prompted to leave freeform feedback and select the reasons for the feedback.

-
Admins are able to configure the feedback workflow that users go through. Navigate to the agent configuration menu and click on
User Experienceunder theAdvancedsection. Scroll down toFeedback Customization.

- In the Feedback Customization section, you have three configs:
- Enable Mandatory Feedback: Toggle this if you require your users to provide feedback before submitting a new query.
- Show Feedback Dialog for Thumbs Up: On the Contextual UI, we will prompt the user to leave details if they submit a
thumbs_down. With this option enabled, we will also prompt users if they submit athumbs_up. - Customized feedback options for thumbs down: When a user gives a thumbs down, they’ll be prompted to provide additional context by selecting one or more reasons for their feedback. This setting allows you to customize the list of reasons users can choose. If this section is blank, we will show users a list of default reasons.
- You can click
Previewto see how the feedback workflow will look like.
- You can click
Feedback Annotation
After collecting feedback from real users, you can annotate the feedback as part of your quality assurance (QA) workflow.-
Before starting your annotation, you will need to configure your annotation labels. Navigate to the agent configuration menu and click on
Feedback Annotationunder theAdvancedsection.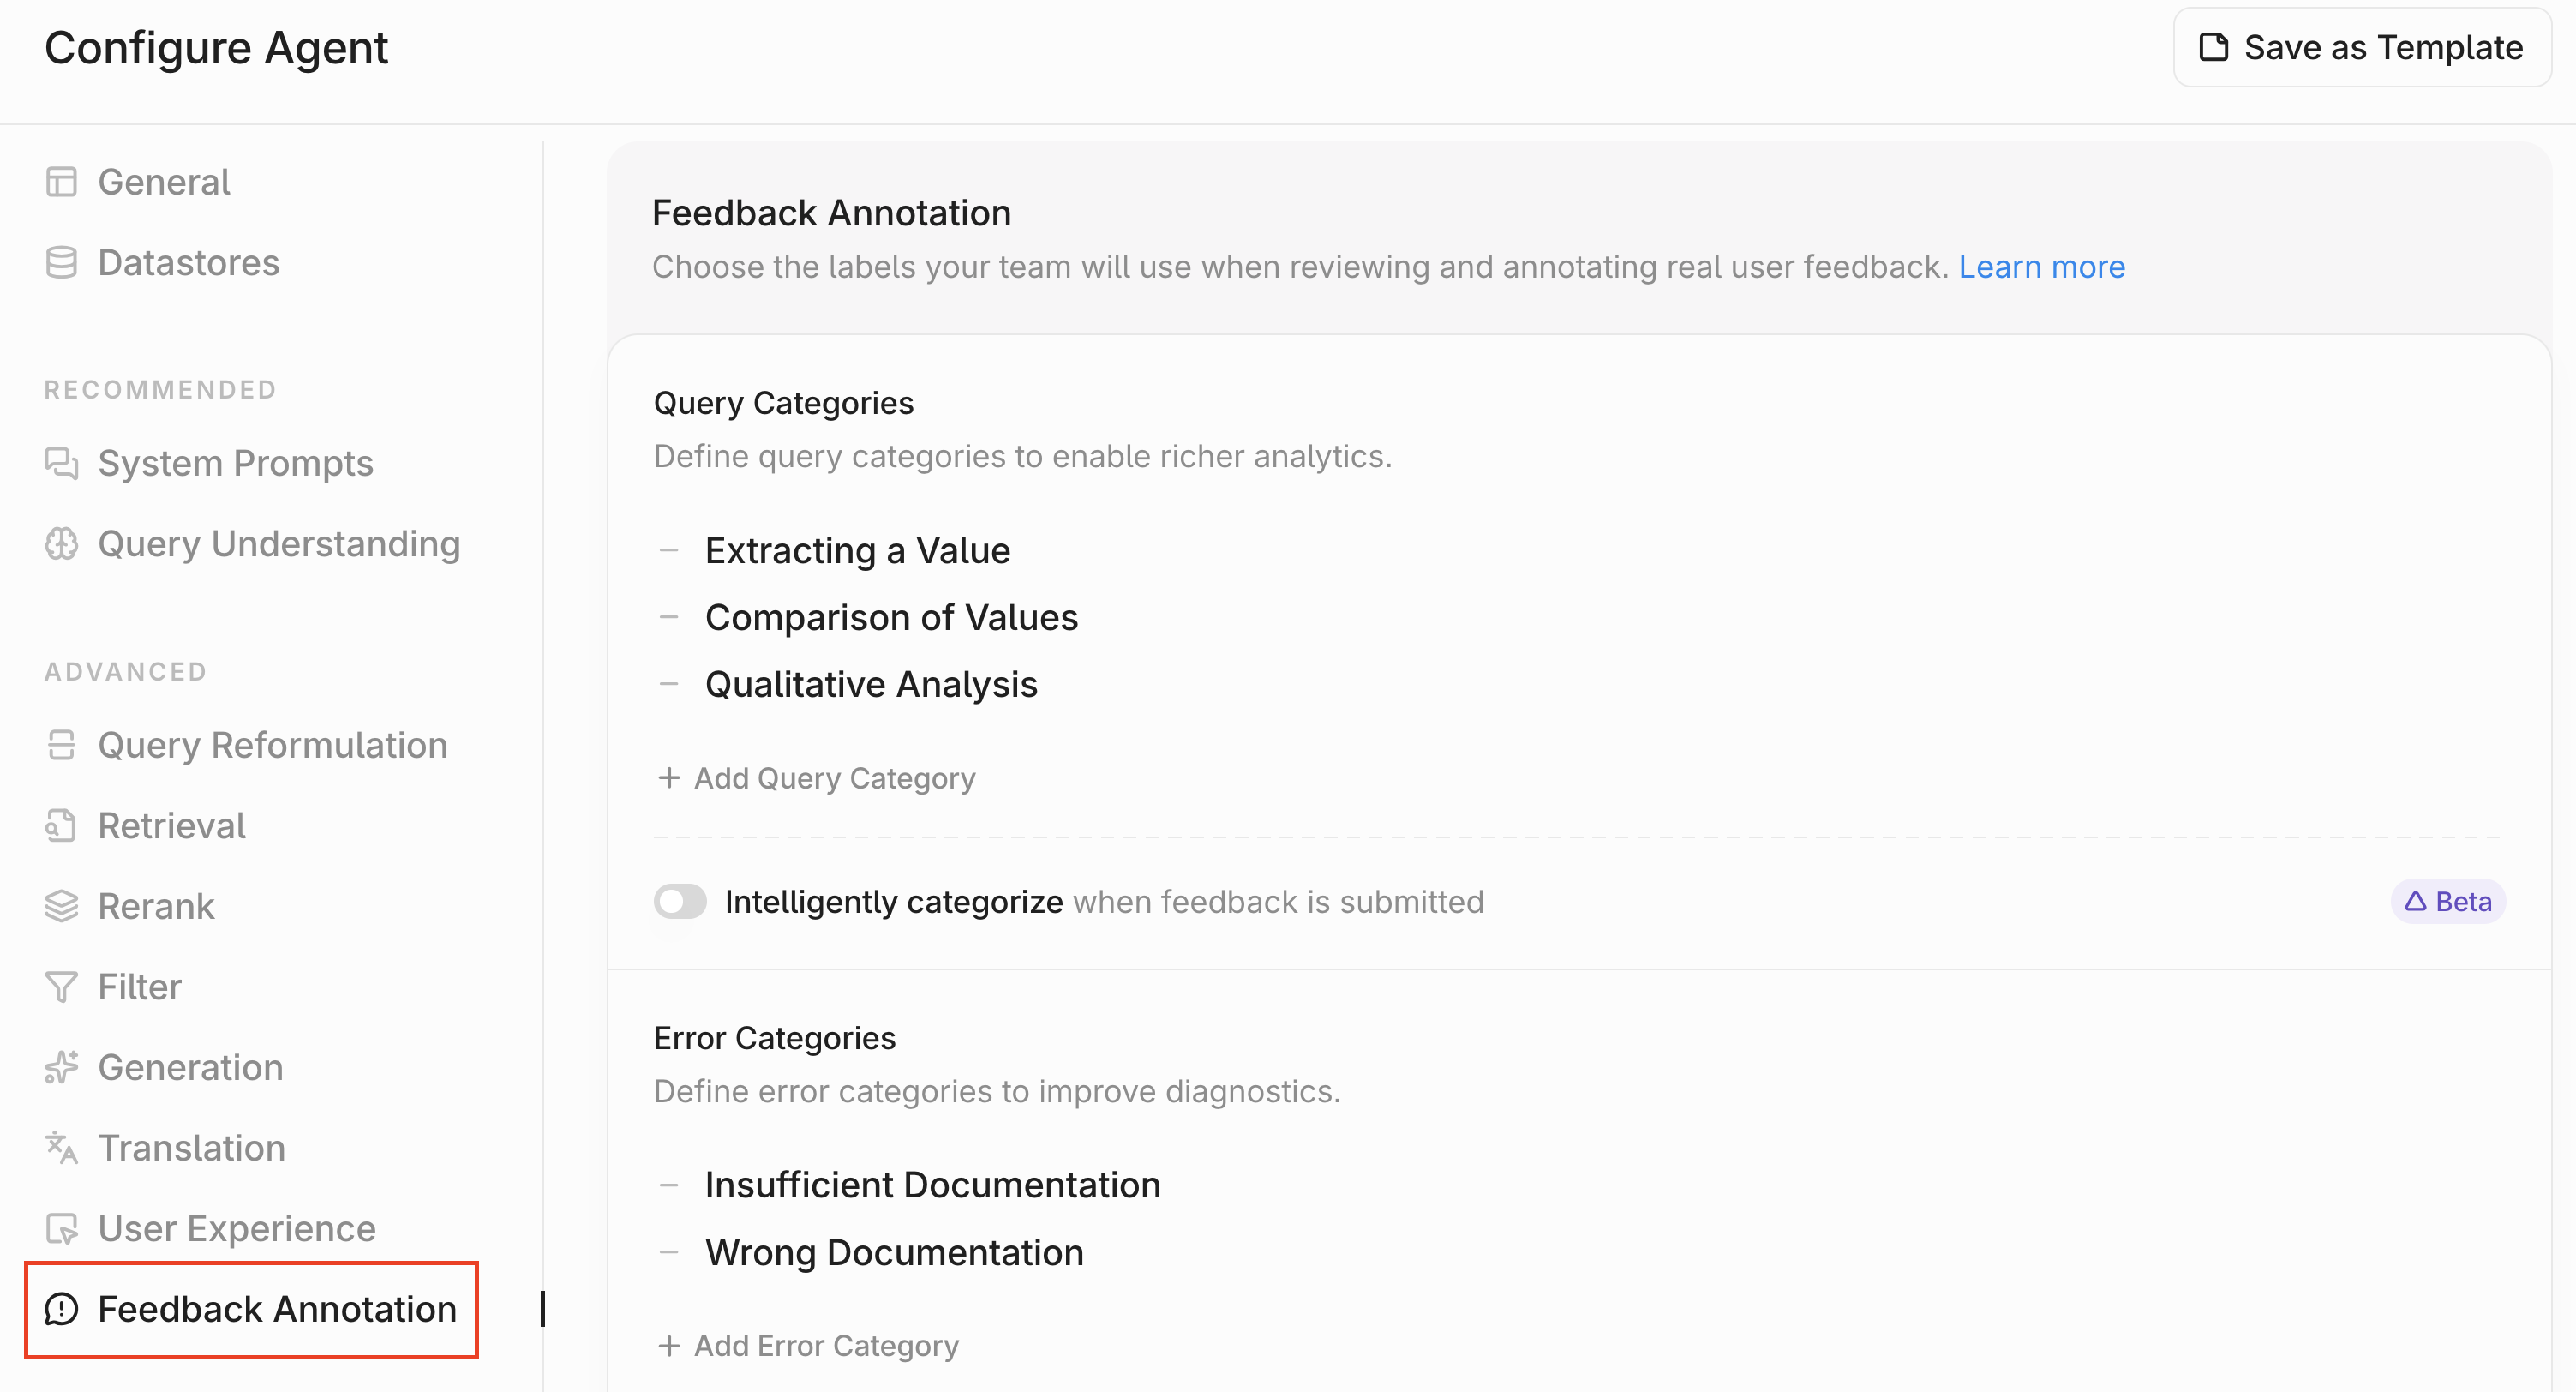
-
There are four annotation columns you can define labels for. The first column is
Query Categories. To add a label, clickAdd Query Category. You can remove a label by clicking the-icon. Finally, you can turn onIntelligent Categorizationwhich will automatically classify all flagged queries into one of the labels you’ve defined.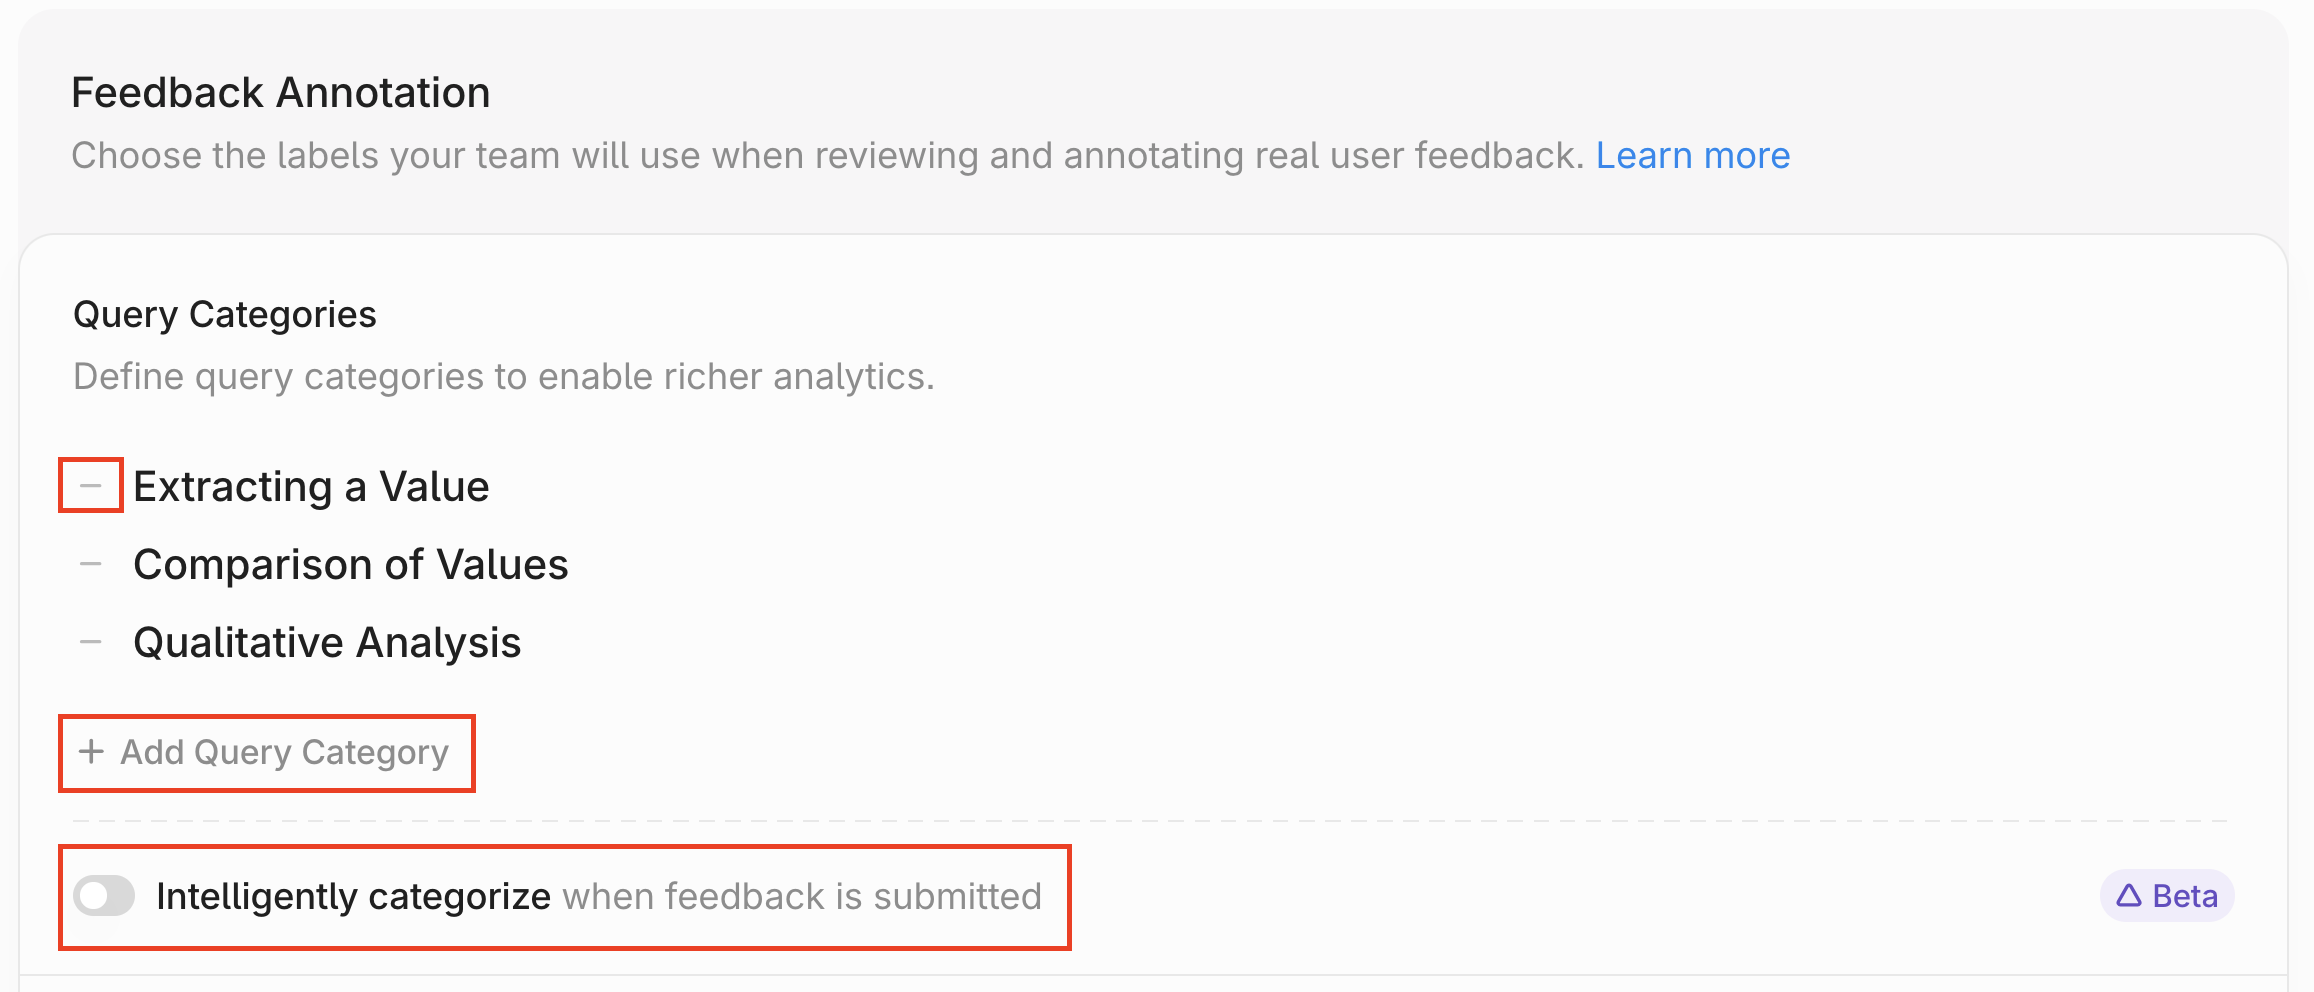
-
Repeat the same process for the other three columns:
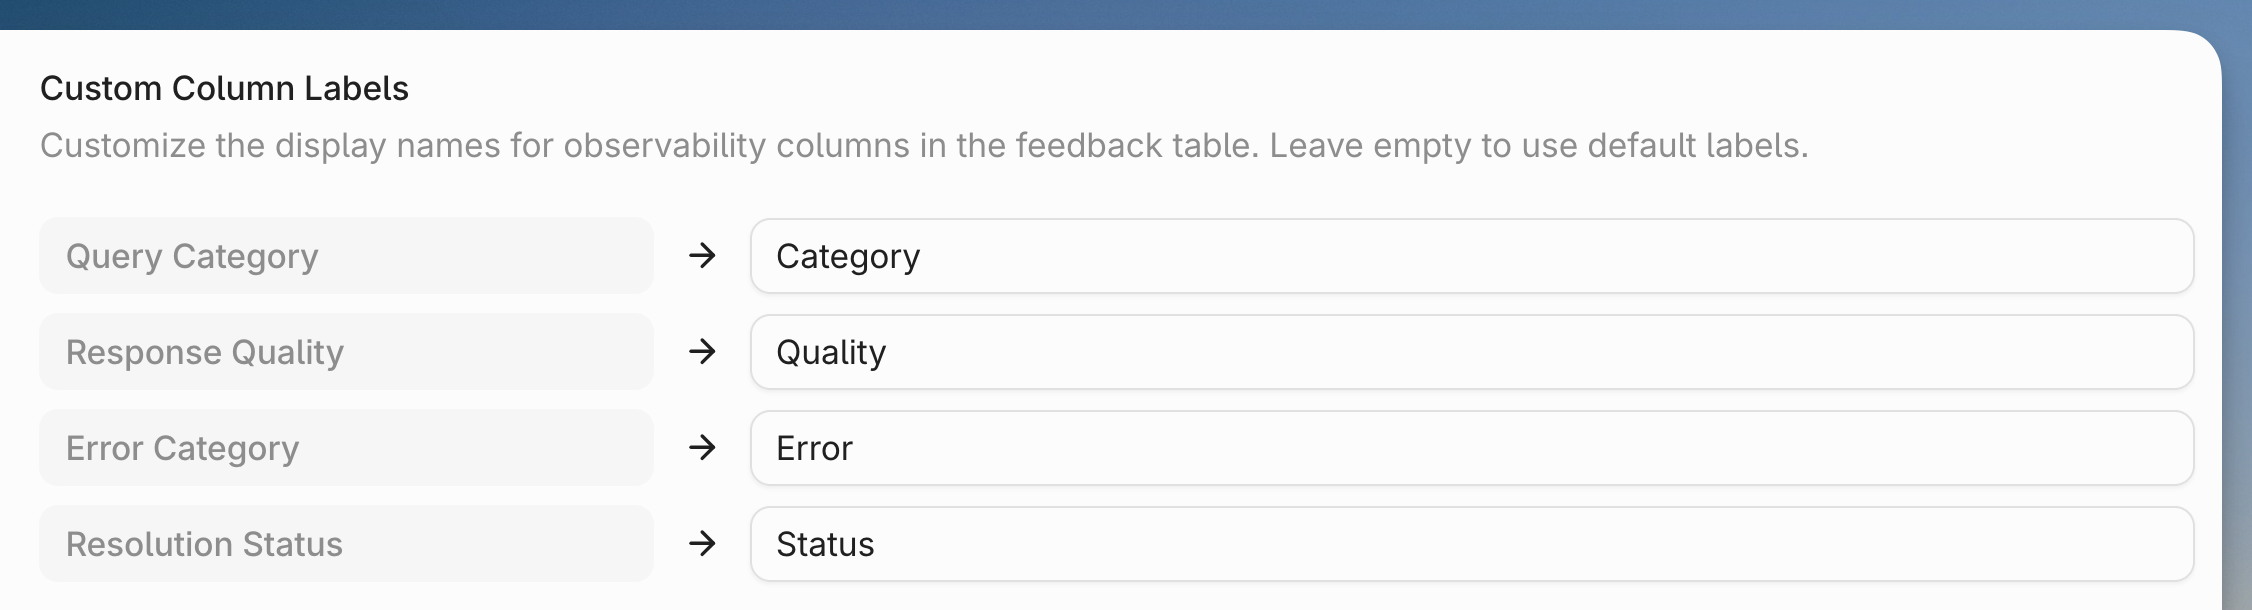
Error Categories(annotate any issues identified),Response Quality(annotate the overall quality of the response),Resolution Status(annotate the status of the issue — open/closed/etc). -
You can also rename any of the existing columns. If you’d like to introduce a new column type beyond the four provided by default, simply update one of the column names to match the new category you want to track.
-
Click
Saveat the bottom when you are done. -
Navigate to the
Feedback Annotationmodule through the agent menu.
-
To annotate a piece of feedback, simply click on it. The annotation UI will pop up and you can annotate with the custom labels you defined previously.
-
You can click on citations in the annotation UI to view source chunks.
-
You can also filter the feedback list to focus on what matters most. Filters can be applied by any column or by the date the feedback was submitted.
- There are a few other capabilities in the annotation dashboard:
- Click
Export to CSVto download the annotated data - Click the eye icon to select which columns to display
- You can also choose which column to sort by.
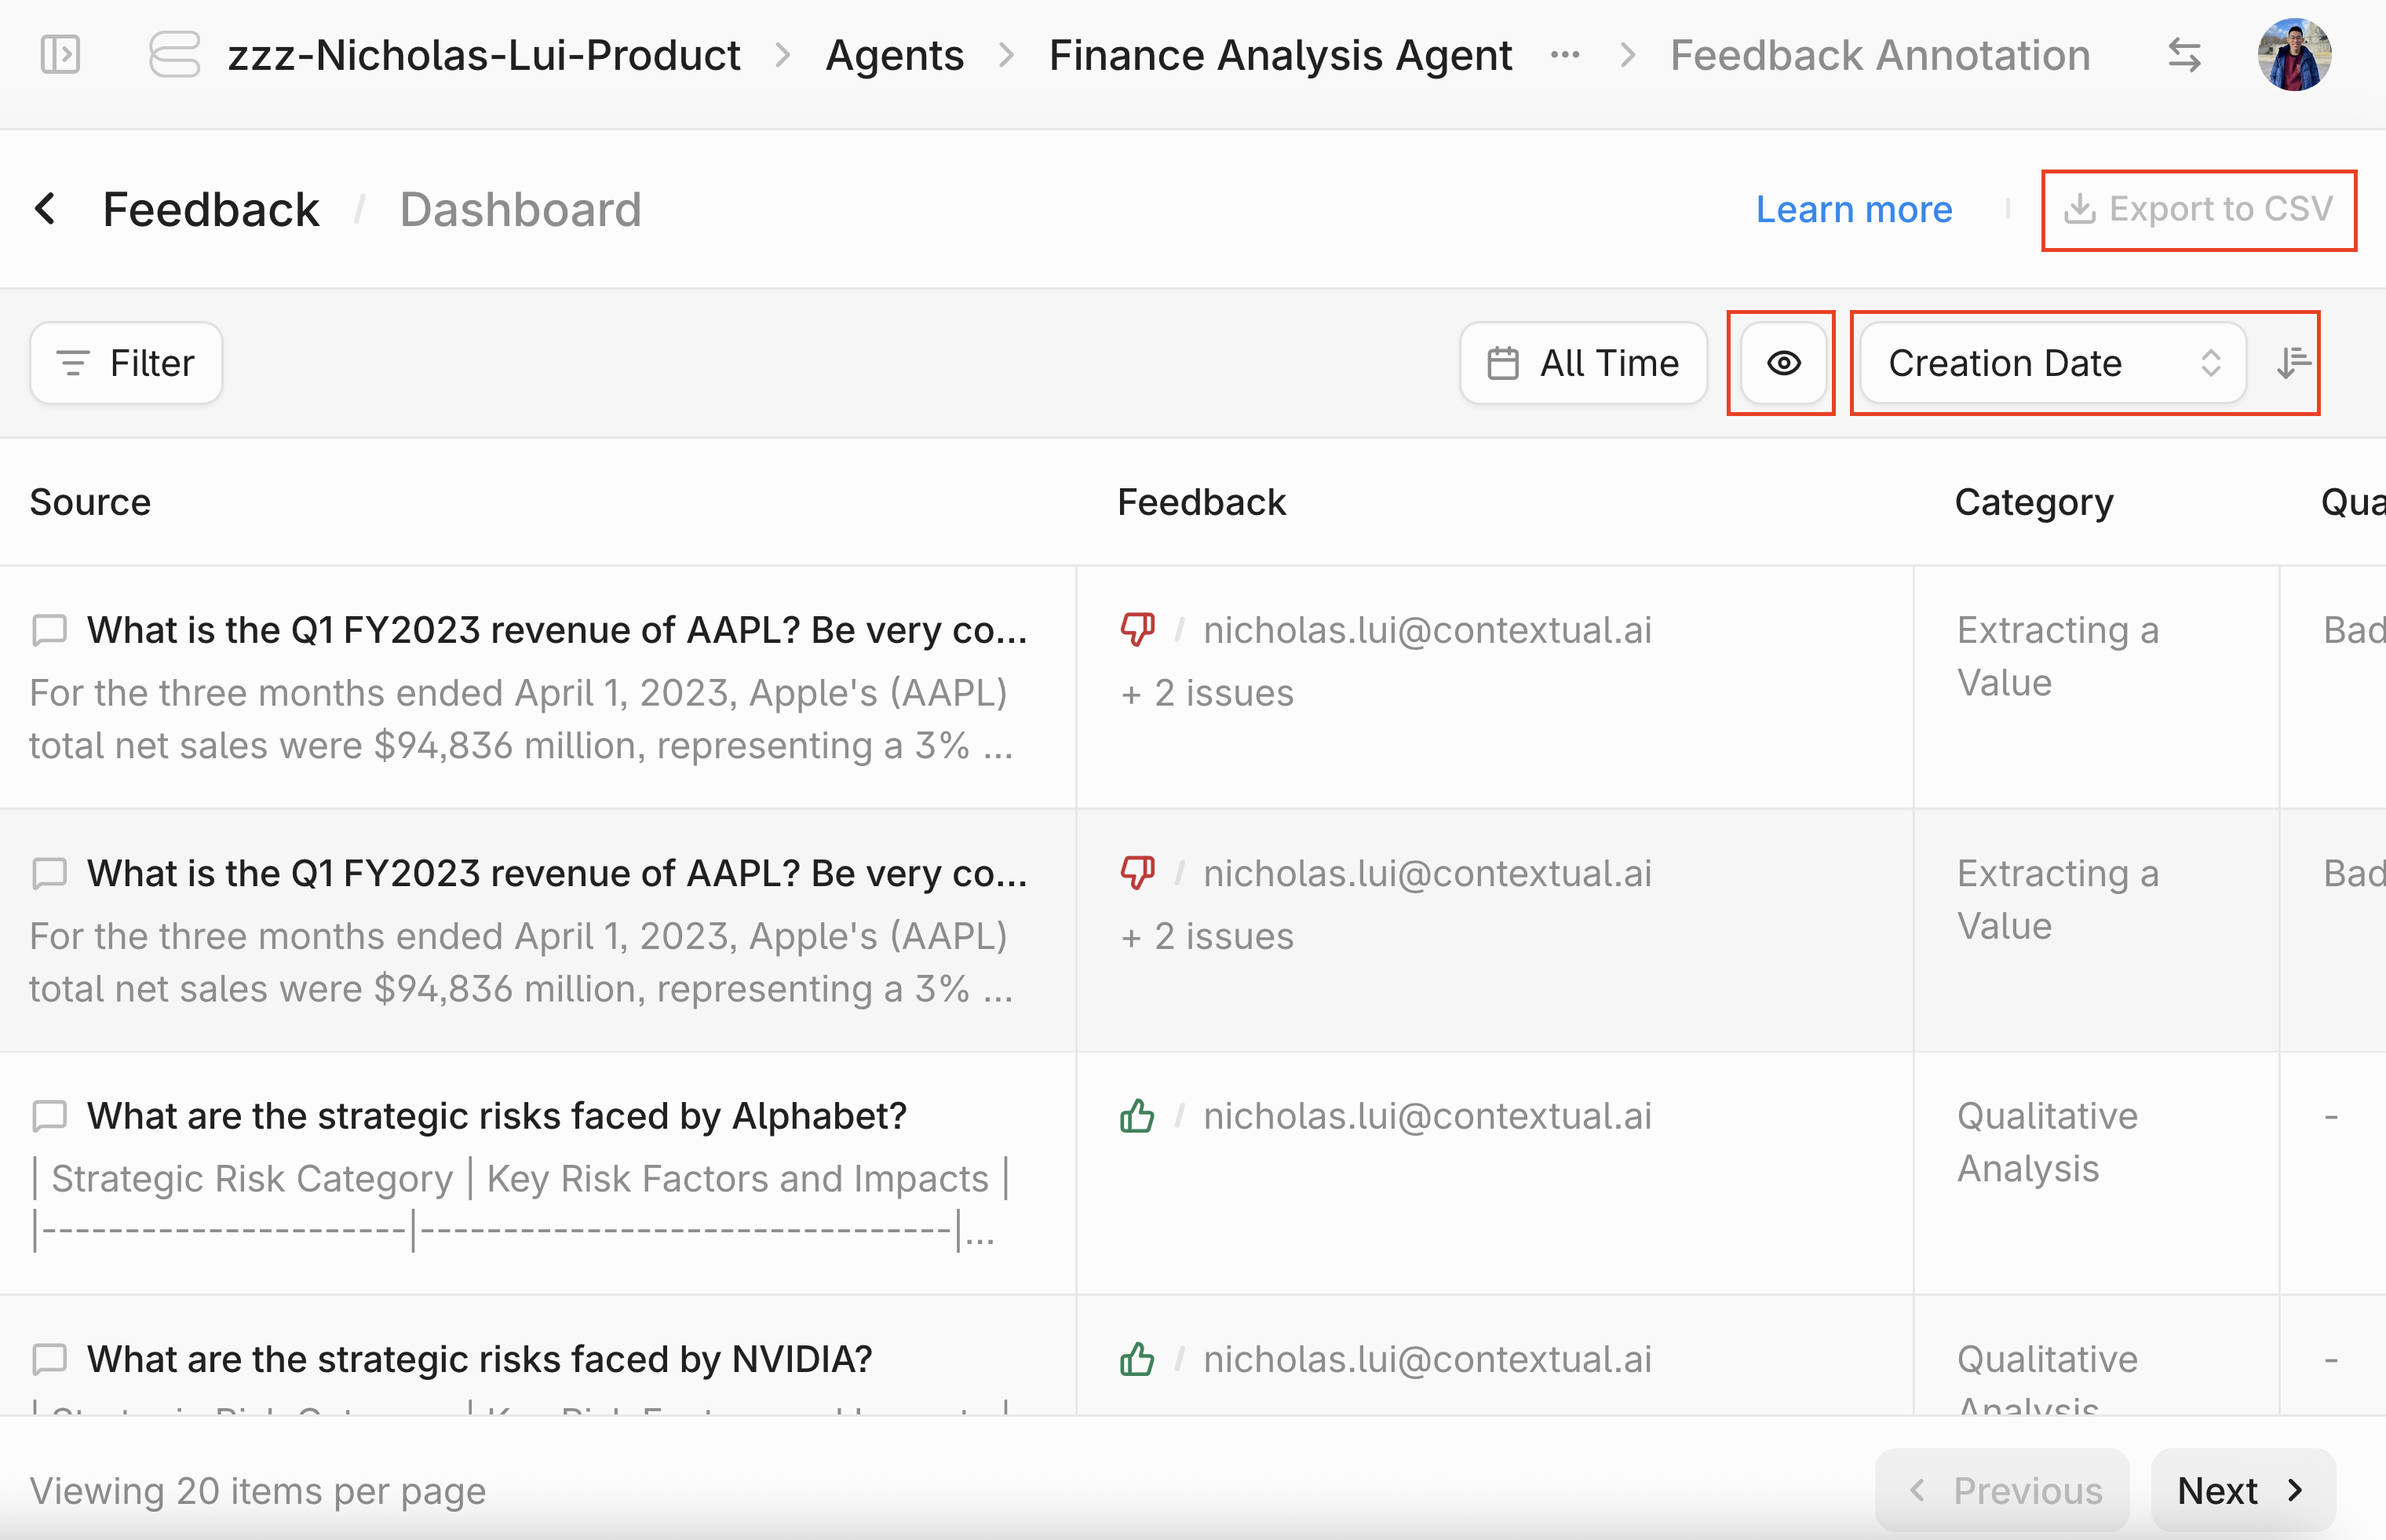
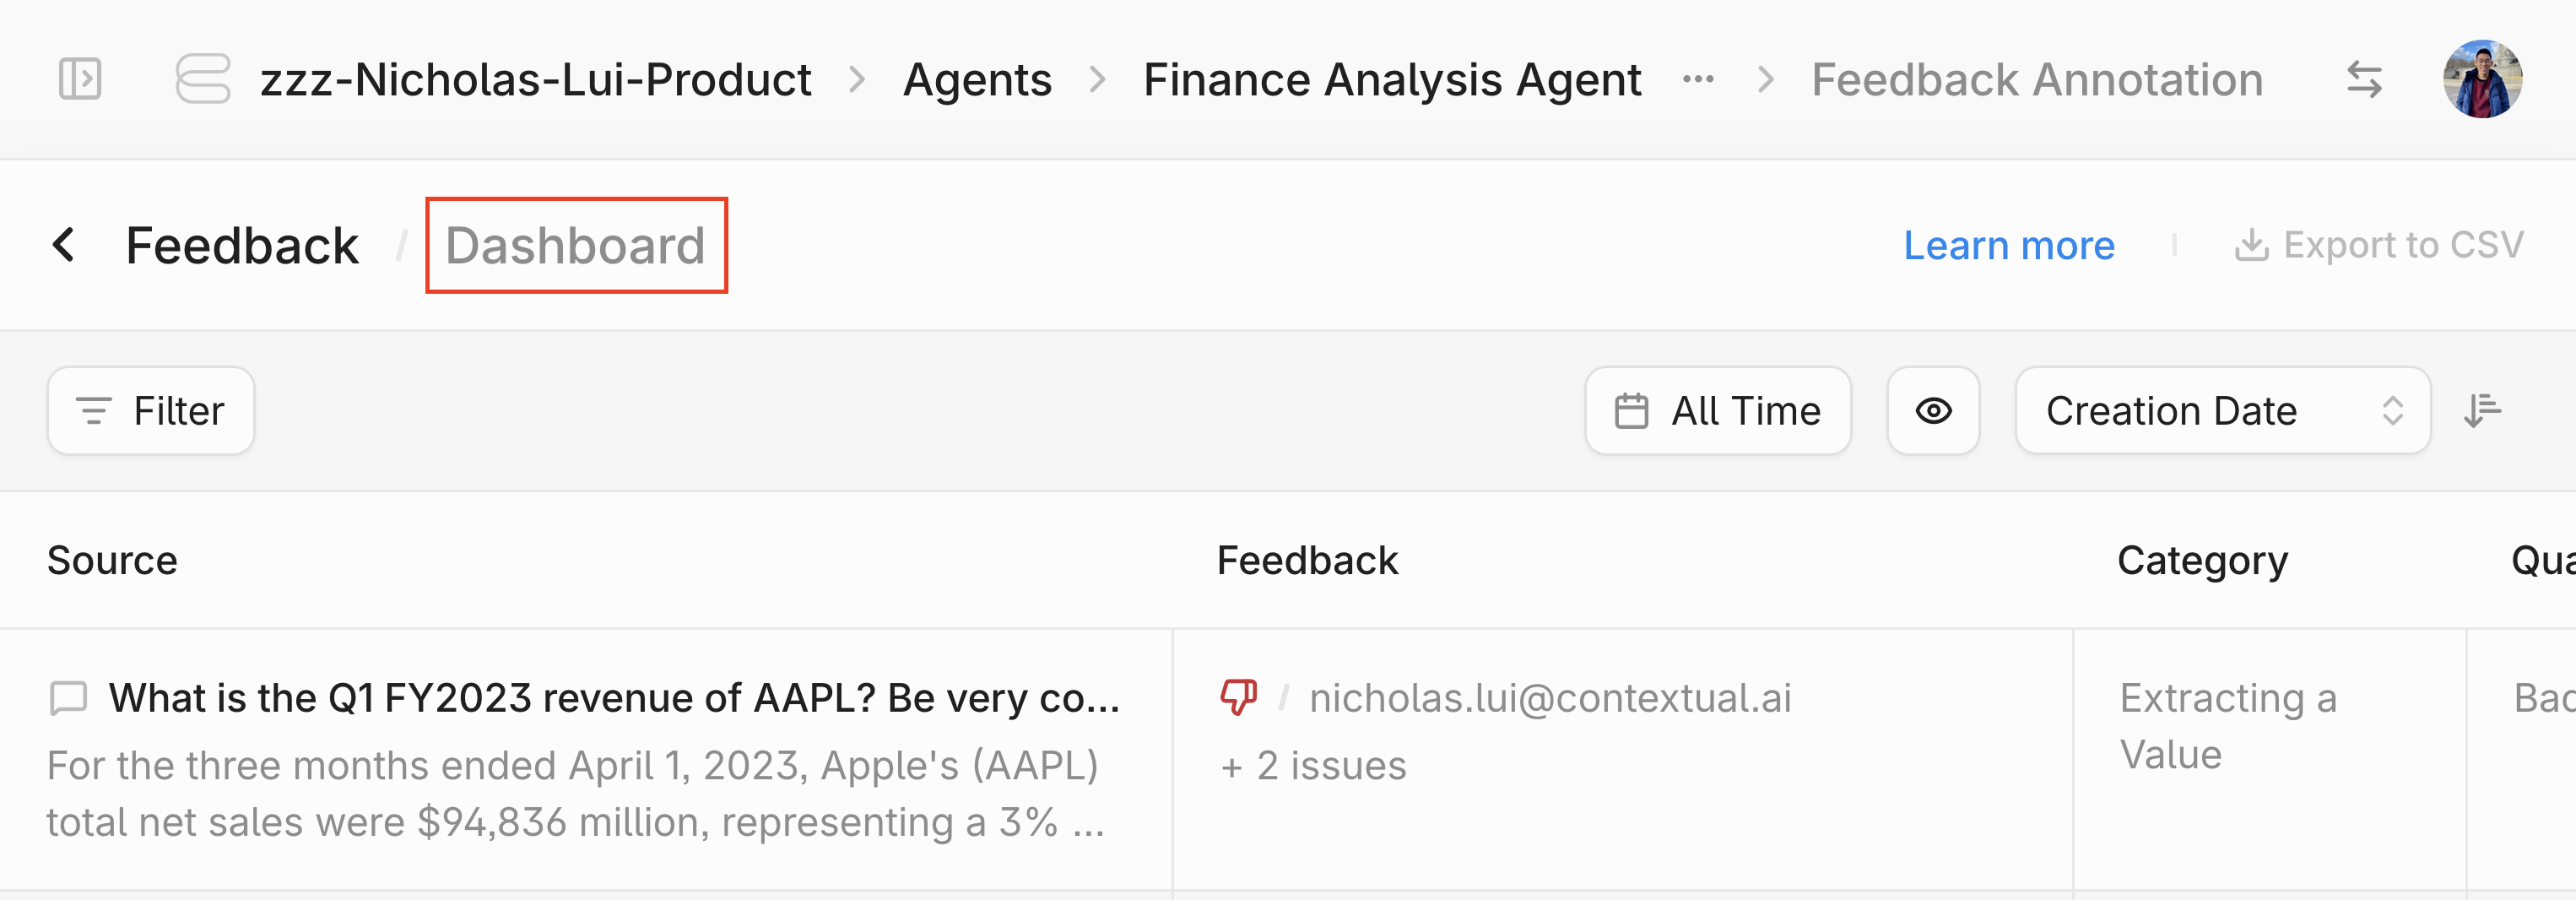
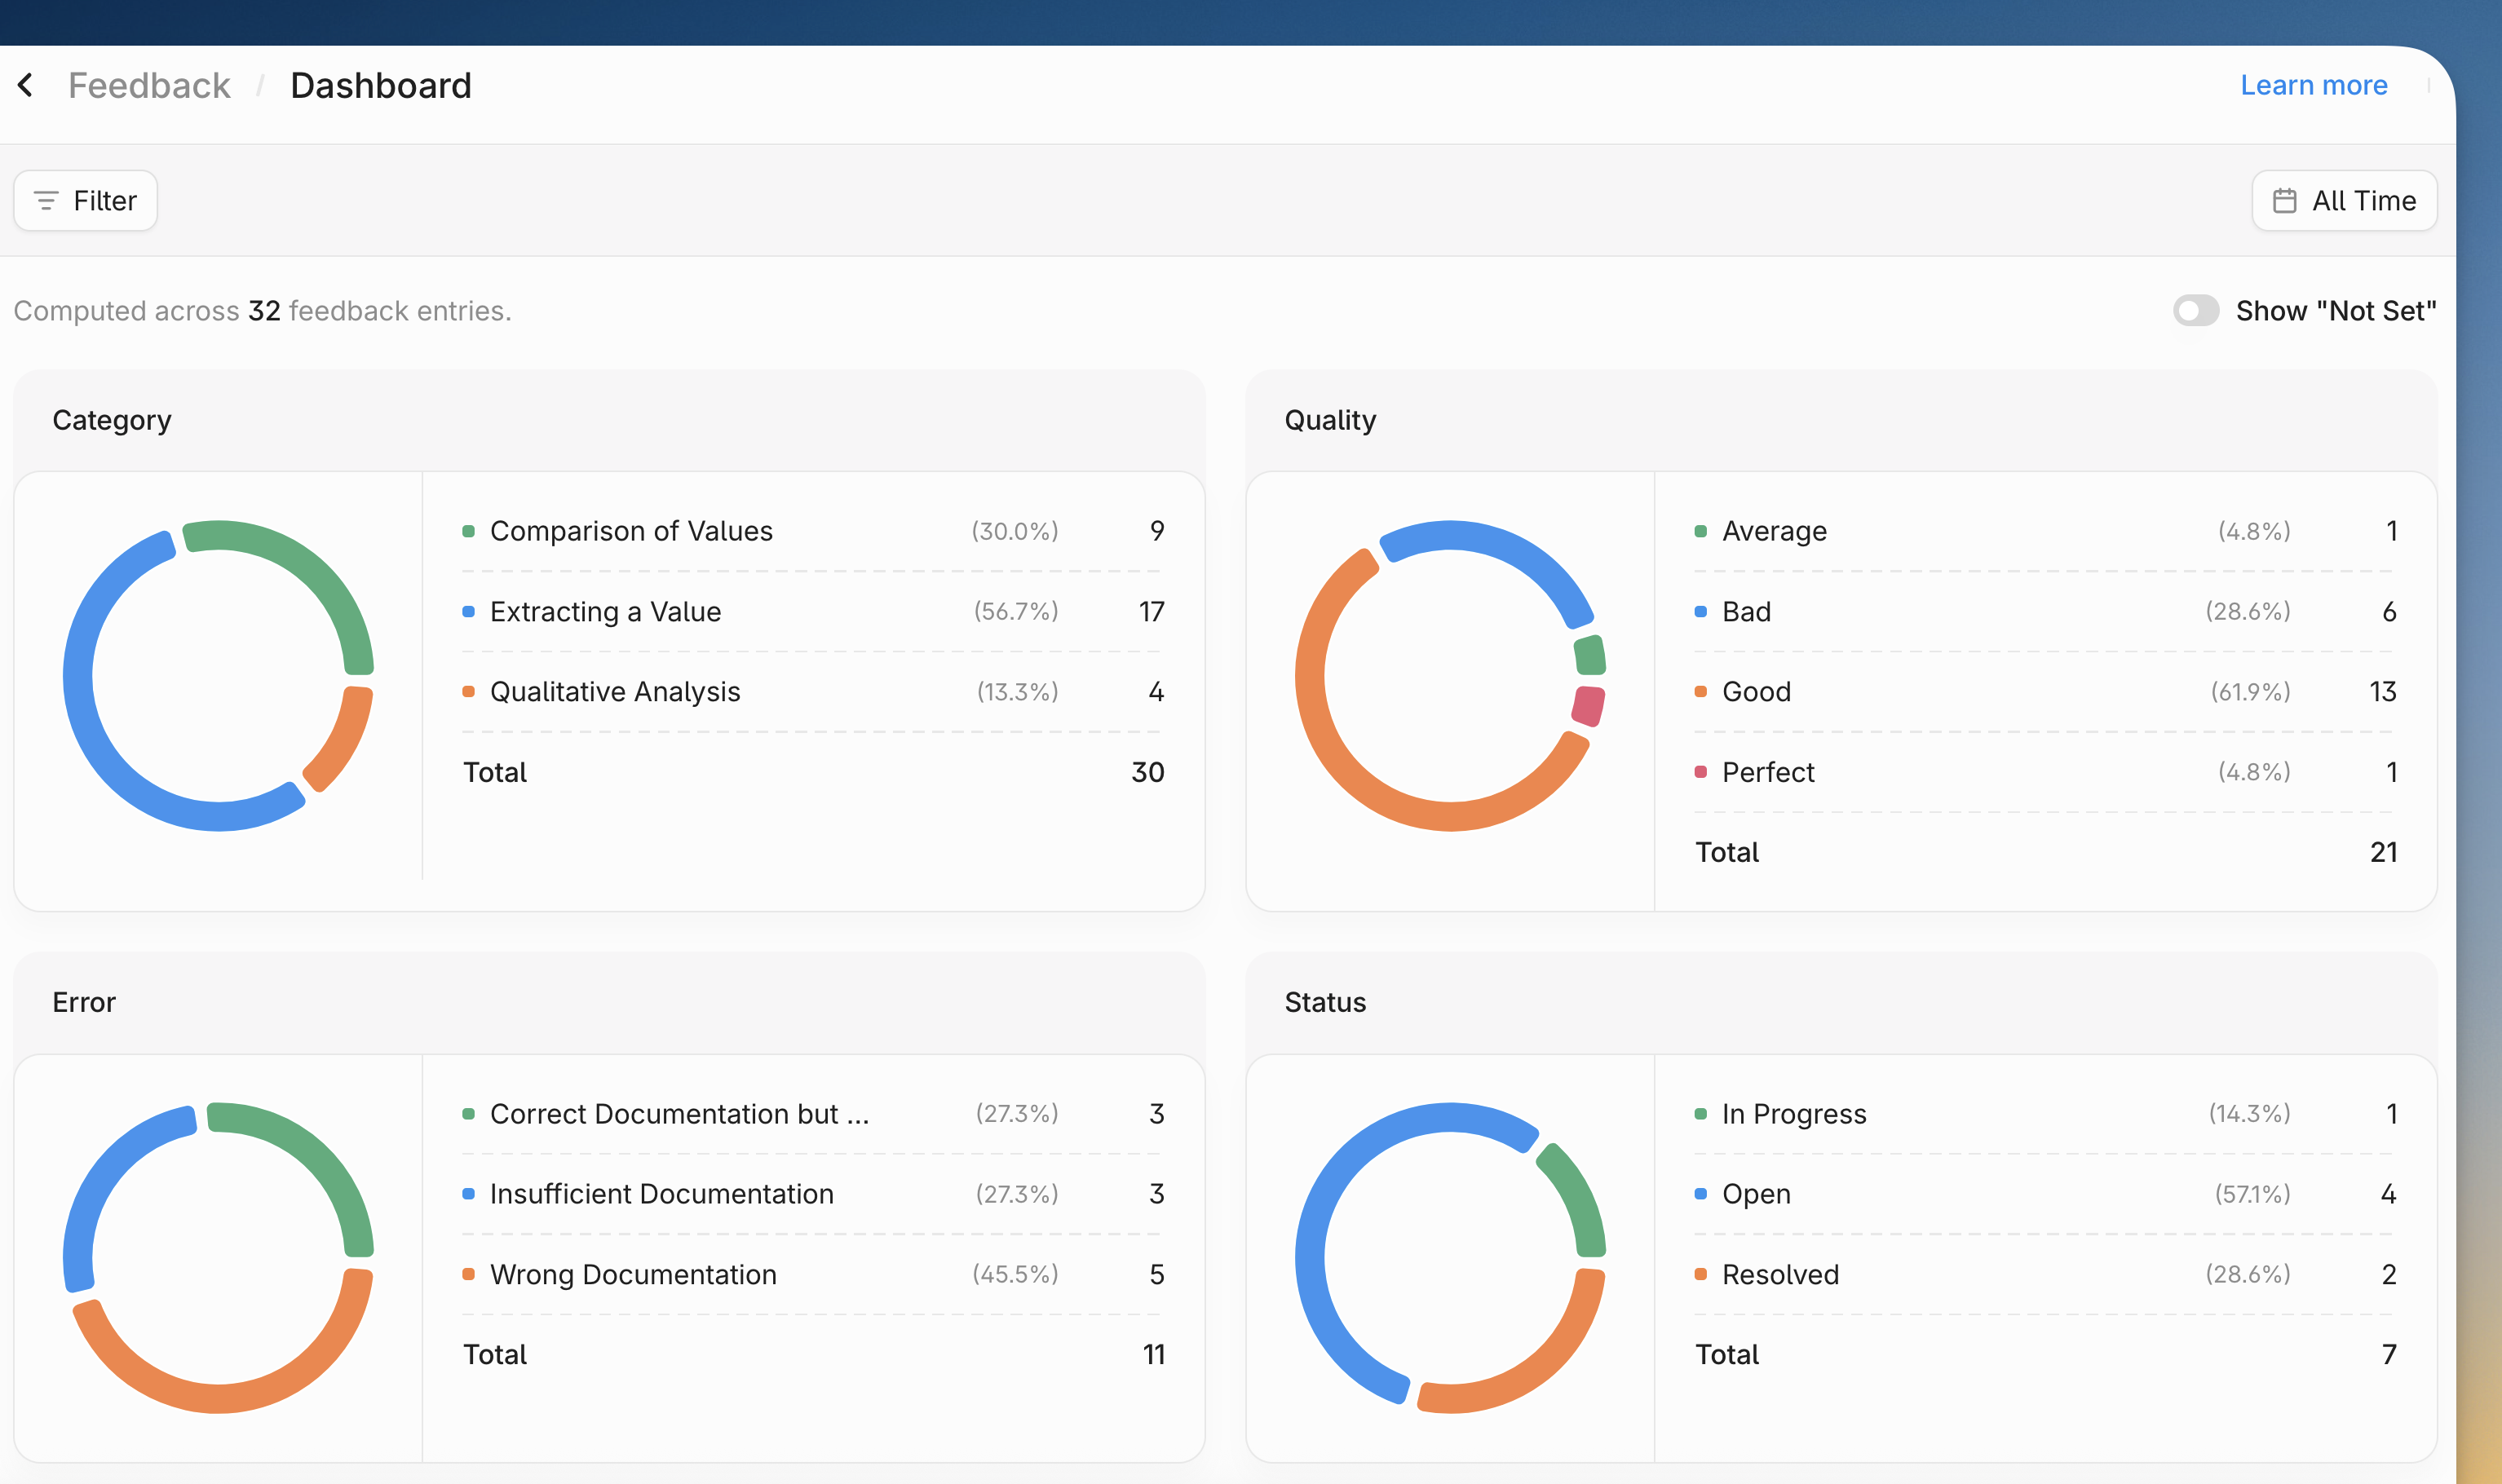
- Finally, you can click the
Dashboardbutton at the top to view an auto-generated dashboard that visualizes your annotated feedback results.