Installation
Obtain Contextual AI on Snowflake
Obtain Contextual AI from the Snowflake
Marketplace.
Install the Application
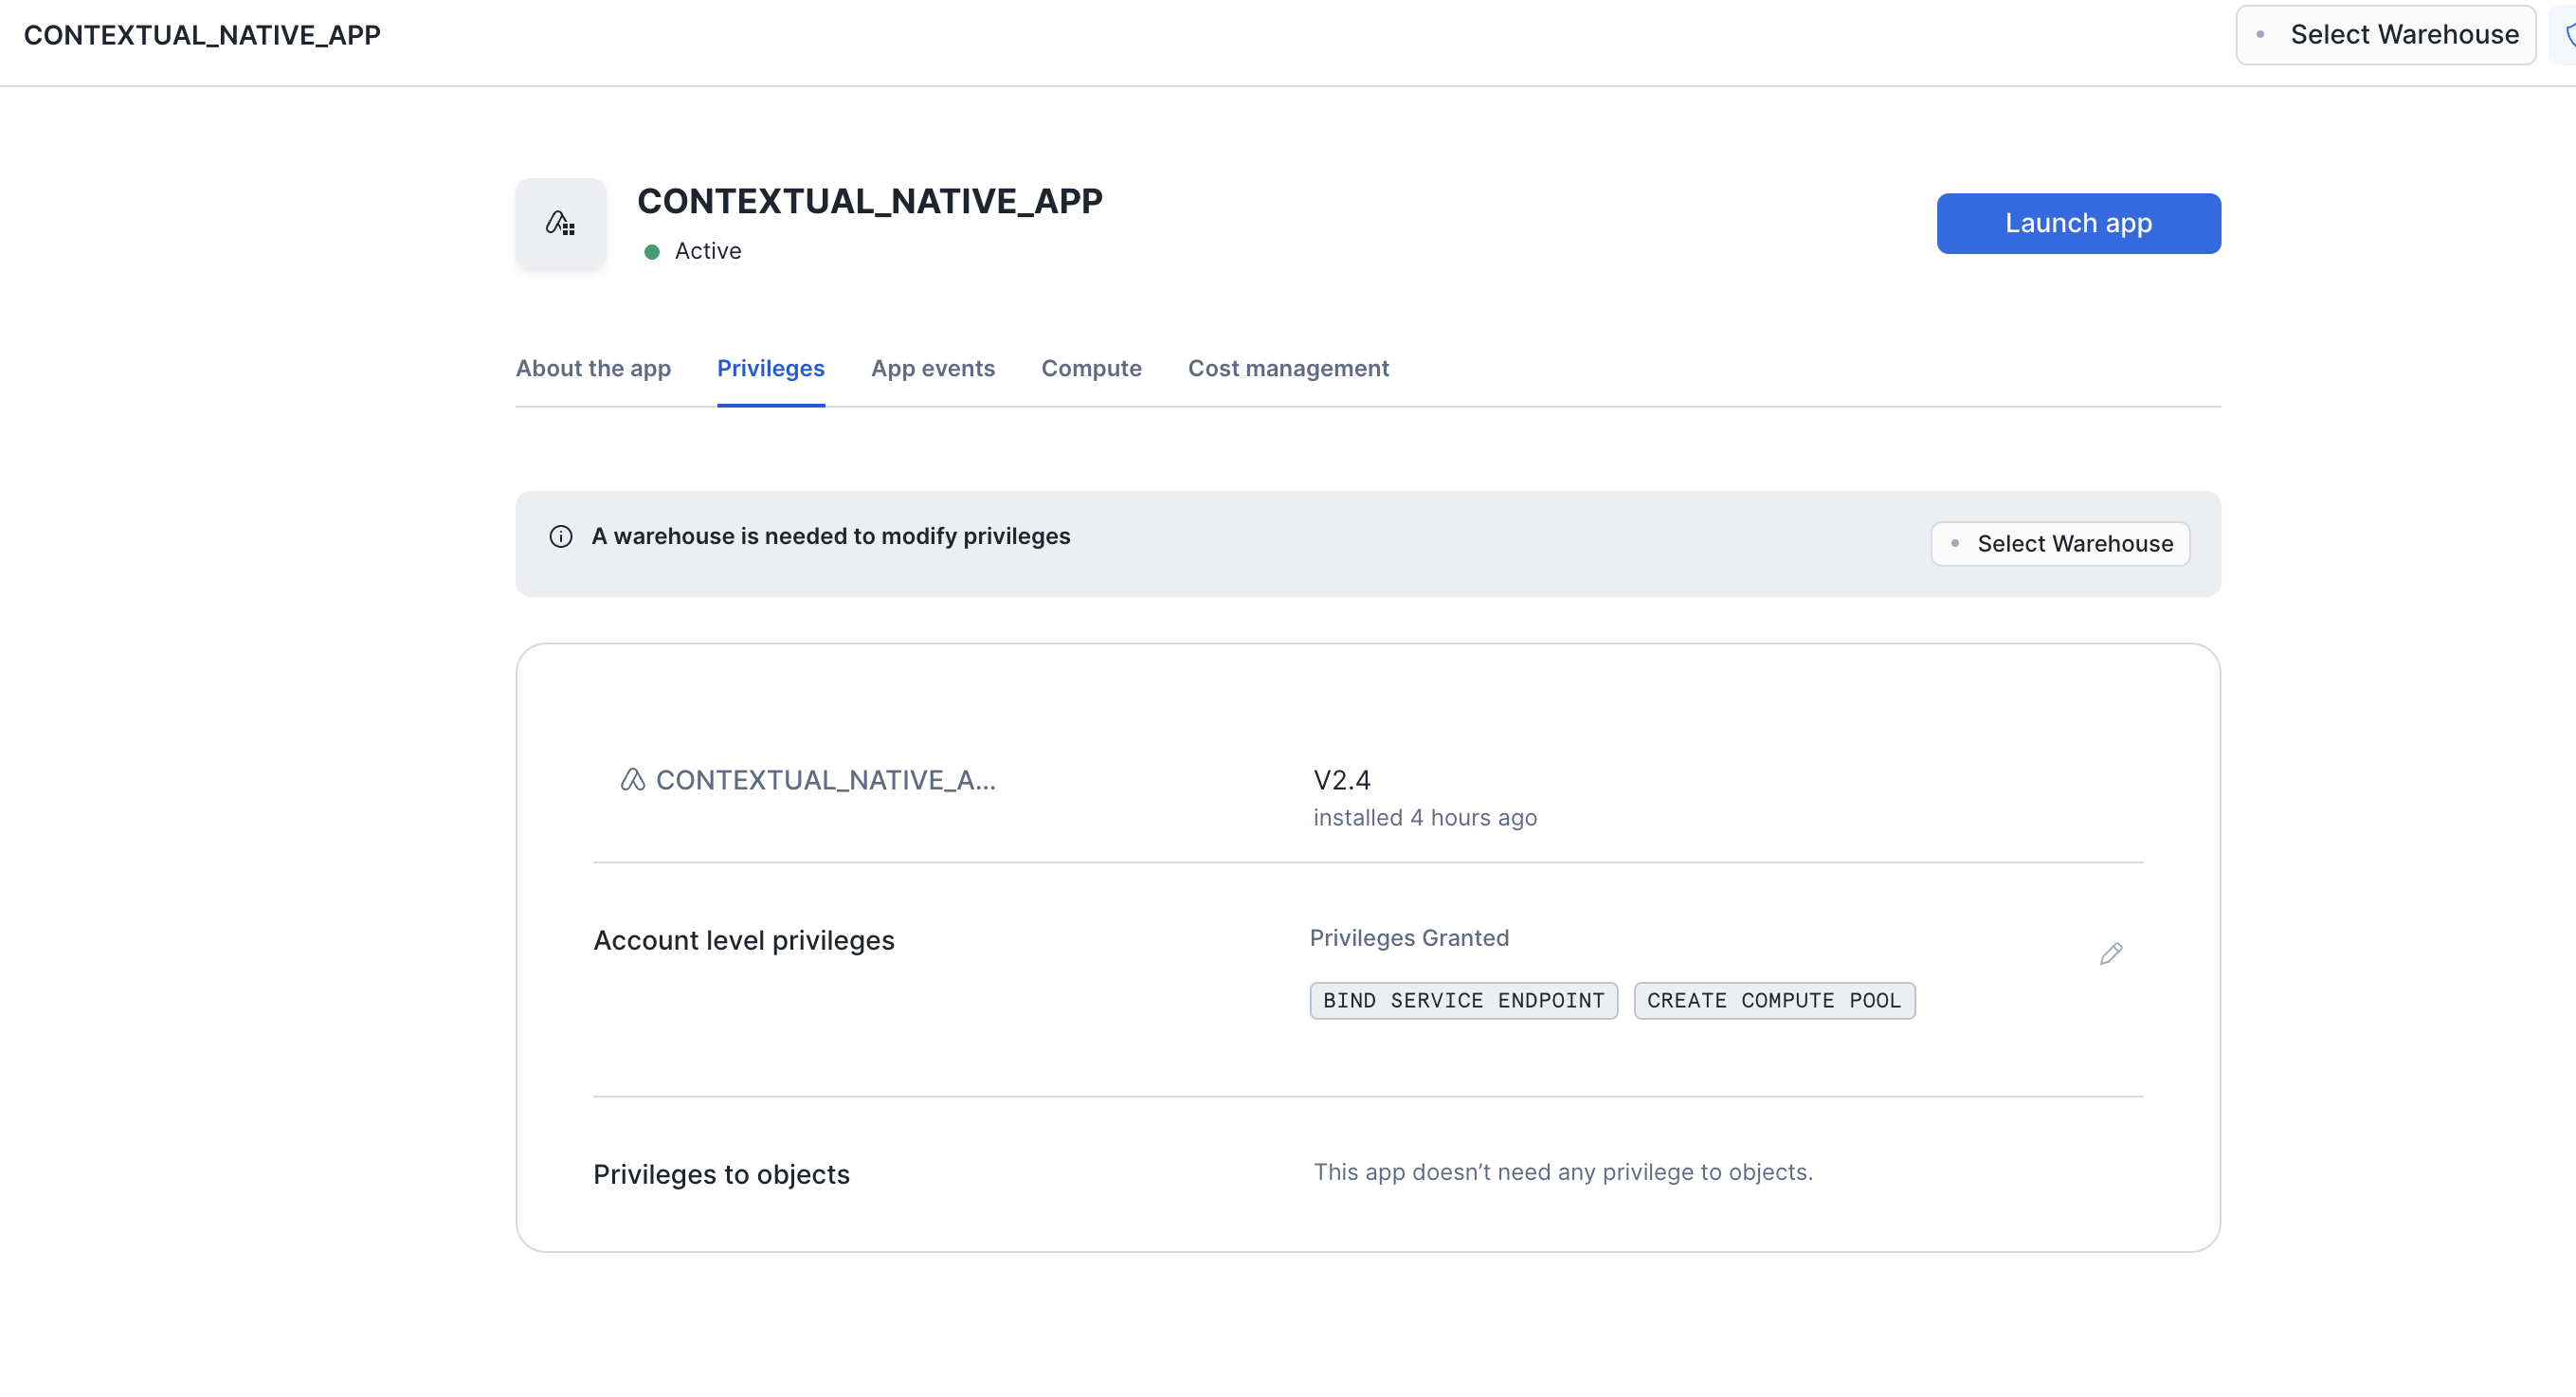
Grant “create compute pool” and “bind service endpoint” privilege to the
application on Snowsight
Using the application
Once you have installed the application, click "Launch App" to enter the Contextual AI Application.
The first user to load into the application will be designated as the “Admin
User” so it is highly recommended that your team’s administrator be the
first user to load the application.
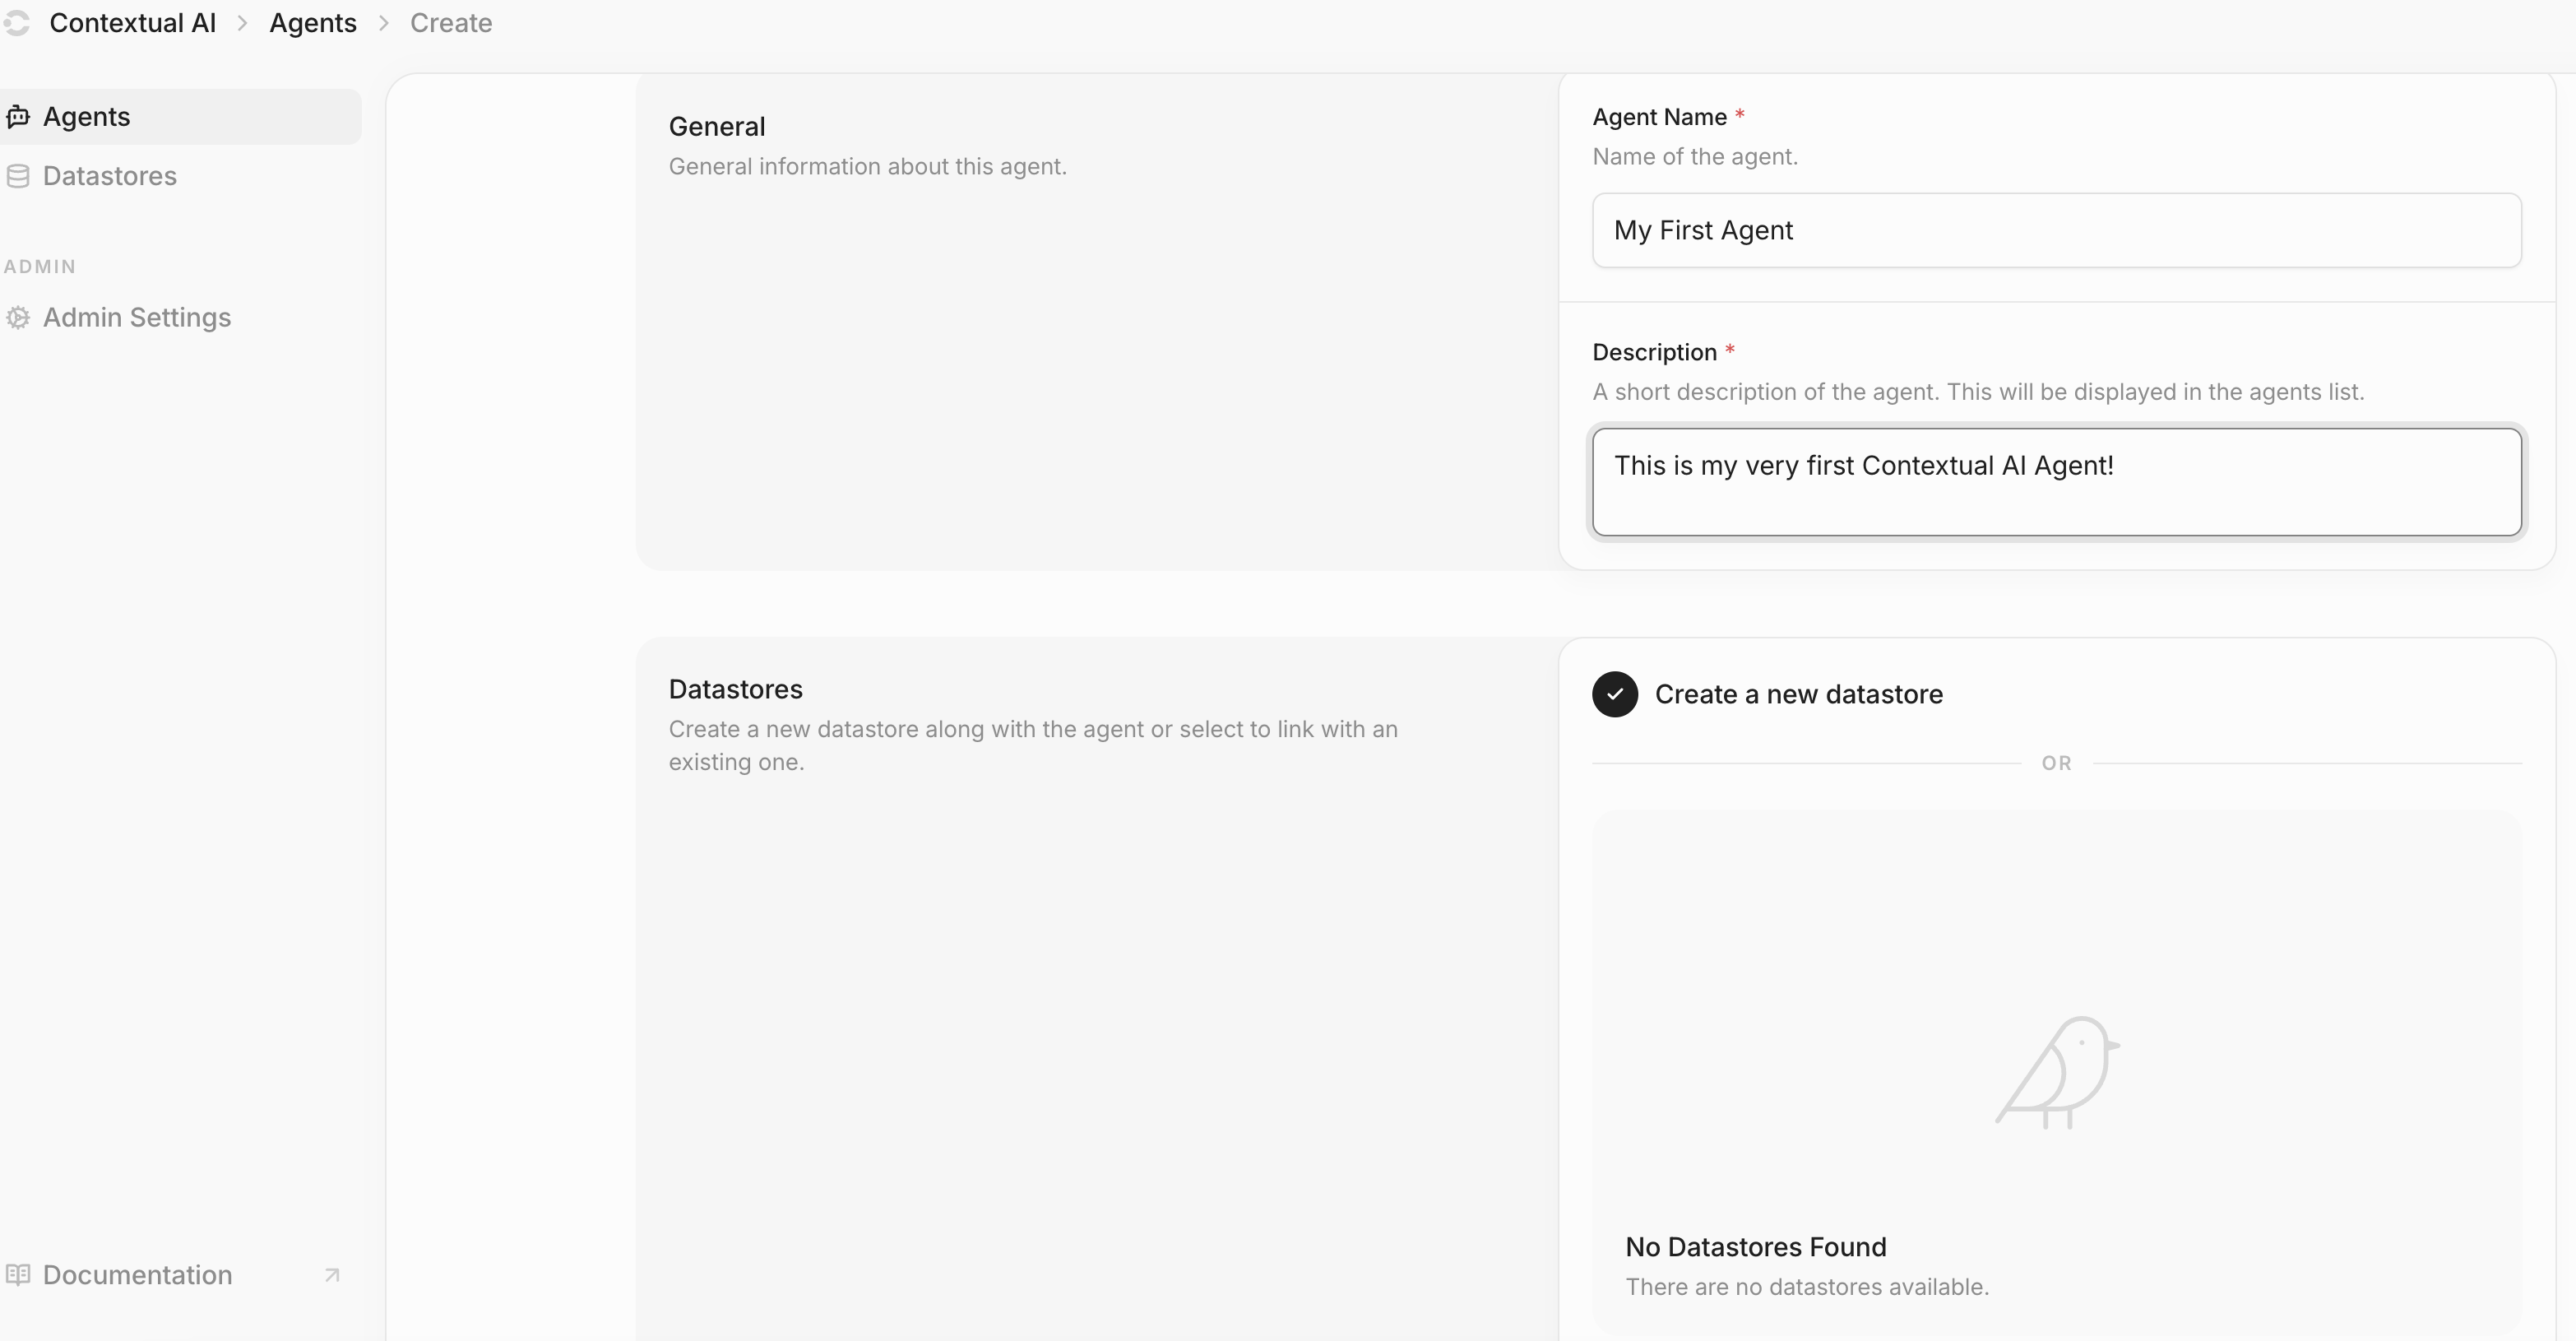
Once you have logged in with your Snowflake credentials, you will be able to see the Contextual AI Dashboard and create your first AI Agent.
The first time you use the application, you will need to create a new agent
and create a new datastore for it.

Adding Knowledge to Your Agent's Datastore
- Navigate to the Datastores tab and locate your agent’s newly created Datastore.
- Open the “Documents” page within the Datastore.
- Select the “Ingest” tab to upload your PDF documents. Once you upload a document, the system will automatically begin processing it in the background. This process extracts information from your documents and prepares them for future retrieval by your agents.
API (programmatic) access
Contextual AI’s application provides a REST API for programmatic interaction with your agents and datastore. After you have created and configured an agent (and the agent’s datastore) through the UI, you can integrate it into your applications and workflows using API endpoints. Below are the steps to get started with API access: API Access in the Contextual AI Native App requires obtaining the API endpoint of your instance, which can be found by running this Snowflake query in a Snowflake worksheet or via the Snowflake CLI:xxxxx-xxxxx-xxxxx.snowflakecomputing.app. This URL value is the backend API endpoint for your application.
To create the full API endpoint, you will need to prepend https:// to the backend API endpoint from your application and then append /v1 at the end.
An example of how to do this in Python:
